

Bet you didn’t know that hand making one of those fancy kids bath towels could be this easy.
Next to bibs, the other thing we are in constant need of cleaning is kids bath towels. And also like bibs, bath towels are really straightforward to make and easy to crank out once you understand the process of making them.
Understandably you could make the argument that you could just use a regular bath towel. But I’ve found that for us, using the bath towel with the hood on top makes it easier to get onto a rowdy toddler and make the close of bath time and subsequent evening wind down a lot easier. Plus the type of bath towel that we use has a nice border around the edge.
Now, obviously the cost of making this can be comparable to just getting it at the store. But this, in terms of frugal sewing, is more about the self satisfaction and feeling of pride that comes from hand making things for your family. Plus if you can find a good discount on terry cloth or fabric, or buy it in bulk, then that makes it all the cheaper.
It also becomes way easier with the right tools. That being said, this post is chock a block with affiliate links. And that’s mainly because the products I mention will save you a ton of time, not just on bath towels but anything that uses bias: towels, bibs, pot holders, aprons, activity books, lots of stuff. You don’t even need to get the ones I link to. Even looking into that category of item is good. It is a good investment that pays off over time with the amount of time and number of headaches you save in the long run.
Level: Confident beginner
Dad Sewing Project Rankings:
- Frugal: 3/5 ===
(More frugal if you buy the terry cloth in bulk or surplus) - Dad-Proud: 5/5 =====
- Sustainable: 2/5 ==
(More sustainable if you are using surplus terry cloth) - Practical: 5/5 =====
Materials:
- 1 yard terry cloth
- 1/2 yard cotton or jersey knit fabric. If you want a good grade of cotton, Kona quilt cotton is a good choice. Jersey can be easier to sew with since it is more flexible, but can be harder to sew down as bias. For this project I am using regular 100% cotton cloth.
Steps to Sew Yourself:
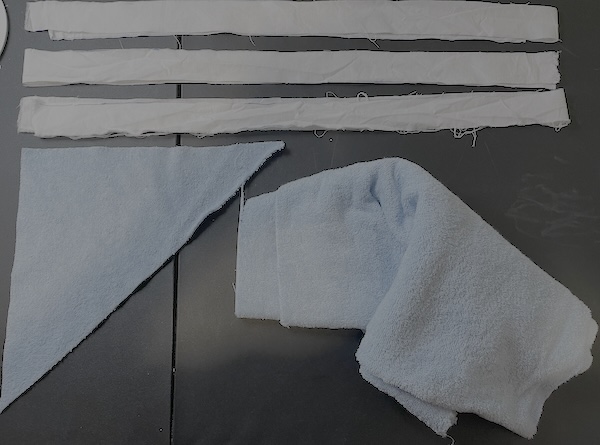
- Cut out the following shapes in your terry cloth:
- 30 x 30” square of terry cloth
- A right triangle with two 11” sides. The hypotenuse will be 15.5” (SOHCAHTOA remember?)
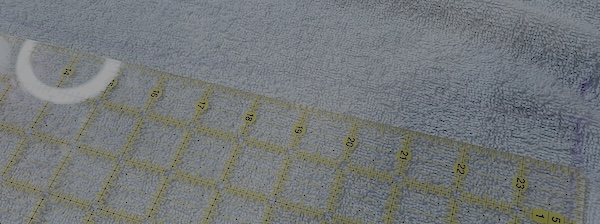

2. Cut out your bias fabric. Be sure to iron out the fabric as flat as possible so the length is consistent. With the cotton, cut an (in total) 120” strip with a width of 1.5”. This will end up creating a 3/8” bias (if using store bought bias this will be “3/4 inch” bias in the store).
3. Sew an additional 16” long x 1.5” wide strip. This will be the bias that goes on the base of your hood. The length is the above hypotenuse (plus some additional slack).
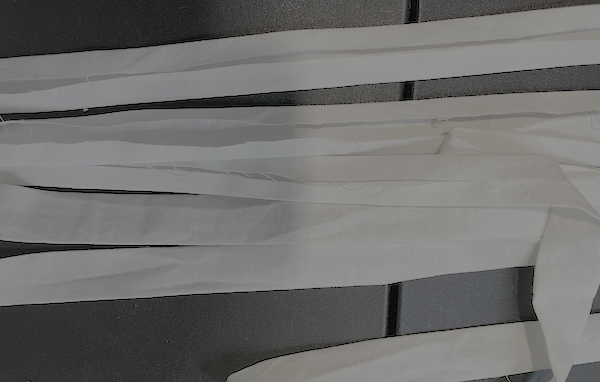
To reiterate, you will need to cut out a 1.5” strip that is in total 120” long. You can split this up into 3-4 pieces so it’s not too much of a hassle. So if you are cutting 30”x1.5” strips you will have 4 strips.
On the last strip add about 3-4” inches so you have some slack. When sewing the pieces together, sew like you would sewing a square of a quilt (if that’s familiar). Place the two pieces on top of each other right sides facing (which won’t make a difference if you’re using white fabric like in this case), then sew the two sides together at the end with a 1/4” seam allowance.
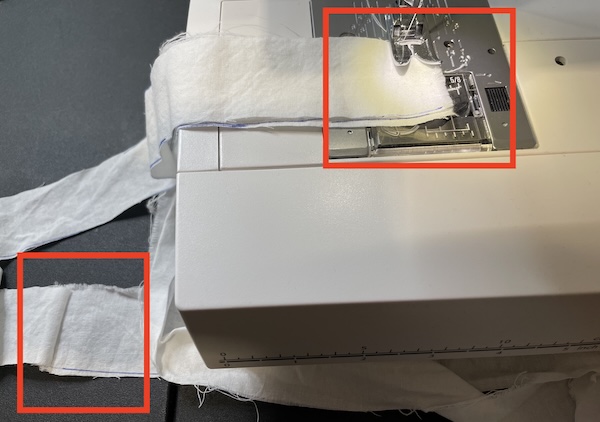
Then for the next piece, stack the next piece on top of the end of the previous piece and sew them together. That’s what I did. For this one I’m using a fabric remnant that I got for cheap, so the length and width are limited. If you’re sewing with cotton fabric, don’t worry about the raw edges getting frayed. They will look clean once you make them into bias and sew them down.

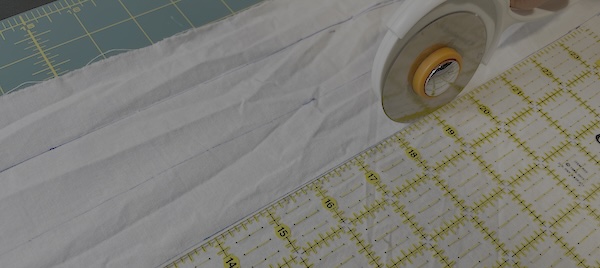
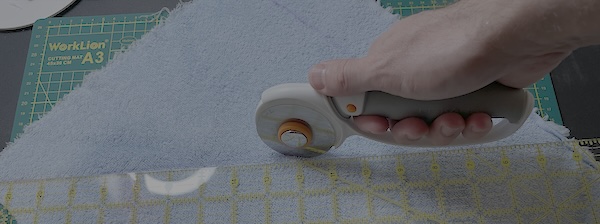
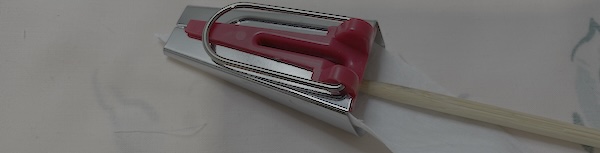
Plug number one: I highly recommend investing in a self-healing mat, a quilting ruler and a rotary cutter. This makes cutting straight lines on fabric a million times easier than cutting with scissors. Just be sure to have a spot where you store the rotary cutter outside the reach of your kiddos. These things are like a pizza cutter with a razor blade in it.
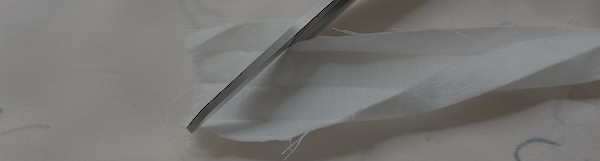
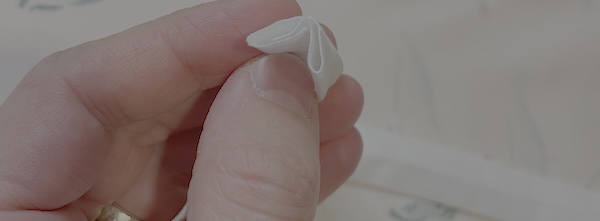
4. Make the bias by starting out with your short hood strip. Cut the head end at a 45 degree angle. This helps to lign up the bias when you sew it so it’s not too lumpy.
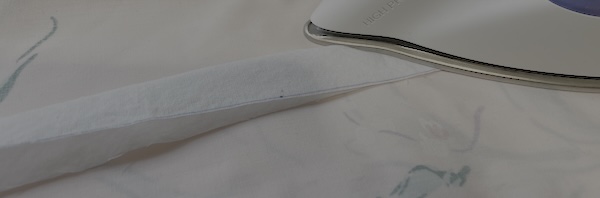
Fold the strip in half lengthwise and iron down. Here you should have one long crease running the length of your strip. Fold one long side in to this middle crease. Iron this down. Then do this for the other side. So now you have something resembling a reverse W shape with the raw edges inside the folds.

Now for the elephant in the room, this process is a huge pain in butt. So if you are serious about sewing (and not constantly burning your fingers), plug number two: I also recommend investing in a bias tape maker kit. It blew my mind when I realized that a bias maker and bias foot were a thing. You may not use it often, but like a pair of pliers it’s a good item to have in your sewing toolbox.
5. Complete this process for the big long strip. Pro tip:if you’re not using one big strip, sew the individual strips together first with a 1/4” seam allowance. Take this step slowly and methodically. Take a break midway if you need to to not burn yourself out.
Again, a bias tape maker makes this process way easier. You can use store bought bias, but it’s a little too rough for a bath towel in my opinion. This is one of those times where I treat sewing like a form of meditation.
Perfect, now you have the bias prepared. This was the hard part. The rest is the easy part.
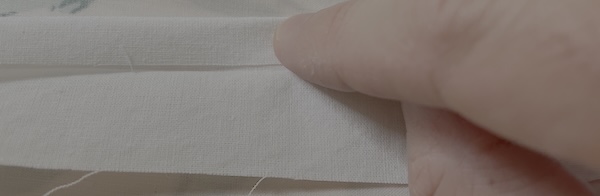
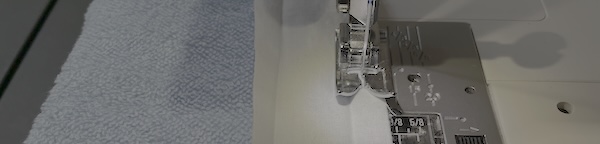
5. Next you will sew the bias to the hood using your shorter bias strip.
Unfold the bias and line up the raw edge with the edge of the terry cloth.
Stitch down with about a 1/4” seam allowance.
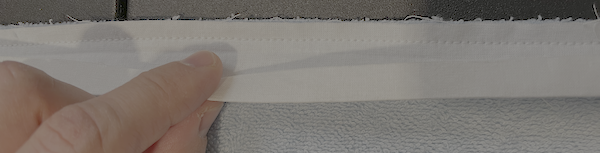
Then fold the bias back. After that wrap the bias back over the top of the terry cloth to the opposite side. Clip down and sew down.

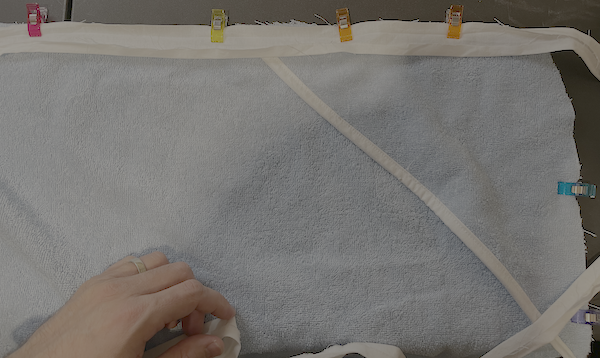
5. Next you will sew the hood to the body of the towel.
Line up the hood triangle with a corner of the larger towel and Pin/clip it in place.

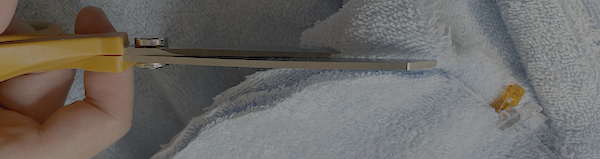
6. Trim the corners so that they’re round (this is a stylistic choice so you can leave it flat if you want). Line up the other corners and cut them in a semi-circular shape as well.
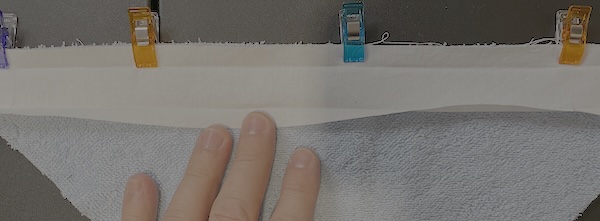
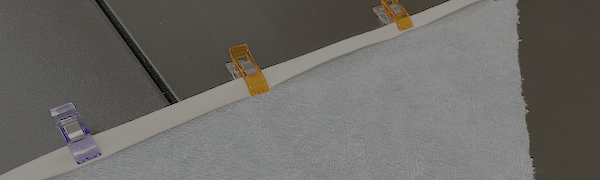
7. Repeat the same process for attaching the bias as you did with the hood. Fold out the bias and pin/clip the bias with the raw edge of the fabric. Then sew the bias down to the towel with about a 1/4”-3/8” seam allowance so that the stitch is far enough away from the edge of the towel but not over the bias fold.
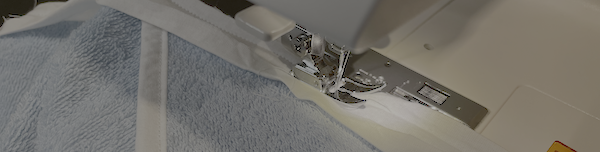
Be sure when you get to the hood part that the ends of hood flap bias are covered by this outermost bias. This seems like a daunting and long step but it actually goes by fairly quickly once you get the stitch going and find a rhythm. For the straightaways just keep the bias and towel lined up, keep tension and let the feed dogs of the machine do the work.
Overlap the end at the beginning of your bias starting point.

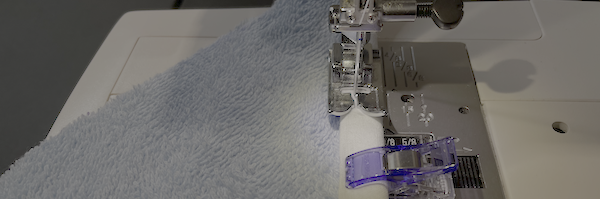
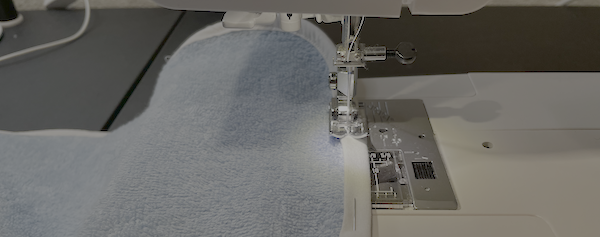
Once you’ve completed this base stitch, fold the bias back over and wrap it over to the opposite side of the towel, just like you did with the hood bias. Clip this down and stitch around.

Keep the fabric taught when sewing so that both sides are lined up. And if you’re like me and accidentally lined up the pins facing your finger then be careful when sewing. Be sure to lock your stitch at the beginning and end.
Make sure the outside bias goes over the ends of the hood bias. This part will take longer than the last because you’ll need to do more pinning to make sure it’s secure on both sides.
8. Once you’ve completed sewing the bias all the way around, back stitch and you’re done.
Enjoy your work and make as many as you want. And obviously it’s a ton of work to crank out a bunch of these. But even just one is another thing that you can take pride in and share with your child.
What to make next
Like I said, using specialized tools like rotary cutters, self healing mat and bias tape maker make the process of cutting a sewing bias as well as fabric way simpler and easier. Making such a long strand of bias tape seems like a pain, but tools like these pay dividends after an initial investment. You can make bibs, towels, play folio’s, placemats, aprons, etc. in a snap.
Leave a Reply