

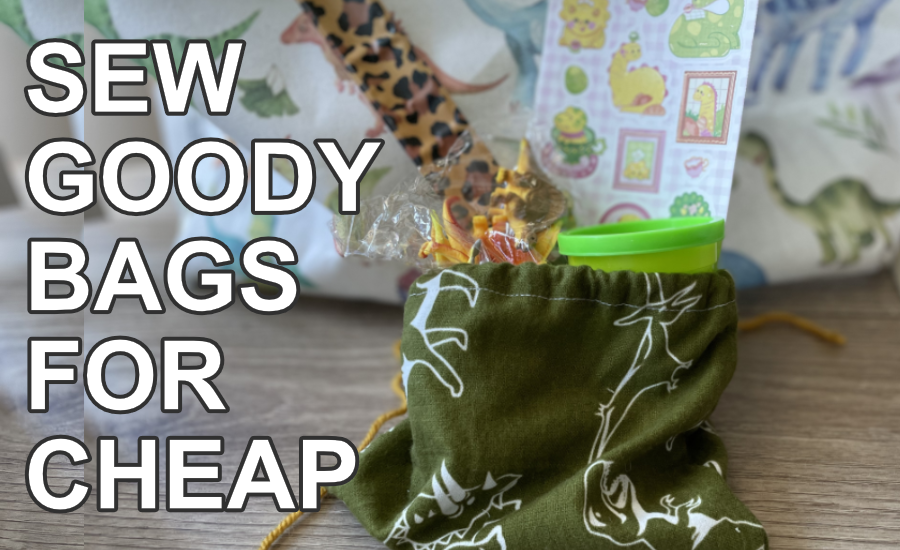
Sew a ton of party favor bags for cheap.
If you want to start getting into more practical sewing for storage for your kids or yourself then a drawstring bag is a good starter sewing project. This will help with practicing sewing a casing and turning fabric, which is used in a lot of other sewing projects like waistbands on shorts and pants.
Sewing a simple drawstring bag is also a good confidence builder for dads learning to sew and it’s a fun project to share with your kids. They can pick out the fabric and design the bag and you can sew it with them.
Dad Sewing Project Rankings:
- Frugal: 3/5 ===
(More frugal if you buy the terry cloth in bulk or surplus. This is also a good project to use up your stash fabric. If you up-cycle old cloth it’s practically free) - Dad-Proud: 4/5 =====
- Sustainable: 2/5 ==
(More sustainable if you are using surplus terry cloth) - Practical: 4/5 =====
Supplies:
- Cotton fabric. You can use any fabric for this but cotton is the most straightforward fabric to use.
- Thread
- Seam gauge
- Scissors
- Sewing machine
I will go over two methods for sewing the bag: the quick and dirty method and the prim and proper method. It’s entirely up to you. The quick and dirty method is definitely easier but less aesthetically appealing. But if you need something to get the job done, like if you want to sew party goody bags for cheap then the first method is ideal:
The quick and dirty way:
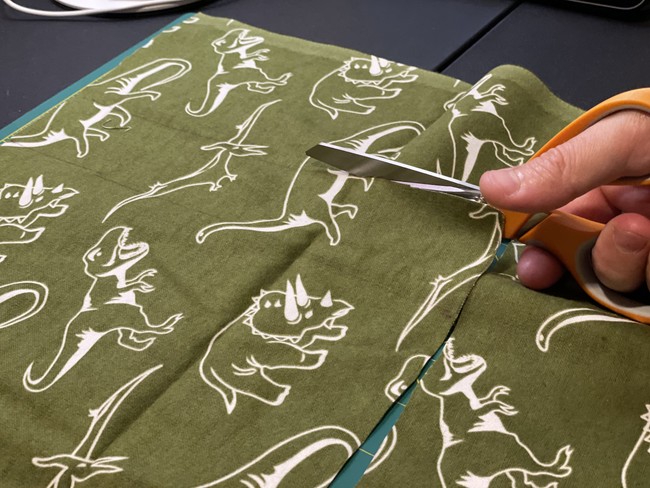
1. Measure out a rectangle of fabric that will be double the length of the bag you want. The width will be whatever width you want. Mine is 20” x 8”.

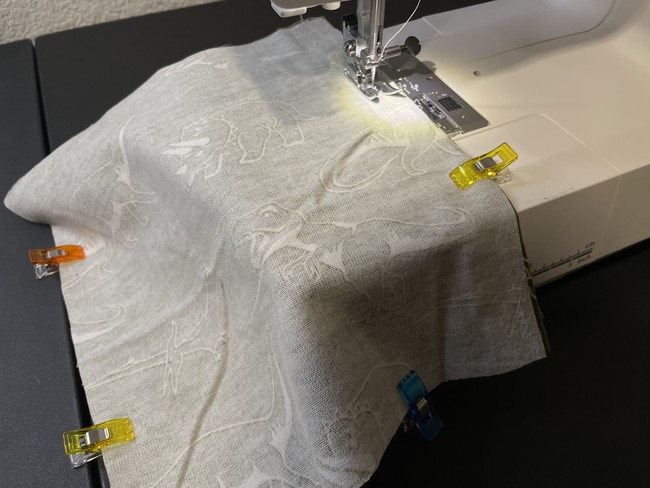
2. Cut this rectangle out and fold it in half with right sides facing (RSF). The fabric will be inside out.
3. Next, starting at the one end of the folded side, sew the bottom and the opposite side. Leave the last remaining short side open.
Don’t forget to lock your stitch at the beginning. When you pivot at the corner, leave the needle down, lift the foot and rotate the fabric under the foot. This way your stitch line is consistent and doesn’t get shifted.
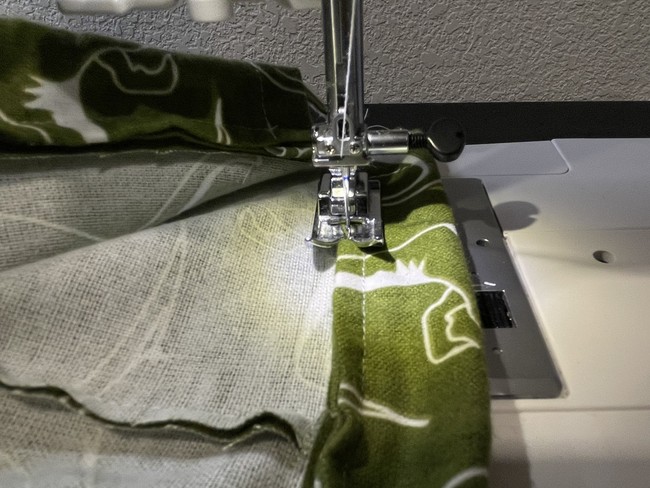
4. At the top that you left open, fold down about 1.5-2”. Then sew around the raw edge.
You can fold it down one more time if you do not want the raw edges exposed. This hole for the drawstring that you are sewing, in sewing parlance, is called a “casing”.
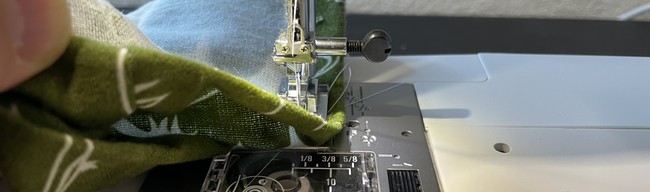
5. Then sew around to the other end, but leave a small gap at the end. When sewing a simple drawstring bag this is where your drawstring will go.

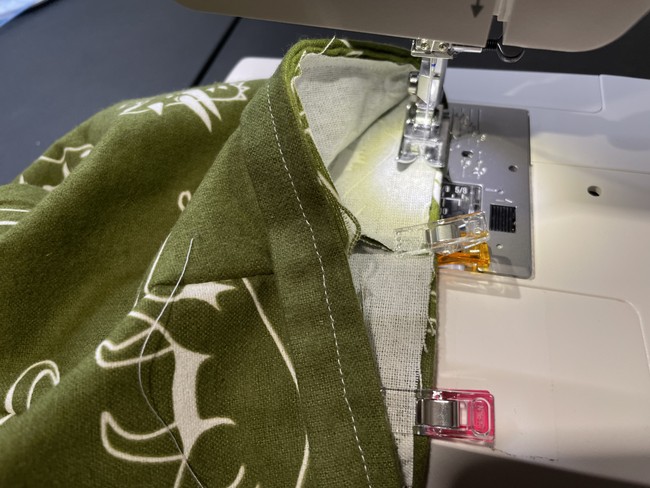
Depending on your sewing machine this step could look different. If your sewing machine is like mine and has a detachable base for sewing sleeves then you will tuck the bag around this arm and sew around.
If your sewing machine doesn’t have this then sew around the raw edges just the same, but be extra careful and make sure the opposite side of the drawstring bag is under where you are stitching. Otherwise you will end up sewing the opening shut.
6. Once you’ve completed this step it’s time to thread your drawstring through. I am using simple yarn for my drawstring.
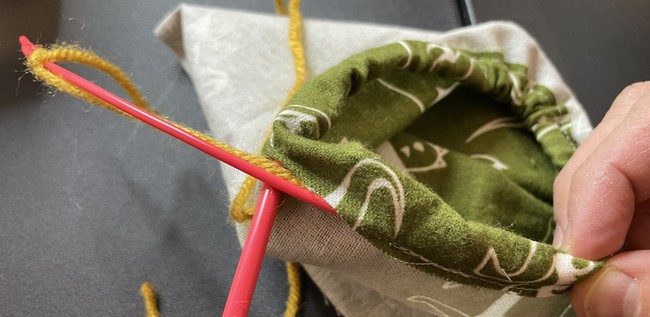
For any kind of casing I like to use a specialized tool for pulling the drawstring through. I like to emphasize that while they can cost more than doing things the traditional way, having a specialized tool can save you a lot of headaches down the line because they make an otherwise tedious process much easier.
So for me, getting this threader, and other things like a bias tape maker, are good investments.
I personally like using a specific tool for this like the EZ Threader: https://www.voguefabricsstore.com/EZ-Threader.html.

Thread the drawstring through per the instructions. Or you can use the safety pin method explained here. A lot of sewing patterns will recommend this method, but honestly I hate this method because it makes me want to pull my hair out.
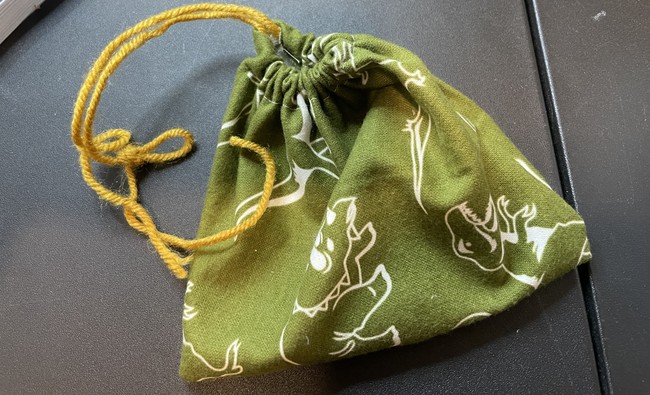
Once you get the other end through, knot up the ends, turn the bag right side out and you’re done!
There are a lot fewer steps than the below method and it’s straightforward: sew the bottom and side, fold down, sew around, flip and run the drawstring. See why I said it’s the easy way?
The Prim and Proper Way:

This method is more drawn out, but will yield a more visually appealing bag. So do what works for you. If you are just beginning with frugal sewing then you can use the first method. If you want to flex your sewing muscles a little more, then you can try this way.
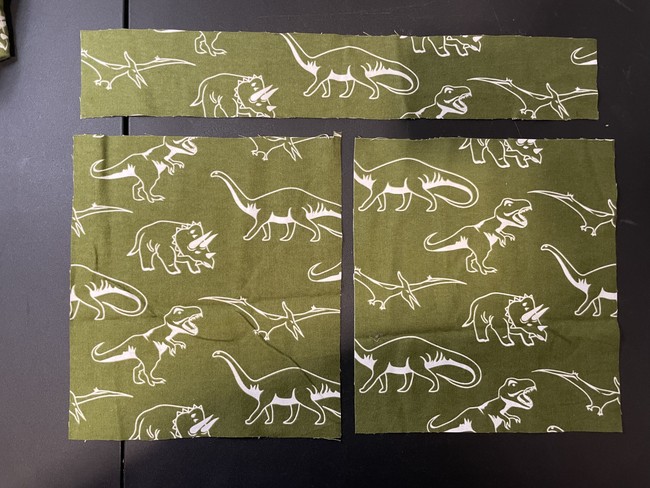
1. Start out by measuring two rectangles, each 9” x 10”. But honestly these can be any size you want as long as both are roughly the same dimensions.

2. Cut out your casing piece. The casing is the little tunnel at the top that the drawstring comes through. Cut out a rectangle 3” x 18”. If you are doing a different size, measure double the width of the panel plus 1” (for sewing the end tabs down 1/2” on each end).
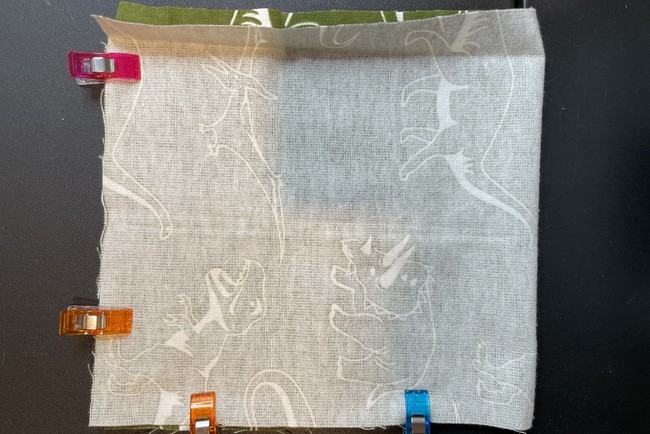
3. Place the two rectangles together right sides facing (You’ll see this annotated on other sewing sites or patterns as “RSF” or “RST”) and sew with a straight stitch and 1/2” seam allowance from one long side, down to one of the short sides then back up along the other long side.
When you get to the corner, leave the needle down, lift up the foot and pivot the fabric around so you don’t lose the stitch line. Leave one short side open. Remember to lock your stitch (also called backstitching) when you start and finish.

4. Turn the bag right sides facing out. Poke out the corners with your finger or a chopstick.

5. Fold the casing piece in half lengthwise wrong sides facing. Then fold each side in again about 1/4”. After that iron so the crease stays stable.
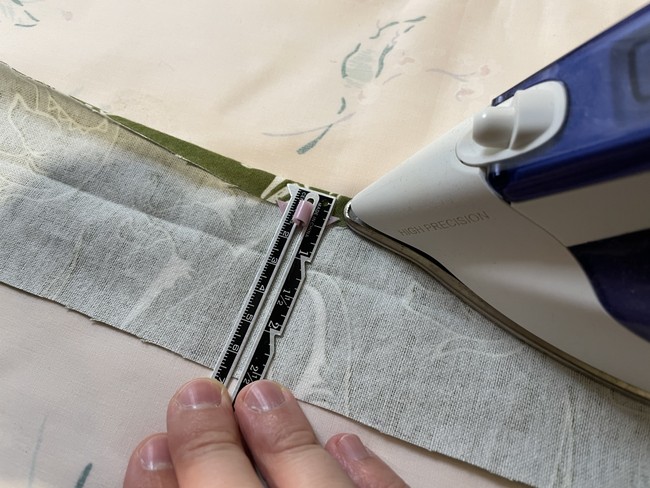
6. Fold the short ends of the casing in about 1/2”. Sew these tabs down.
7. Fold the casing in half and iron.
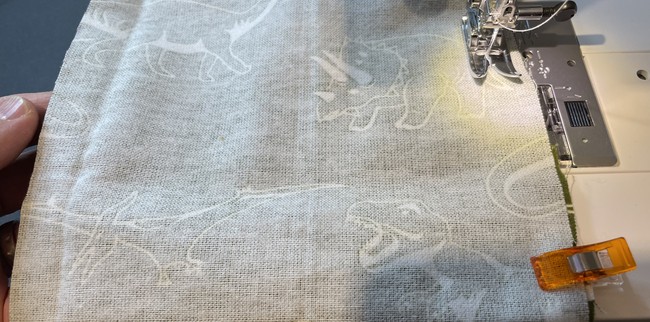
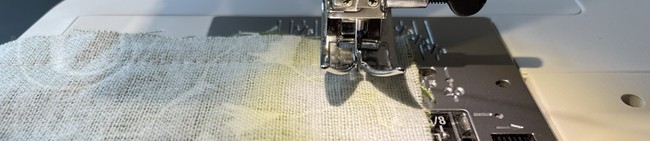
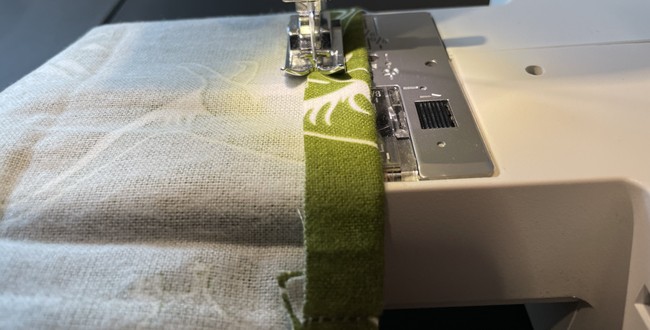
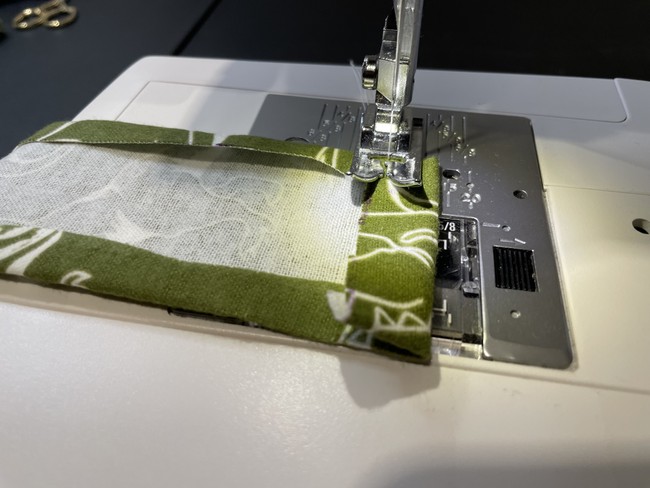
8. Align and pin or clip the hemmed edge of the casing piece to the raw edge of the bag, right sides together.

9. Sew together with a 1/8” seam allowance.
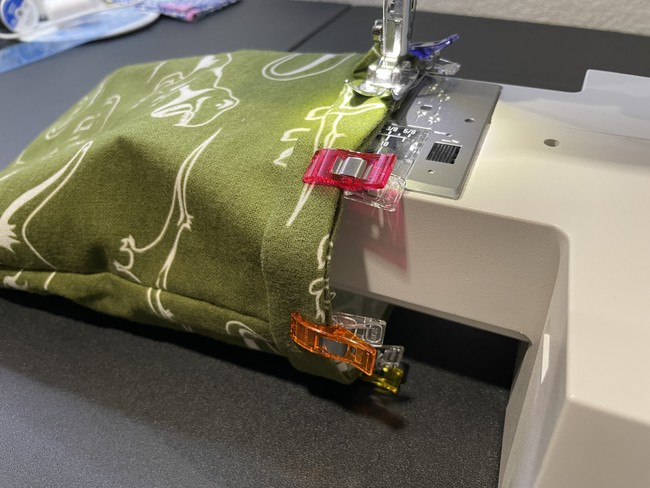
The steps for sewing the casing on are the same as the easy version above. Most sewing machines you can remove the base so there’s only a smaller section that you can fit a sleeve around to make it easier to sew around like in this case. If you do it that way, sew from the outside. The other way is you can just sew on the inside around. But be careful and make sure you keep the fabric taught and don’t sew over the other side. Start at one mouth of the casing and sew around to the other opening. When you get to the seams for the side of the bag, fold them down and sew over them. This will make them more flat against the bag. Again, remember to lock your stitch at both ends.

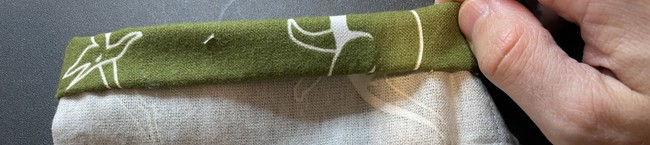
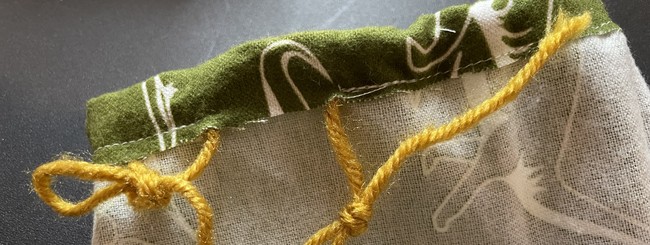
10. Fold the casing piece back up and iron. You should now have a loop around the top of the bag with the raw edges of the tabs you just sewed down facing inside the bag. This is where your drawstring will go. Below is what it will look Iike with a drawstring if you make the drawstring yourself.
11. At this point you have two options. One of you have rope or a drawstring then you can just feed it through and you’re done.

Your other option is to sew your own drawstring. If you want to do that then measure out a 2” x 15” rectangle using scrap fabric. Fold it in half lengthwise, wrong sides together and iron flat. Sew the two sides together using a straight stitch. Again, let the feed dogs do the work. Don’t pull it through. You can sew the short ends closed as well.

Next you’ll need to pull the drawstring through the casing. This part can be tricky and take a while depending on how you do it.
Most tutorials will tell you to use a safety pin. Like you pin one end and pull that through the casing. I personally like using a specific tool for this like the EZ Threader: https://www.voguefabricsstore.com/EZ-Threader.html. I’ve never liked the safety pin method. This can often be the most tiring part of the project depending on how narrow the hole is.

When you get it all the way through, knot both ends so they don’t get pulled back in.
And you’re done!
What to make next
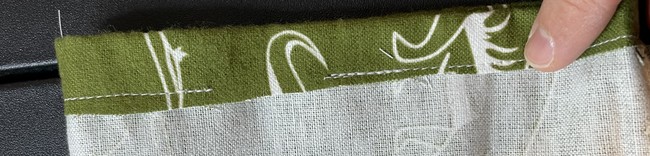
If you want to do the extra credit project try to sew a top stitch just under your stitch for the casing. This will help strengthen it and secure the seam.
Leave a Reply