

These are great to make for backups at home, for travel and anywhere you need to dry things on the fly.
I never really used drying mats until I got married. When I was single I would either leave dishes in the dishwasher, or if I needed to dry something on the counter I would use my one dish towel that also doubled as my bath towel.
But after getting married I was introduced to the finer things in home and hearth, the Joanna Gaines-ification of the home if you will. I no longer used soap that also doubled as shampoo.
Having a baby further introduced even more new necessities into the kitchen: bottle brushes, bottle and pacifier steamer and drying mats for all of the bottles I was washing every day.
Having a baby I’ve found seems in a way like being a NASA engineer: consider contingencies and always have backups (then have backups of your backups). Backup onesie, backup diapers, and multiple drying mats because one is always in the wash. Then if you go on a trip, make sure you have a drying mat for your hotel room. Have something to dry washed fruit on.
That said, it comes in very handy to know how and be able to whip up new drying mats on your own. And if you sew it yourself, you can save a bundle and avoid constant Amazon orders. Plus you can control the inputs and make sure the fabric you are using to sew the drying mat is clean and safe. It can be cheaper, empowering and bring you peace of mind to make your own drying mats to have on hand when necessary.
Here are the materials you will need:
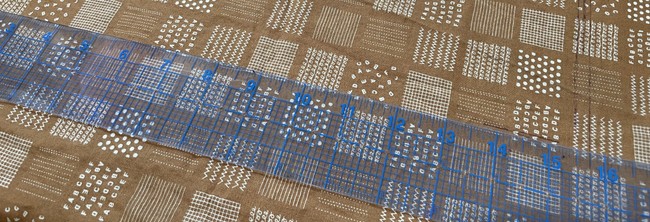
- 1/2 yard cotton fabric cut into 16 x 18” (but honestly you can make this any dimension you want as long as the cotton and terry dimensions match)
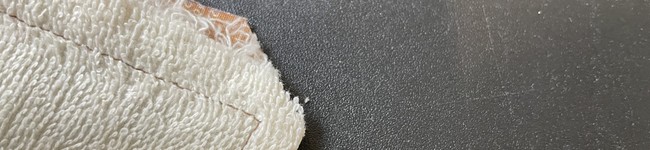
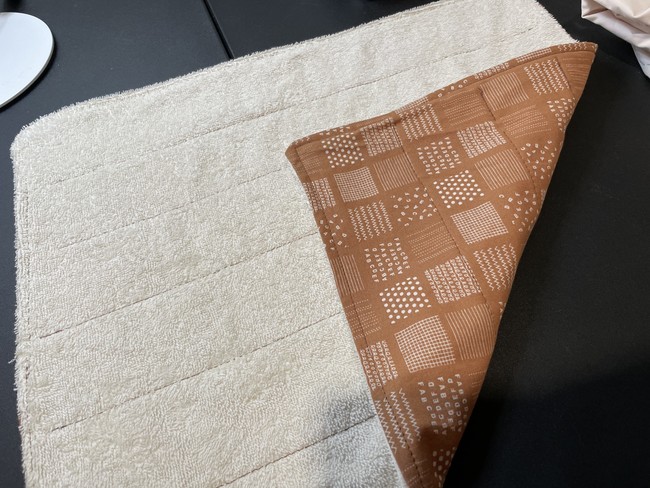
- 1/2 yard of terry cloth (like a towel), also 16 x 18”. You can get this from the fabric store or use an old towel (but not too old!)
- Scissors
- Thread
- Sewing machine
The process for making the drying mat is pretty straightforward. As a reminder, always pre-wash your fabric before sewing, especially cotton since it tends to shrink after washing. If you wash it after sewing it can end up looking wonky.
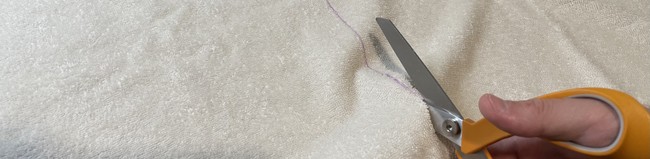
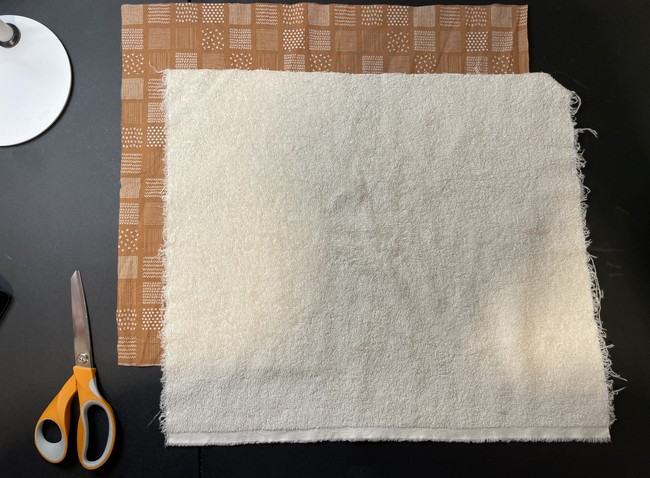
- Measure and cut out your fabric pieces in the following dimensions: 16 x 18”.
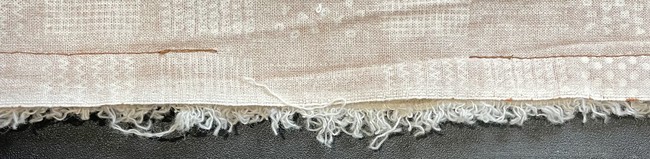
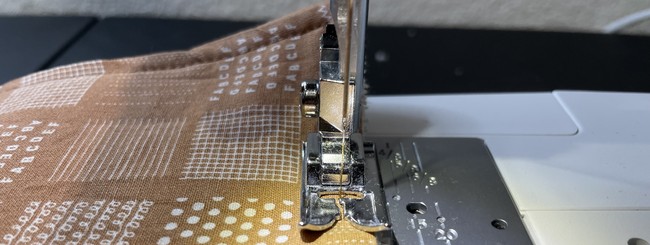
2. Place the two pieces right side together (RST) and sew around with a 5/8” seam allowance.
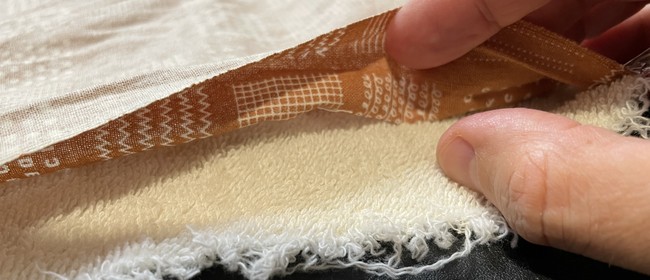
Be sure here to leave a small gap to turn the mat right side out. Remember to lock your stitch at the beginning and end of the stitch.
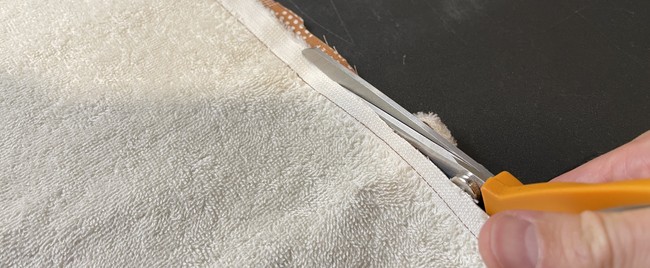
3. Trim the seams and clip the corners. This reduces the bulk when you turn it out.
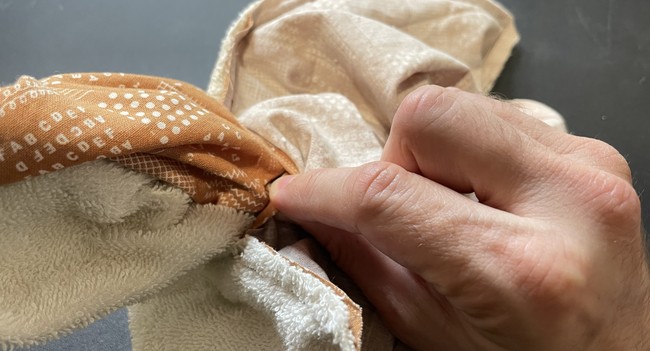
4. Turn the mat right side out by pulling the fabric though the opening you left in the previous step.
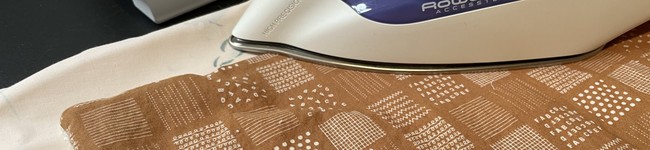
5. Iron everything down. Make the edges nice and flat. Try to keep the cotton and terry edges even since you will sew down the edges with a top stitch next.
6. Tuck in the edges from the gap that you left open in step 3 and iron this down. This makes it easier to sew the opening closed when you do the top stitch in the next step.
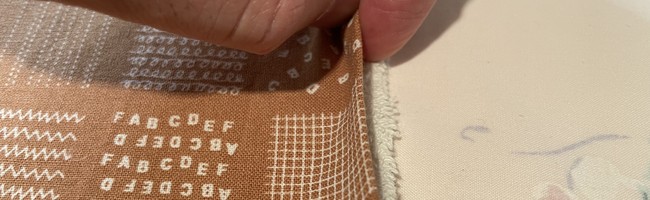
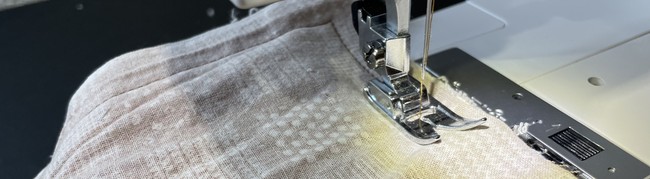
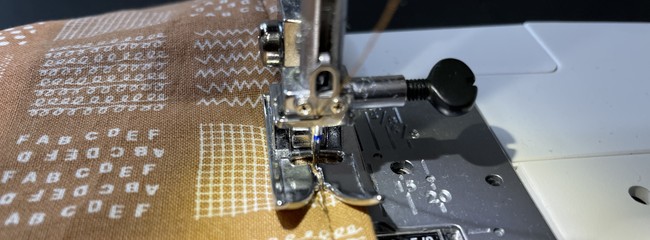
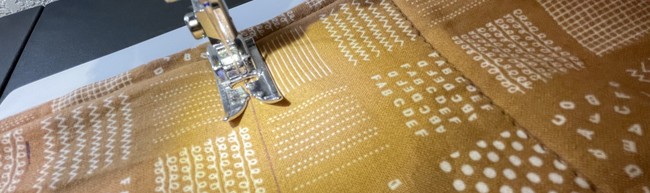
6. Sew a top stitch around the edges.
A top stitch is a stitch done around the edges on the right side of the fabric. It’s used mostly for decorative and functional reasons like securing layers together, reinforcing seams, or creating a clean, finished look. Top stitching can be done with matching or contrasting thread to achieve different visual effects. In the case of the drying mat, the top stitch makes it more flat and keeps the layers from sliding around.
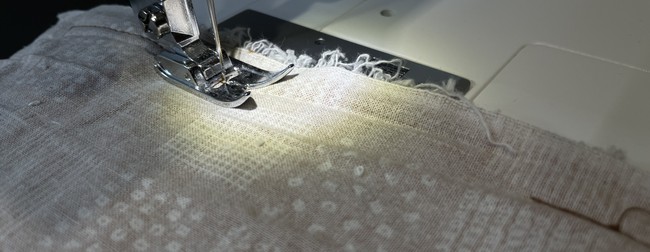
Make it about 1/4” from the edge. Use this stitch to close the gap you left to turn the mat right side out. Tuck the edges of the hole in, then clip or steadily pinch as you sew it down with a straight stitch all around.
7. Don’t forget to back stitch at the beginning and end.
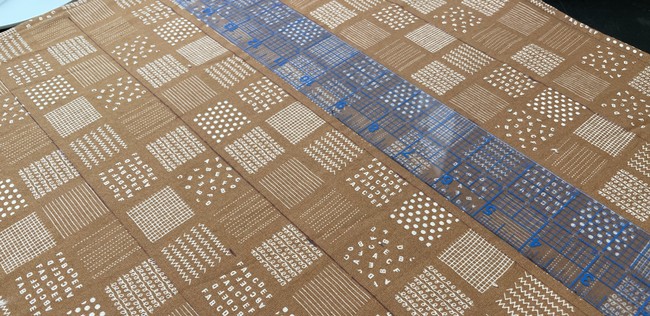
6. For the next steps you are going to quilt the two sides. This helps to keep the layers together and strengthens the integrity of the mat. Measure and mark out lines longwise about 2” apart.
These are like a mini quilt so very easy to make. Drying mats that you can sew yourself also come in handy for other, non-baby situations like camping or traveling. They also make a good gift for other parents, or just handy crafts in general.
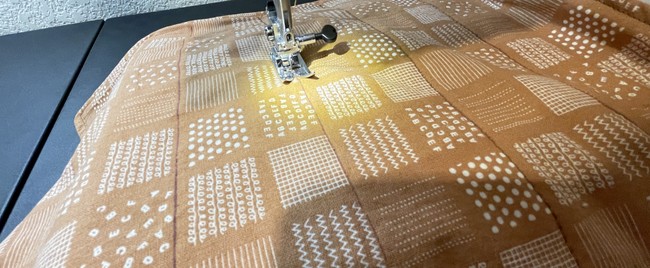
7. Quilt these lines using the longest stitch length (for me this is a 4). If you’re feeling lazy you can try to omit the quilting. This is more so the two sides don’t misalign and it gets warped. It helps it to last longer as well.
What to make next
8. You’re done! Set it out, dry some bottles, then use them, then wash them again, and again until you can finally get some sleep.
Leave a Reply