

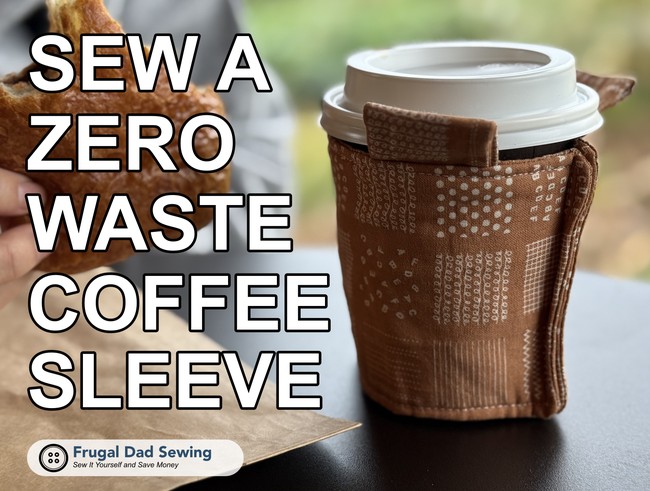
Show your kids how to be zero-waste by sewing an easy reusable coffee cup sleeve.
Coffee Cup Sleeve Background
This week I wanted to focus on how to sew my own reusable coffee cup sleeve that will fit a 12oz or 16oz coffee cup.
I have a couple reasons for working on this project. One is that I often will get a grab and go coffee from the coffee shop in the morning on days where I drop my daughter off at school. This is like my reward coffee rather than making it at home. But in my haste of picking up the coffee I always forget to get the little cardboard sleeve that goes around the cup and my hands get hot. I don’t remember the little sleeve until I get back to my car, so by then it’s too late.
The Environmental Consideration
The other reason is that I feel like using this sleeve the once just so that my fingers don’t get hot and then throwing it away when I’m done seems wasteful. Provided I can recycle them most of the time, it still seems more sustainable to make a reusable sleeve that I can use to keep my fingers cool. It’s a zero waste solution that I can sew myself. This has the added benefit of using sewing to be environmentally sustainable and demonstrate zero waste to my kids.
Benefits of teaching sustainability
I feel like when I was a kid “reduce-reuse-recycle” was a popular buzzword. But these days I hear that a lot less. Tik Tok videos of shopping hauls and subscription clothing services. Sustainability has its fans these days but there is a lot of noise singing the praises of over consumption. So with my kids I want to make a daily demonstration of being eco conscious and sustainable. And so a big part is showing them how to sew and create reusable items like this coffee sleeve. If we want our kids learn to do the right thing it’s all about showing and not telling right?
How I Designed the Pattern for the Reusable Coffee Sleeve Myself
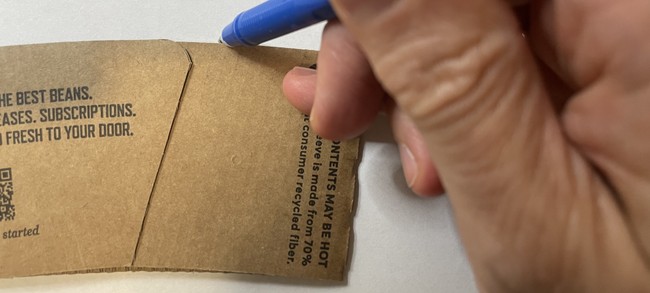
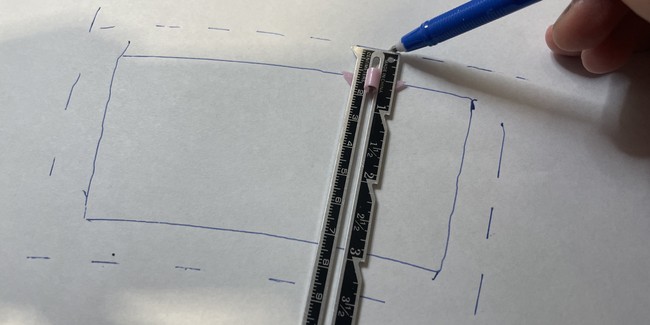
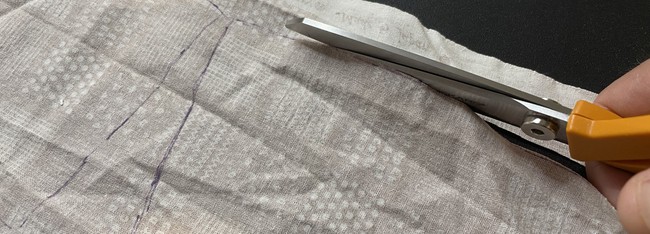
I actually made the sewing pattern for this coffee sleeve by copying a disposable sleeve from the coffee shop. After I got my coffee I took it and traced it out on paper and used my trusty seam gauge to add in a 1/2″ seam allowance. I also made the top part longer to give more surface area to hold onto when the reusable fabric sleeve is around the coffee cup.
This is also a low risk, easy practice sewing project that you can do for building your sewing muscles.
Construction and materials to sew the coffee cup sleeve
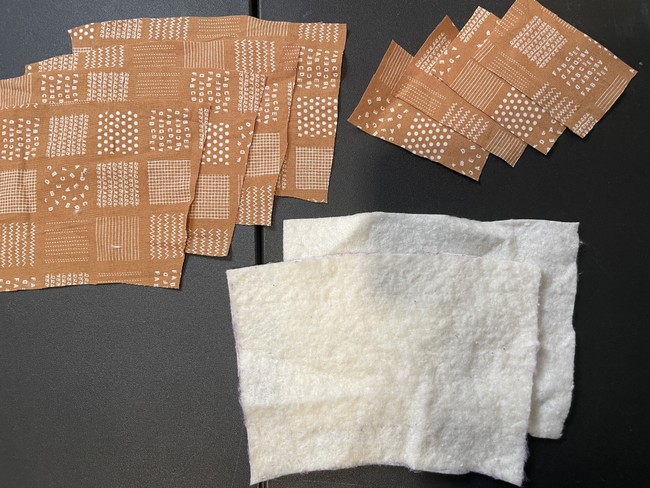
I am using two layers of cotton fabric and cotton batting. I am actually using leftover cotton batting from the baby blanket tutorial and cotton fabric from the bottle drying mat tutorial.
You will need 1/4 yard of cotton fabric and for the batting use the equivalent of two of the sleeve pattern shapes. It is not that much batting in total, so you can use two or three layers of excess fabric that you may have.
The process of how to sew it together is also similar to the baby blanket sewing tutorial here. I’m going to layer the two cotton sides right side facing (RSF) and put the cotton batting on top. Then sew around, leave a gap and turn it right side out. The batting provides some further insulation from the heat of the coffee.
I am also sewing a small handle into the coffee sleeve in case I need to hook the sleeve onto something. I’m sewing the handle tab to the top so it doesn’t get in the way when holding.
Detailed Steps for How to Sew the Reusable Coffee Sleeve
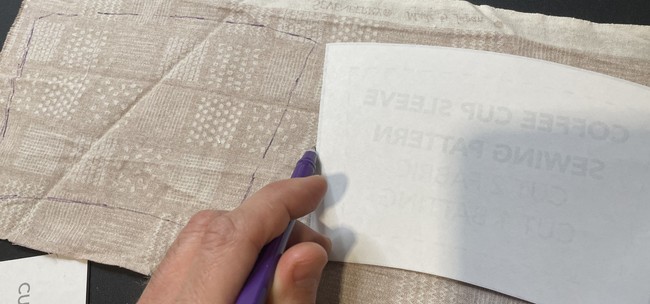
- First start by printing out the pattern here.
Then trace it onto your cotton pieces and batting. If you are using a printed pattern fabric (and not a solid color), be sure to flip the pattern and reverse it for the other side. Altogether, you will have four pieces of cotton and two pieces of batting.
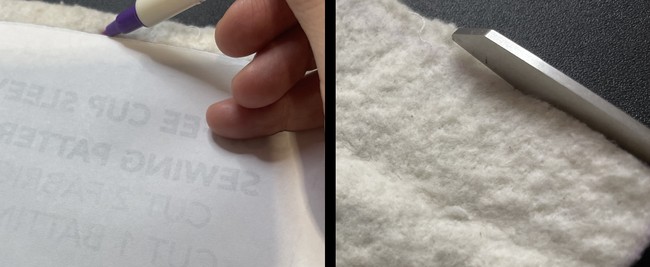
2. After that, cut out the pieces for the handle.
3. Prepare the handle for the reusable coffee cup sleeve. Place the two tabs together right sides facing. Starting at the end of one of the long sides, stitch around three sides (long, short, long) leaving the other short end open.
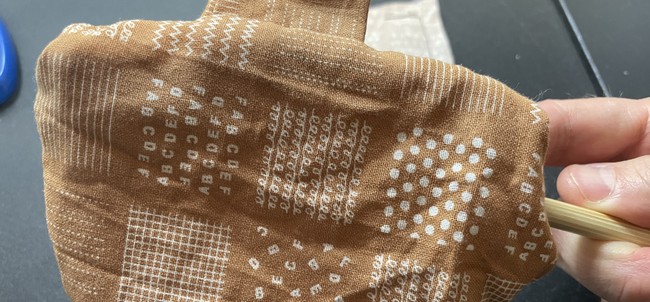
4. Next flip the tab right side out by pulling it through the open end.
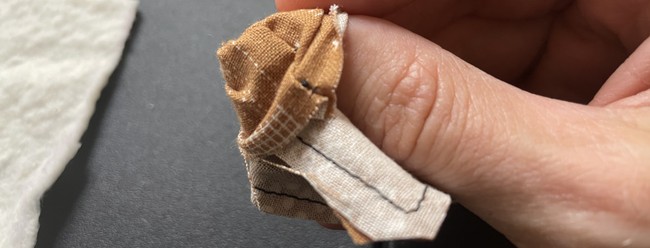
Iron it down when you’re done. I find that using something like a chopstick can help to poke the other side out in this step.


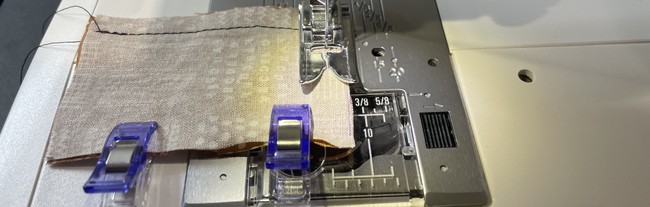
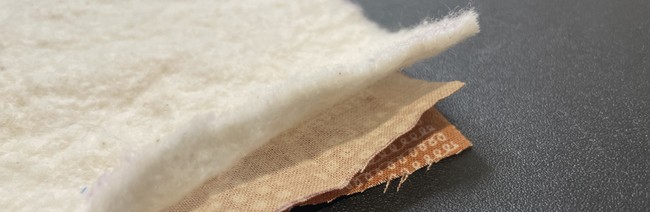
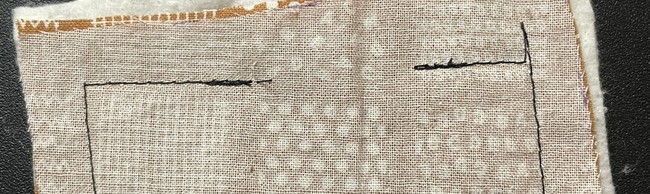
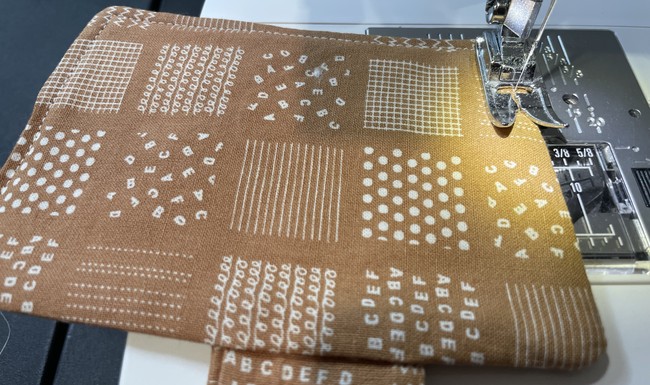
5. Lay the pieces for the main coffee sleeve together in this order: cotton fabric side one right side up, cotton fabric right side down, cotton batting on top.
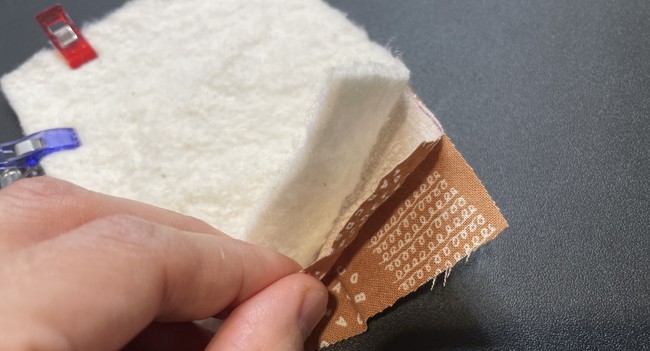
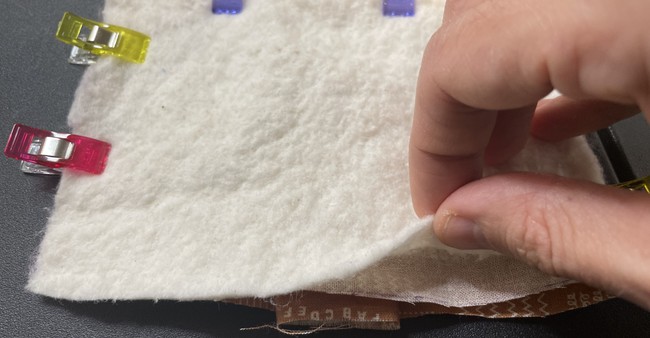
6. On the top in the center, fold the tab in half and slide it in between the two cotton fabric pieces. The tab is inside the layers here (it will be on the outside when you turn the sleeve). The raw edge of the tab should be aligned with the raw edge of the sleeve body. Clip everything together.

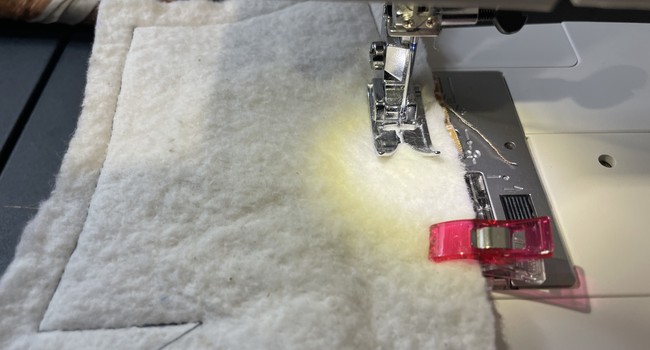
7. Starting on the side, stitch these layers together using a straight stitch and a 1/2” seam allowance. Leave about a 2” gap at the end for turning.
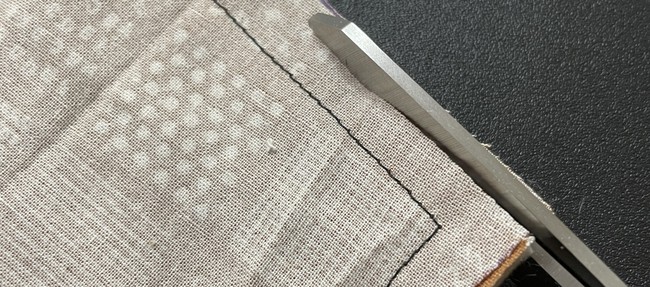
8. Turn the sleeve body right side out and iron it down flat.

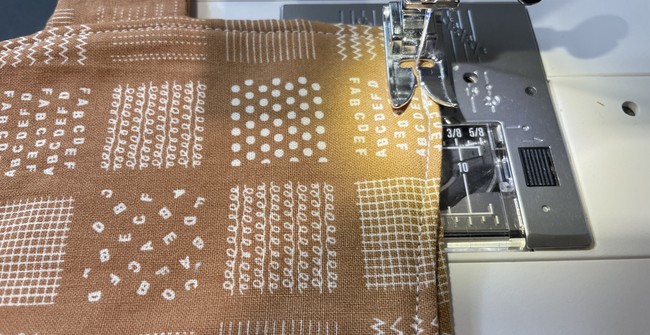
9. Tuck in the edges of your open gap on the main body. Stitch a top stitch around the body with a 1/8” seam allowance. This will seal up the gap as well.
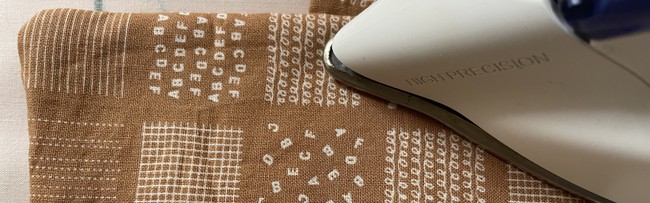
10. Iron everything flat.
11. Repeat this process for the other coffee cup sleeve side.

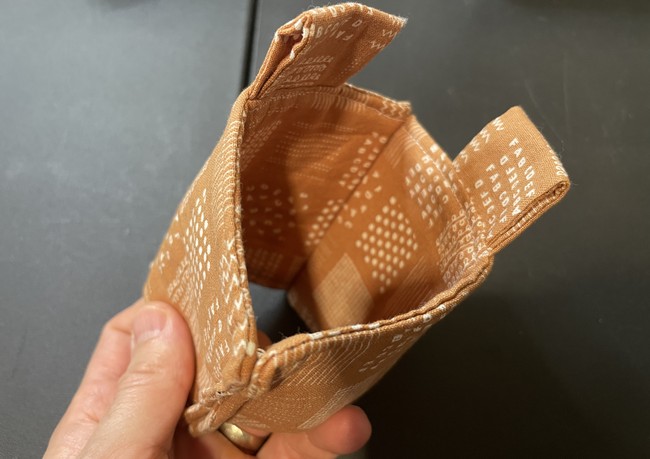
12. Once you have the two sleeves ready, sew them together with a 1/4” seam allowance.
13. At this point you’re all done. Go get a cup of joe and try it out.
Summing it all up
What to make next
The best part of this is that you can sew up multiple copies of this and have backups. You can have backup stitched coffee cup sleeves in your car, one in your work backpack and one at home. I don’t encourage small kids drinking coffee. But this could just as easily be used as a hot cocoa sleeve as well.
Leave a Reply