

What better way to express your love for your child than by sewing them the quintessential baby blanket for you and them to cherish?
Before my daughter was born I decided to make her a baby blanket. This wasn’t like a full sized quilt. It was baby sized, made out of flannel and Sherpa fleece so it was nice and soft. It had three different block pattens on it. I embroidered her name on it, which wasn’t that legible since I was just learning to embroider at the time. We used it, and still do, as a blanket for her in the car seat when it gets cold. Plus it’s something that we can cherish as she gets older and she can potentially cherish as an adult.
A baby blanket is a great, low stress, project for new dads learning to sew. It’s straightforward, with easy straight line stitches and is good to practice quilting and working with fabrics.
Making a baby blanket also makes a nice hand made gift for other dads. To me this kind of gift is something that has been lost in the modern gifting culture of new parents. It shows your support for your friends and a mindfully crafted gift to welcome them to the insanity and rewards of parenting.
The baby quilt is made up of three layers like a sandwich: the top, bottom and batting. “Batting” is a common component of quilts. It adds extra insulation and “loft” to make it more soft and fluffy. If you go to the sewing store you’ll see a lot of different types of batting with different levels of loft. In terms of beginner sewing it’s not too important to get into the weeds of quilt batting. You can get pre-cut packaged batting or get it by the yard. For this blanket I’m using a 100% cotton batting with a minimal loft.
I base the dimensions of the quilt on the dimensions of the pre-cut batting.
As always, it’s important to pre-wash the fabric before sewing so it doesn’t get warped. But DO NOT pre wash the batting or it will disintegrate in the washer. Trust me on this because it is a pain to clean up. Don’t wash it until it’s safely inside the quilt. For this project I recommend flannel. Flannel is easy to work with, it’s nice and soft and you can find a lot of cute patterns at the store in the flannel or nursery fabrics section.
Supplies:
- 1 yard flannel (Side A)
- 1 yard contrasting flannel (Side B)
- Cotton batting
- Sewing machine and thread
- Scissors
How to sew the baby blanket:
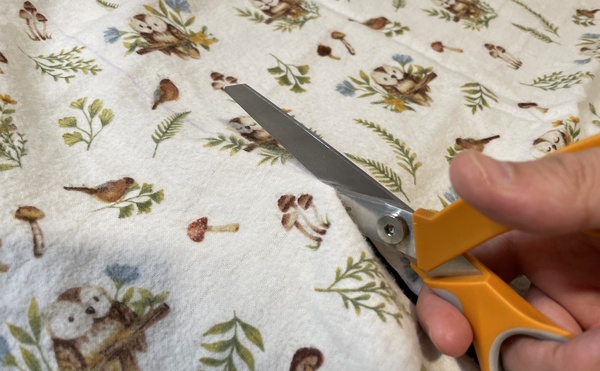
- Cut out your fabric. The dimensions I am using are 36″ x 36″, which is one square yard. You can do any dimension here too. It can be annoying that the batting dimensions often do not match up well with the fabric dimensions, so you will likely have some excess.
2. Iron out any creases in the fabric.

3. Layer the fabrics in the following order. This is important so you don’t end up with the batting on the outside of the blanket.
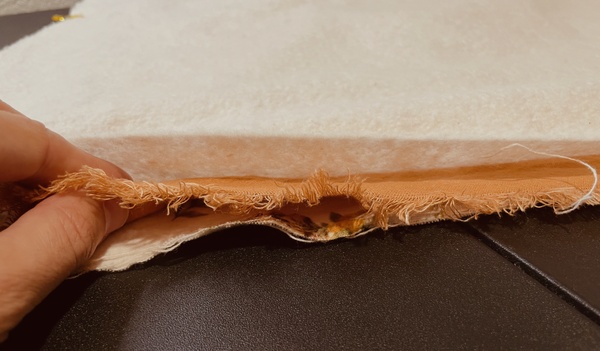
Layer Side A on top of Side B with right sides facing. Layer batting on top of Side B (the batting should be touching the wrong side of Side B. Don’t worry too much about lining up the layers perfectly since you can trim the seam allowances before you turn it.
This order is important because after you sew the layers together you will turn it inside out. The batting is on the outside here so that when you turn it it will be on the inside.
4. Clip/pin and sew around the edges with a 5/8” seam allowance.
Try to line the seam up with the fabric closest to the needle. You can even this out when you clip the seam allowances next.
Don’t get too caught up in matching up the seam allowances perfectly here. It will look great regardless because you made it.
When you get to the corner, leave the needle in, lift up the foot and pivot the fabric around the needle. This way you don’t lose your position. The blanket can get kind of unwieldy while you’re sewing so remember to take your time. I’ve found it can help keep the seams even if you hold up the back while you’re sewing so the feed dogs don’t have to pull it up.
Leave a 3” gap at the end to use for turning the fabric. Remember to backstitch at each end.

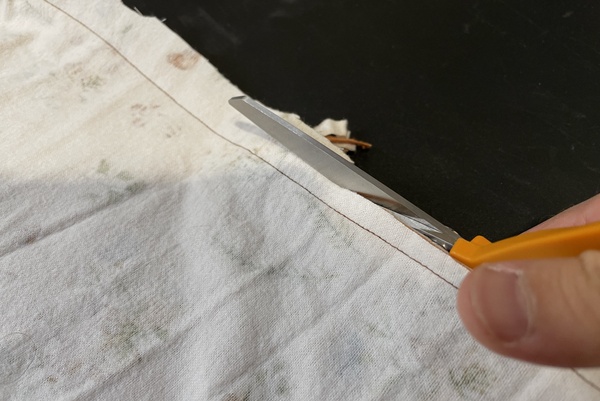
Trim the seams around the sides. This helps to reduce the bulk. Be sure not to cut into your seam.
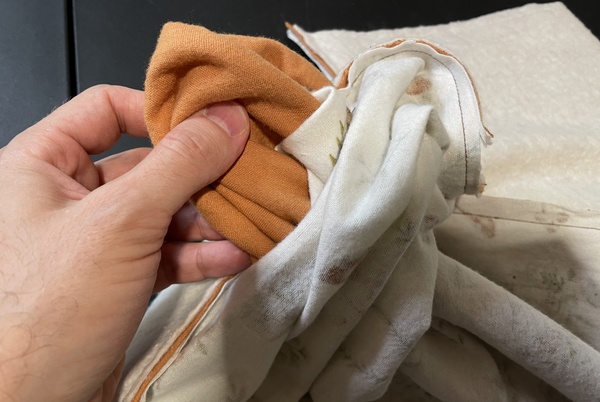
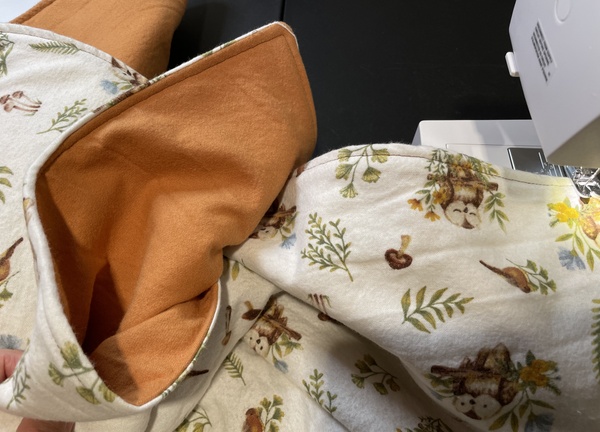
- Turn the blanket right side out. Take this part nice and slow too. It’s like putting a blanket inside a duvet cover. (And I say, contrary to what Tyler Durden said, it’s okay for men to know what a duvet is).
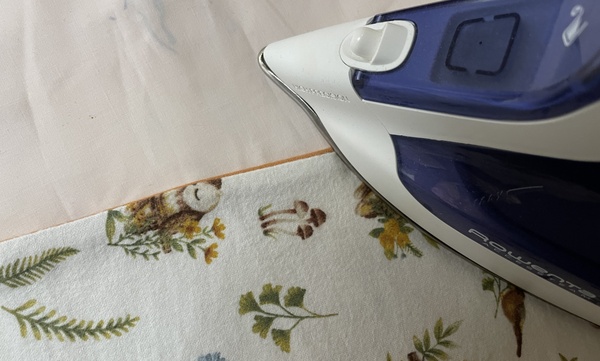
- Here it helps to iron down the sides and get them nice and crisp for the next step. Also try to tuck in the edges from the opening down. This will make it easier to stitch shut in the next step.
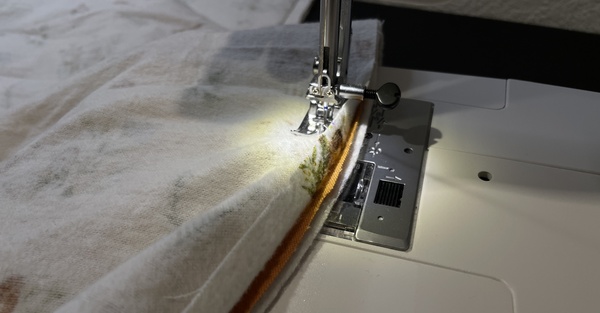
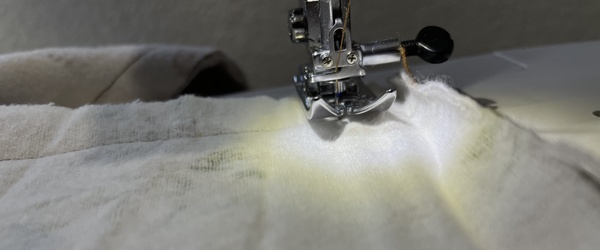
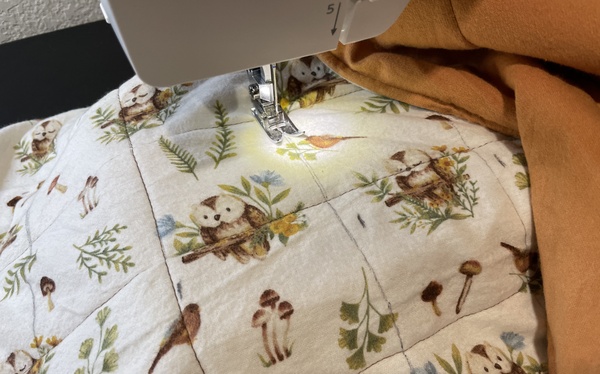
6. Once it’s ironed down, do a top stitch along the edges about 1/4” from the edge. You will also use this to sew up the opening you left for turning.

To find the seam distance, here I like to use a shortcut where I find a spot on the sewing machine foot that is about the same distance and line up the fabric based on that point. For my machine the 1/4” seam lines up with the slight groove on the inside of the foot. You can see it in the above photo where the edge of the white fabric lines up with the groove.
The top stitch gives the blanket a nice polished look.
If you want it to look even more polished you can do a ladder stitch (also known as a slipstitch) by hand on the opening before you do the top stitch. Here is a good overview of how to do a slip stitch: How to Sew a Slip Stitch (Ladder Stitch)
7. Next is the quilting along the top. The quilting secures the batting and keeps it from disintegrating inside the blanket with use. The distance here between stitches can be what you want it to be but the recommended minimum distance is around 2-3” based on the type of batting.
For more details, see this overview: Quilt Battings by Stitch Distances – A Resource – Photo Quilt Blocks Blog
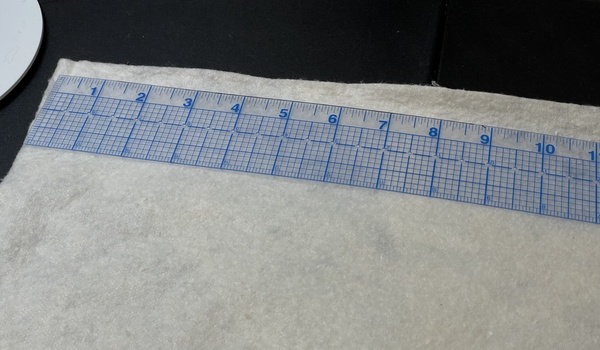
8. Measure this out and mark in the fabric before sewing so you can follow it when you stitch. A useful piece of equipment in this case is a quilting ruler. It will help you line up the lines and edges. But is not necessary.
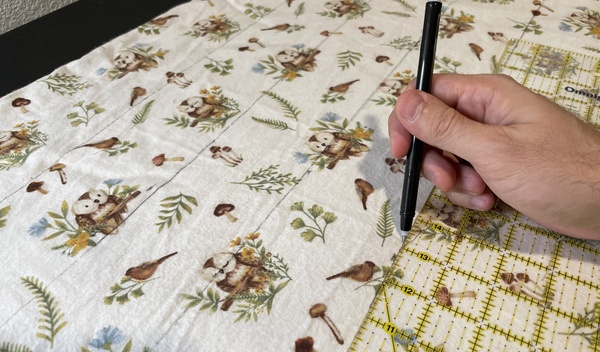
Note that the pen I am using is a heat erasable pen (so it goes away when it is ironed), not a regular pen.
Stitch along the lines you traced. Use the longest stitch length (the same length as your basting stitch). For me this is 4. Pivot the same way you did above with the corners. Try to keep the fabric flat here to avoid any pockets between the quilt stitches. As always take it slow here. This is probably the easiest, but also most time consuming part of the project.
If you want to be extra fancy you can go in the other direction and make a checkered pattern.
Once you get to the other end lock your stitch and you’re done! Take a moment to be proud of your accomplishment. I have not only made baby blankets for my daughter, but have also made ones for my other friends who recently became dads. The blanket in this tutorial was used a gift for a friend who recently became a dad.
Use it in the car seat. Use it for tummy time. When your kid’s daycare requests a blanket to use for nap time you can spin one up over the weekend and take it in on Monday.
Leave a Reply