

Why Sew Your Own DIY Tummy Time Picture Folio
The wild thing I learned before my daughter was born is that babies can’t really see anything after they’re born. They can only make out big blobs and shapes. So when she was born we bought a bunch of those newborn high contrast image boards with black and white images of dogs and cats that look like ink blot tests.
We got them as part of these newborn tummy time-slash-education packs with holders for the cards. When I looked at the holders for these I realized that they were a pretty straightforward construction with a simple design, which if sewing yourself, could be done for a lot less. So this post I’m going to go over how to make a similar high contrast image holder that you can use with your baby for tummy time play.
Save Money and Sew the Tummy Time Folio Yourself
This can be a good intro sewing project to making something for your kid that you can start to share with them and enrich their lives as they get older. It’s also a good introduction to sewing with clear vinyl, using interfacing for padding as well as using bias tape. On the surface this may look like a hard sewing project, but it’s actually pretty straightforward and can be done like always by taking it slow and in steps.
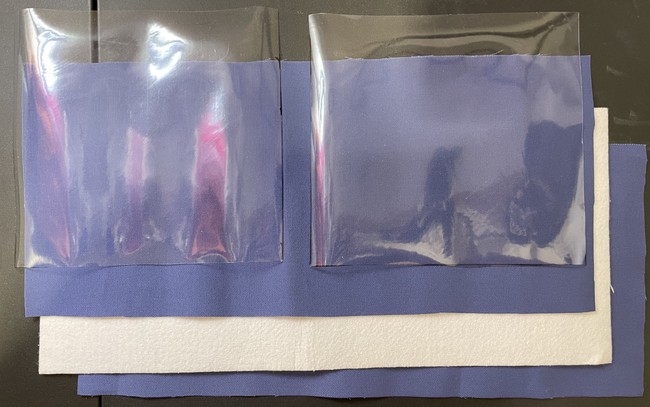
The construction here is simple. There are three layers: canvas, padding, and vinyl. Instead of turning the fabric at the end like in the other new dad sewing projects, you’re going to seal up the edges using bias.
The key sewing skills this project tutorial will cover
- Sewing with bias
- Sewing with vinyl
- Sewing with interfacing
You can insert all kinds of images to keep your kiddo entertained: high contrast images when they’re a newborn and other pictures when they’re older. My daughter loves to look at a photo album we have with photos of her as a baby.
Materials to Sew the Tummy Time Picture Frame
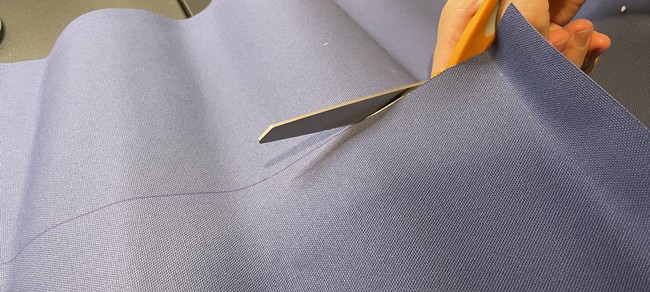
- 1/2 yard cotton canvas cut into two pieces. For this project I am using duck canvas fabric.
- 1/2 yard interface padding that will be sandwiched into the folio (The specific type of interfacing I am using for this project is Peltex 70 – Ultra Firm Sew In). This will give it some firmness and body.
- Clear vinyl (in terms of gauge, go with something thinner like 16 or 20 gauge vinyl).
- 1/2” double fold bias tape. You will need about 60″ in total. You can use store-bought bias tape or make your own.
Below are the steps to make the tummy time folio
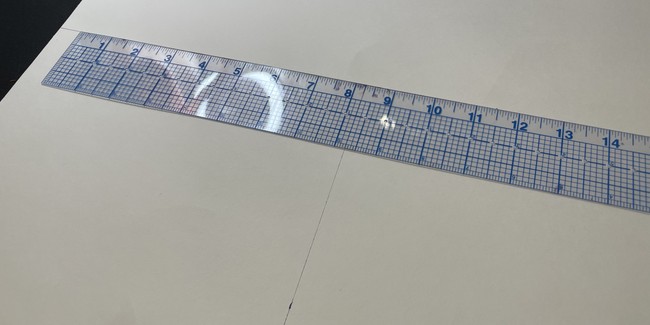
1. Measure and cut out your pieces. The size will be based on a letter sized piece of paper folded short-wise.
I am calculating the width and height of the main body panel by extending the length and width about 1/2” for the edges and some slack to fit in the printouts (you will be using bias so don’t have to worry about seam allowance on this one). So the width will be 9” and the height will be 6”. Double this and your total width will be 18”, and the height will still be 9” (leaving a gap to be able to fit the paper in.
The idea here is so that you can print something off and stick it in the pockets. The folio will fold in half and there will be two pockets on each side. The openings of the pockets will be on the inside toward the fold.
I think it helps if you cut out a main pattern piece for the body panel using poster board or cardboard. This makes it easier to mark and cut out the three pieces.
You will end up sewing two pieces of canvas and one piece of interfacing, all 18″ x 9″. The interfacing will be sandwiched between the two pieces of canvas.

A word about interfacing:
Interfacing is a type of material used in sewing to add stiffness, support and shape to clothes or other crafts. You will see it used mostly in collars, cuffs, buttonholes, reinforcement for snaps on bags and very often in handbags to give the bag more stiffness and structure. There are two types of interfacing: fusible, which bonds to the fabric with heat (like from an iron) and sew-in, which requires sewing onto the fabric. Interfacing ranges from lightweight to heavy. From soft to very stiff. The most ubiquitous brand of interfacing you will see in craft/sewing stores like Joanns is Pellon, which you can identify by its pink and yellow fabric bolts.
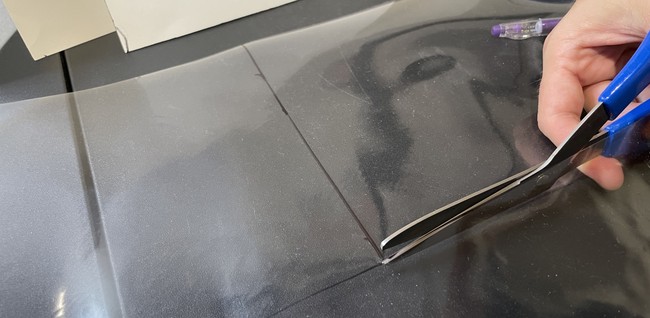
Preparing the Vinyl
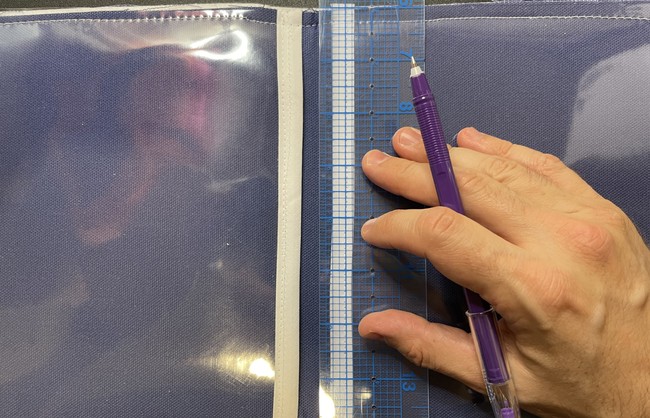
2. For the vinyl pieces, cut two pieces that are 8 3/4” wide x 9” high. These are slightly shorter than half the width of the other layers. This is so that there is enough space to slide the prints in from the middle of the folio. In other words, the vinyl panels do not go all the way to the middle fold of the folio after you sew it. There is some space where the fold is.
3. Sew a row of row of bias on the right side of vinyl piece 1 and on the left side of vinyl piece 2.
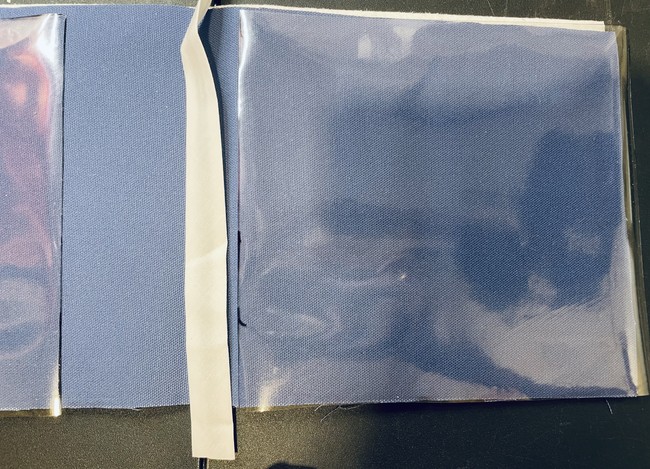
Double check that the edges match up on either side so that the stitch doesn’t drift off the edge when you sew. Cut off the extra at the ends. The ends don’t need to be finished. This is because it will be covered by the bias on the outside.
A Note on Bias Sewing
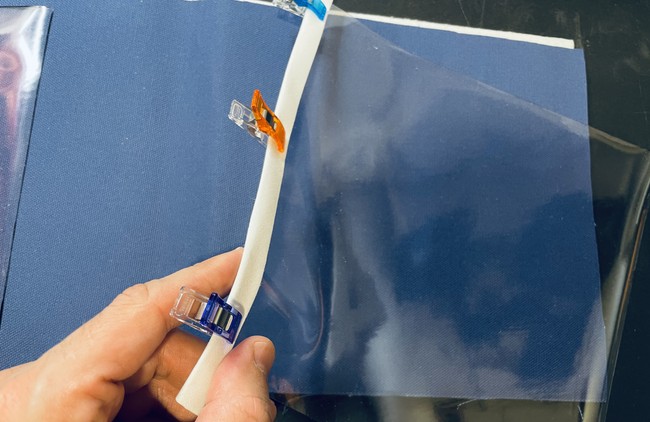
For this part I am doing the quick and dirty method for sewing bias down: place the middle fold of the bias tape directly on the edge and clip down. Then making sure the outside edges are folded in, sew directly on. For a more detailed overview of what I call the prim-and-proper way of sewing bias down, see this post: Sew a Kids Bath Towel.
The downside of the quick and dirty bias sewing method is of course that you run the risk of sewing outside the edge of the bias on the opposite side since you can’t see it. So that being said, just take it nice and slow and be mindful of where the edge of the bias is on both sides while you’re sewing.
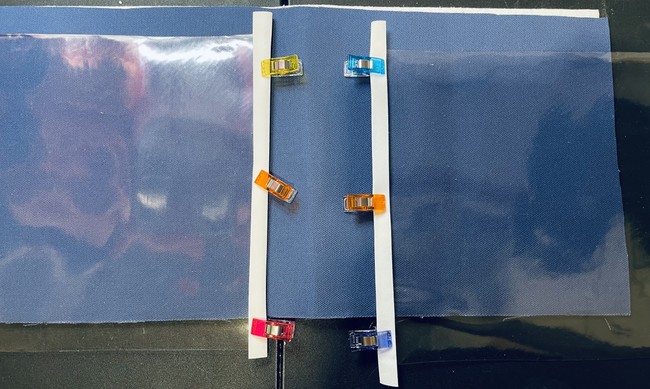

4. Sandwich the padding between the two pieces of canvas.
5. Stack the two vinyl pieces on top of the other layers with the raw edges of all layers lining up. Clip them together.
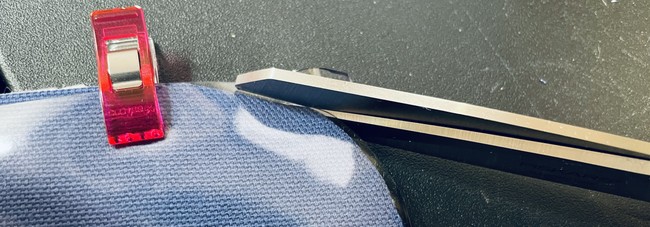
7. After that, cut out the corners so they are rounded. This way you can apply and sew the bias tape more easily along the edges.
8. Following that, baste all around with a 1/4” seam allowance.


9. Trim the seam allowance a little bit to even it out. Make sure here that the edges of each side line up when you fold it in half. This way you don’t end up having one side that’s longer than the other when you fold it in half.
Completing the Outside Border
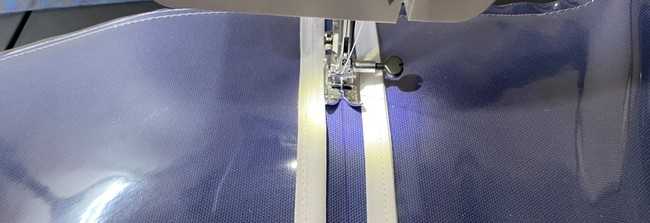
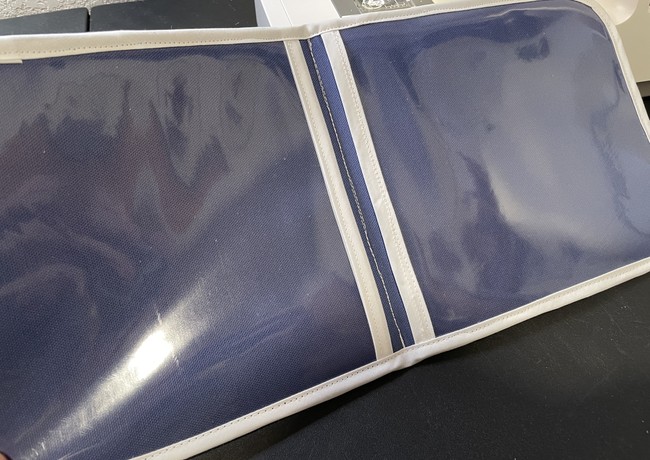
10. The next step is to fold the tummy time folio in half, mark the middle point and draw a line down the middle.

Then do a straight stitch here with a long stitch length. This will help the folio hinge and fold more easily.
11. Starting at the lower left corner pin or clip the bias tape to the edges. This is also using the quick and dirty method, so just take this gradually and make sure the bias is butted up against the fabric as you pass it under the sewing foot.


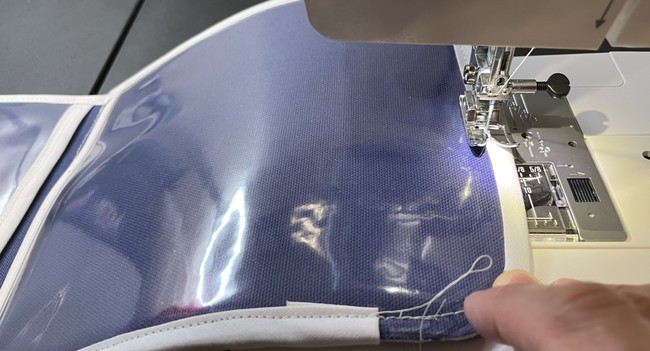
12. Sew all the way around and stitch the bias to the raw edges. You can see now that all of the layers are sealed inside the bias that you are sewing onto the edges.
Tuck the ending of the bias down at the ends so the edges look more finished and don’t poke out.
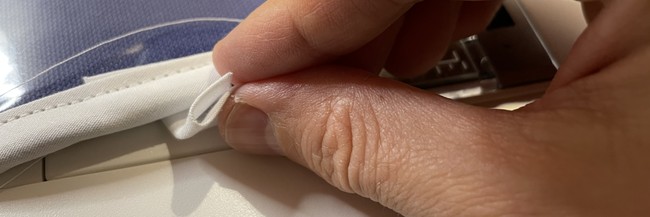
13. And that’s basically it.
Bringing it All Together
You can go look up some high contrast images on the internet, print them out and put them in the holder. Or print out animal photos, diagrams, photos of people, whatever. The possibilities are endless.
This is a great project to do to practice sewing bias as well as working with vinyl. Once you get a sense of how these children’s activity folios are made, you realize how simple they are. This will save you money and give you a deep sense of pride knowing that you are creating something yourself to enrich your child’s early education and bond with them.
What to make next
If you are interested in more early education, or Montessori style DIY sewing projects checkout the Sensory Play Mystery Bag tutorial.
Leave a Reply