

New dad sewing craft project: Sew a play fabric dice
Baby blocks I feel like are a quintessential item to have in your kids’ play area. And they’re quite easy to sew. You can sew blocks with designs, with animals, or numbers. When my daughter was little she had a block with different sensory items on it like an elephant with an elastic trunk. This is also something you could design and stitch yourself instead of buying one. Something custom made just for you and your child.
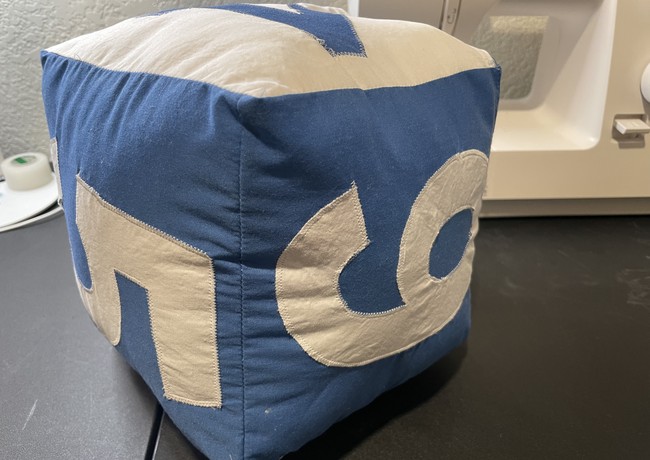
One of the things I like making out of fabric blocks are giant fabric dice. Kids can use this for games, for counting, anything you can imagine. For example, you can put a different color on each side, put colored cardboard tiles on the floor and they can practice learning colors by matching the colors on the dice to the squares.
One thing I like it most for is for is using it to make family decisions. Where do we go for dinner? If it’s 1? Mom decides, 2? Dad decides, 3? Sister decides, etc. What movie do we watch? What do we get for dessert? Etc, etc. Kids can get upset with the result, but this is a lesson in randomness. The homemade fabric dice makes the decisions.
Level: Confident Beginner
Materials:
- Cotton fabric. You will need two contrasting fabric colors if you are sewing the number block.
- Stuffing or foam. You have a couple options here. For a uniform shape you can use high density foam, which you can find at a craft store. The other option is to use polyfill like you would use for a plush toy. One other option, if you want more environmentally safe materials is to use cotton batting. The cotton batting can be tough to get a uniform “cube” shape, but is more natural materials. Try as I might, I haven’t been able to find sustainable high density foam that isn’t made from plastic.
For this project I am using Polyfill stuffing.
Process to sew the play cube:

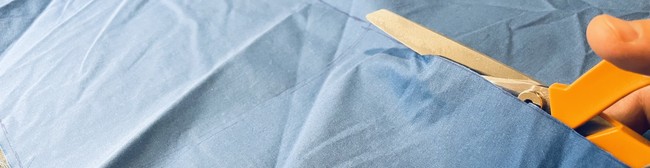
- Start by print the block pattern, cutting out and marking and cutting out the six (6) squares with the following dimensions: 10” x 10”.
If you are doing the numbers on the block pieces:
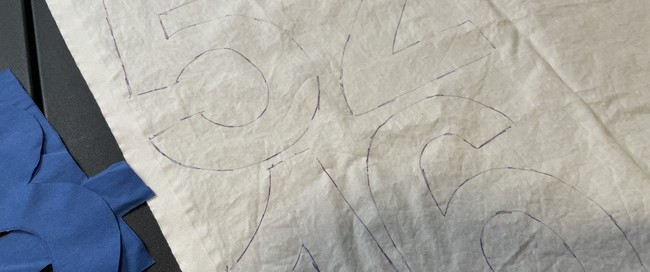
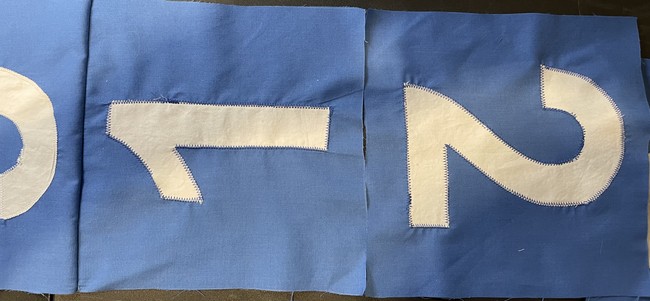
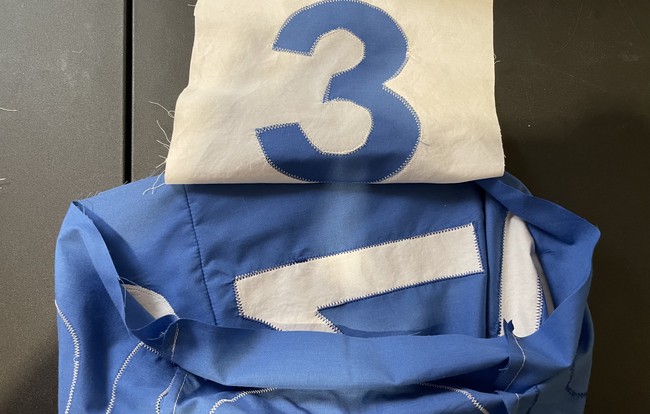
If you are doing the numbers on the block panels print out the numbers in the provided pattern. Trace onto the fabric and cut out. It goes without saying that for the colors of the fabric, you will want to do contrasting colors. So if your panel is blue, your numbers that you sew onto the block panels will be white.
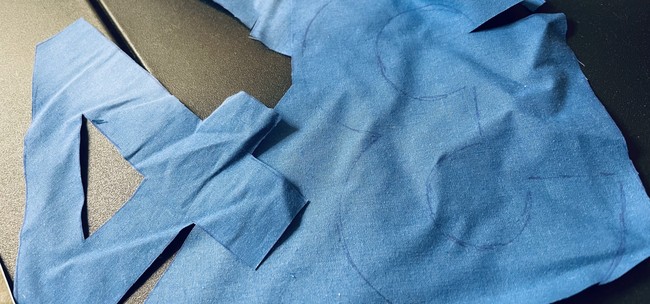
You will end up with 6 equally sized squares so what color you want for them can vary and depends on what you want to do with it.
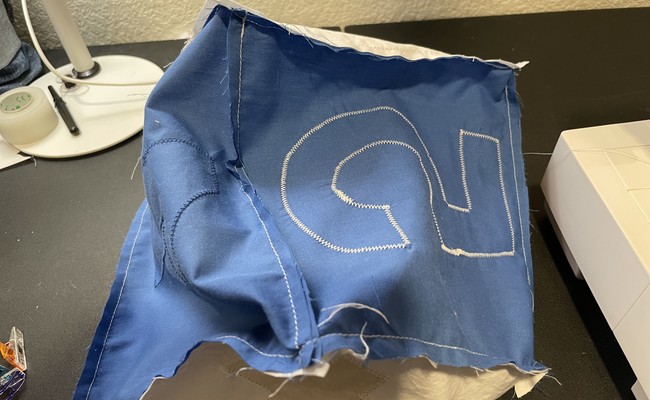
- Do any kind of appliqué or embellishments that you want for the sides here.
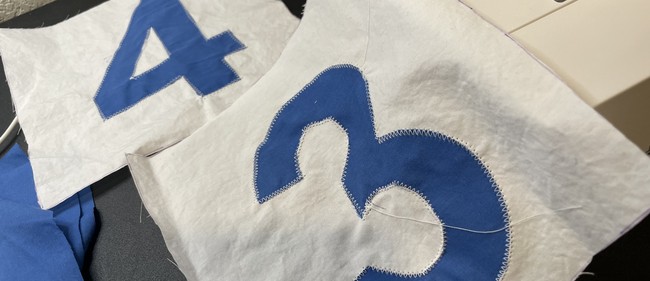
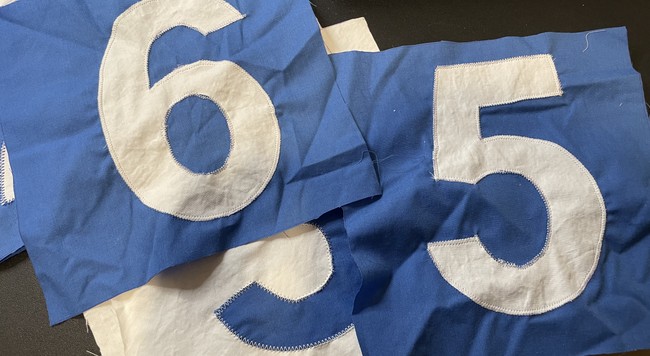
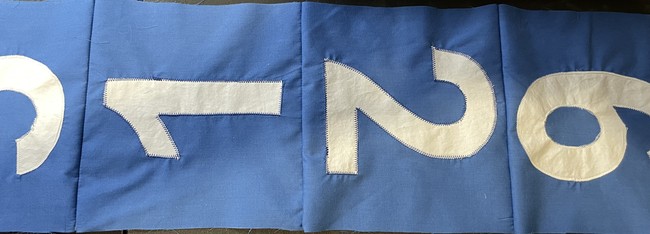
If you are doing the numbers, appliqué the numbers onto the panels.
A note about sewing appliqué:
Don’t be intimidated by appliqué sewing. Once you get the hang of it, it can be a good, simple way of adding designs and embellishments to your stitching, such as designs on bags, bibs, or blankets.
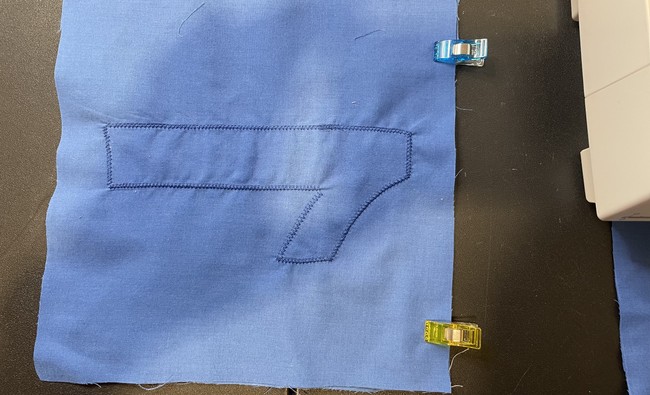
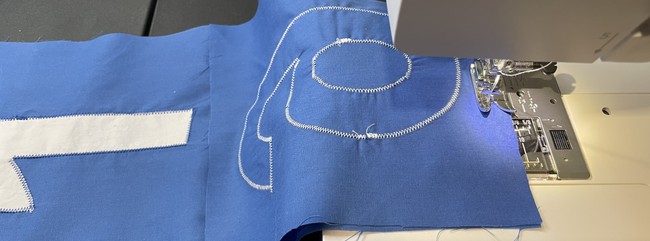
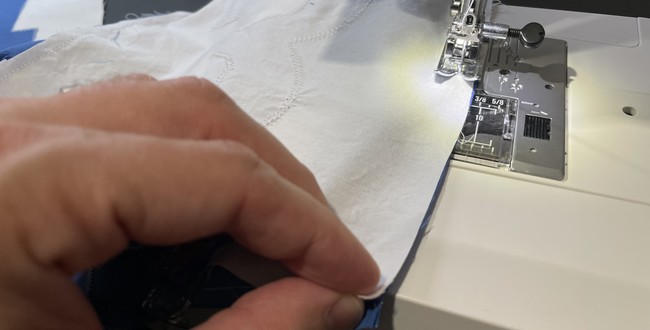
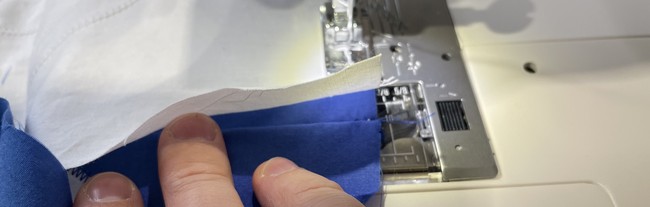
To sew appliqué, set your machine to a zig-zag stitch. Shorten the stitch length and adjust the width of the zig zag. When beginning appliqué I recommend using a wider stitch so you can be sure to get it over the top fabric.

Layer your detail shape over your main fabric, align along the edge of the appliqué shape and sew. Make sure the stitches go from the detail shape back to the main fabric, sort of sealing the detail shape under the thread.
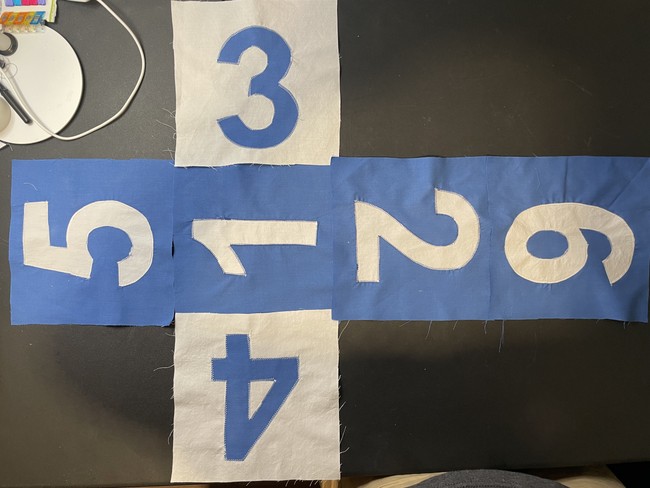
If you are making a dice be sure to map the numbers to the correct order and arrangement of the blocks. I used this template:
(If that link is broken you will be able to find a reference with a simple web search.)
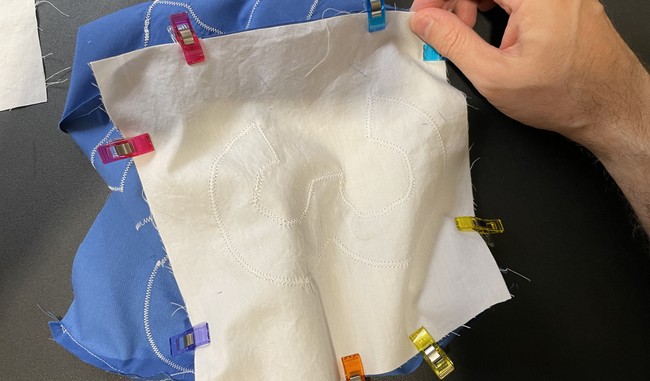
Pro tip: It helps to mark the numbers on the respective fabric pieces with a pen before once you’ve figured out the arrangement. That way when you are sewing the numbers on you do not lose track of which numbers go where.
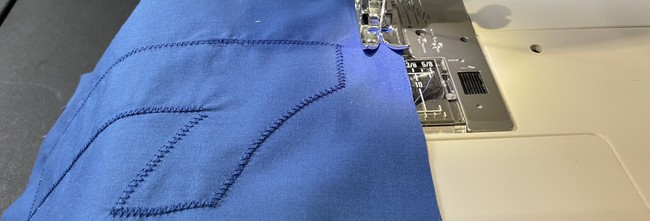
I like to sew the pieces in place with a longer zig-zag stitch. As always, take this step nice and slow. I like using an appliqué foot for this type of work. The fabric slides under the foot or easily and there are notches on the foot to help more easily line up the stitch line to the pieces. Remember to pivot with the needle down in the fabric.
Stitching the Blocks Together
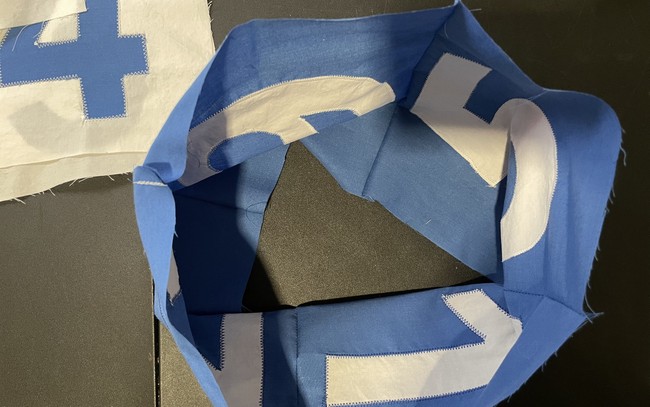
3. Starting with the first two blocks, place the two pieces right side facing (RSF). If making a dice, be sure to line up correct side and direction of the number. Sew on the right side with a 1/4” seam allowance. Don’t forget to lock your stitch on both ends.

4. Line up the next square on the right-most square on the indicated side. Lay the pieces on top of each other, right side facing (you will fold the 2 over the 1 like turning the pages of a book). With the two sides together for the dice, the 2 will be on top of the 1. Stitch with a 1/4” seam allowance.
4. Do this one more time with the last square. After this you will have four blocks chained together like a quilt.
5. Stitch the two open ends together, right sides facing (RSF). For numbers this will be the end of the 5 sewn together with the 6.

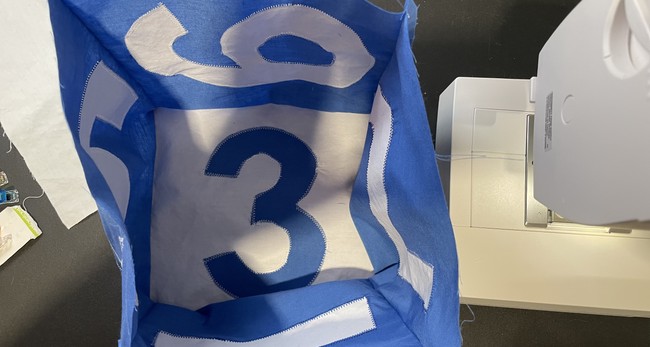
6. Pin or clip one of the top squares to the four sides with the right side facing in. This will now look like a square basket.
7. Stitch down with a 1/4” seam allowance. Be sure here, especially around the corners, that you’re only sewing two layers of fabric and you don’t accidentally bring another side under and stitch it while you’re going around.
The trick with the corners is to try and stop about 1/4” from the end. Try a test pivot before sewing further. When you pivot around check the seam allowance . If it’s too far from the edge, pivot back and manually sew one or more stitches by hand turning the wheel. If it’s too close, then back track a little bit. When you turn the corner, readjust and pull out any fabric they may have tucked its way in. You’re almost done.
8. On the opposite side, pin or clip three sides of the remaining panel down down, leave one edge open. It helps here when pinning to start at the opposite end of each side and work your way toward the previously clipped side. This is where you will stuff it.

Stitch the three sides down. Start your stitch about 1/2” up on your open panel, then around and end about 1/2” into your open panel.
This makes it easier to sew down this last edge after you’ve stuffed it. If you are using polyfill stuffing then you can sew the sides longer, but leave enough room to be able to fit your hand in and turn it right side out.
Finishing Up the Play Cube:
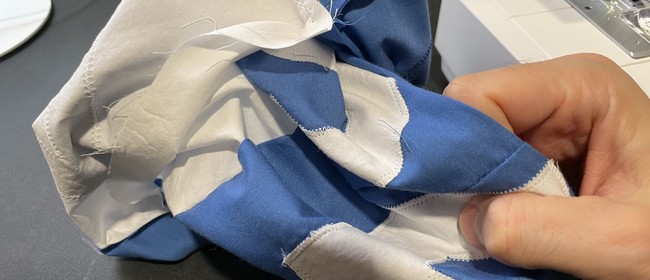
9. Turn the cube right side out.
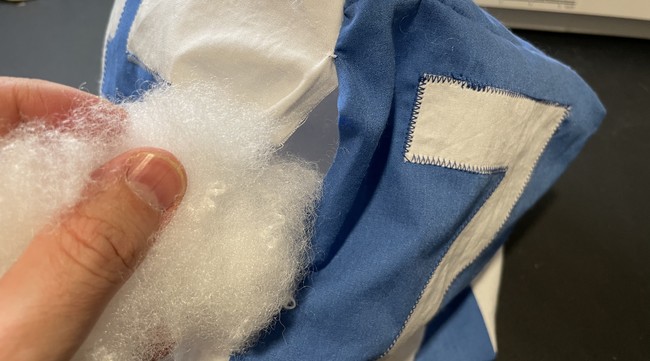
10. Stuff the inside of the cube with the stuffing of your choice. Because the stuffing will likely compress over time you are better off with more rather than less. If you feel like you’re over filling, add a little bit more.
11. Finally do a manual ladder stitch to close up the gap.
Check here for steps on how to do a ladder stitch: https://mindymakes.com/how-to-sew-the-perfect-ladder-stitch-invisible-stitch-hidden-stitch-by-hand-a-beginners-guide/
12. You’re done!
What to make next
Now try out your new cube. If you’re doing a dice sit back and lean on the dice for family decisions. Experiment with different designs. Use different shapes. Make shapes that span across the different blocks. The possibilities are endless.
Leave a Reply