

I always knew that babies drool a lot. But it didn’t hit home until I had kids. When my daughter was teething, she would always need a bib to catch all the extra salvia coming down so her shirt would not get soaked. Again when she started to eat solid foods we needed more bibs to keep the food from staining her shirts and saving us several minutes after bedtime spraying and washing her clothes.
But fortunately, bibs are pretty easy to make in terms of sewing projects and it comes in really handy to be able to take out your sewing machine and spin a bunch up on demand. You can often find cotton fabric remnants at the fabric store for a low price, making it cheap and easy to make multiple bibs for your kiddos.
This version of the bib I am using hook and loop fabric (Velcro) for the fastening. This will likely work until your child is a toddler and they have the strength to pull it off (unless they love wearing bibs. You never know). At which point you will likely have to switch to snaps for bibs.
This project will also be making a bias to sew around the edge of the bib. This will be a strip of fabric from the main material. It can be tricky ironing down the folds, but is very possible if you take it slow and methodically.
Backstory to the fabric I’m using for this project and how sewing your own baby stuff can save you money in the aggregate: I got this cotton fabric as a fabric remnant from Joann’s for $2 (a fabric remnant is leftover fabric at the end of a bolt that is usually marked way down and cheaper than getting it cut by the yard). I made two bibs from them. That’s $1/bib. And trust me, in the first couple years you always need more bibs.
Level: Confident Beginner
Materials:
- Fabric: Recommended types: cotton, flannel, terry cloth
- Sewing machine
- Scissors
- Pins or clips
- Hook and loop tape
- Snaps and snap pliers if you are going with snaps
Steps to Make:
- Start out by printing out this bib pattern PDF:
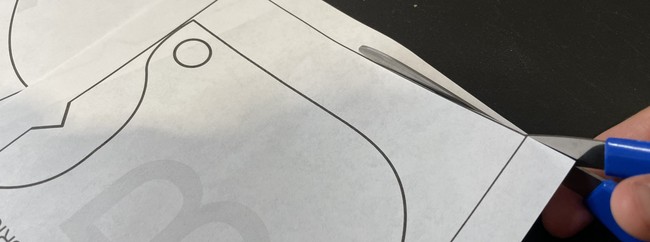
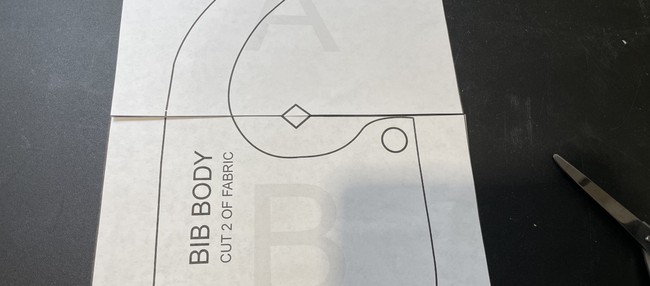
- Cut out the pattern. Print out each page and line up the diamonds on each edge. These are the guides to make sure the pattern is lined up. Tape the pages together at the edges and cut out.
A note about printing the pattern: This pattern is designed to be printed at home on either Letter size (8.5” x 11”) or A4 (8.3” x 11.7”) paper. In your print settings, make sure you select “actual size” or print with 100% scale (do not select “fit to paper”). Be sure to print page 1 before you print the other pages and confirm that the scale square measures 4 cm (outer square) or 1″ (inner square).
2. Trace the pattern onto the fabric. I like to use heat erasable pens for tracing out patterns on fabric. I used to use tailors chalk but that can get dusty. Washable fabric marking pens can work well as well, but make sure they don’t dry out.
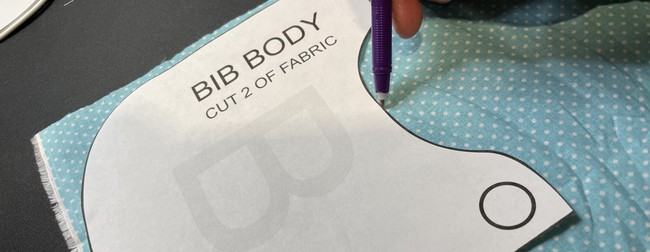
3. Trace out two pieces. Remember to flip the pattern over on the second one to reverse the direction.
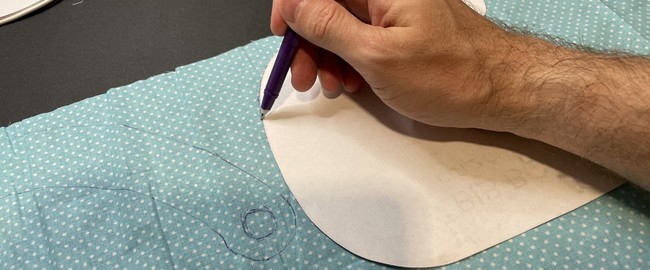
4. Cut out the pieces.
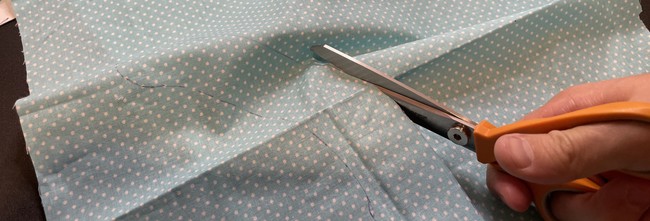
5. Measure out a strip about 42” long and 1.5” wide to be used for the bias strip around the edge. If you want more wiggle room with sewing it on and want less of a hassle, make this 2”.

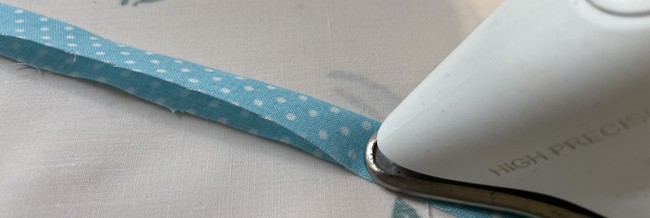
6. Fold the strip in half lengthwise and iron down.
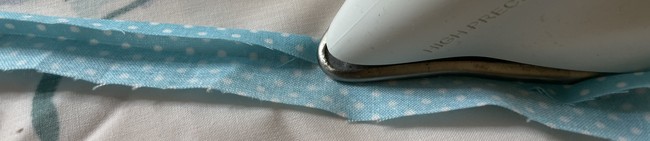
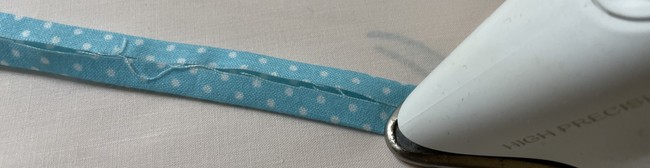
7. Fold in again on each side folding each side in to the middle crease you just ironed down. Iron these down. This is your bias you will wrap around the bib.
Now for the elephant in the room, this process is a huge pain in butt. So if you are serious about sewing (and not constantly burning your fingers), plug number two: I also recommend investing in a bias tape maker kit. It blew my mind when I realized that a bias maker and bias foot were a thing. You may not use it often, but like a pair of pliers it’s a good item to have in your sewing toolbox.
8. If you are doing snaps instead of Velcro, apply some interfacing (or add extra fabric) to the parts of the pattern marked for the Velcro with the circle.
Follow the instructions for applying the interfacing. Alternatively you can sew on some extra layers of fabric here because the snaps will need thicker fabric so they don’t tear it up and fall out (and with a baby wearing it and trying to tear it off this is a strong possibility).

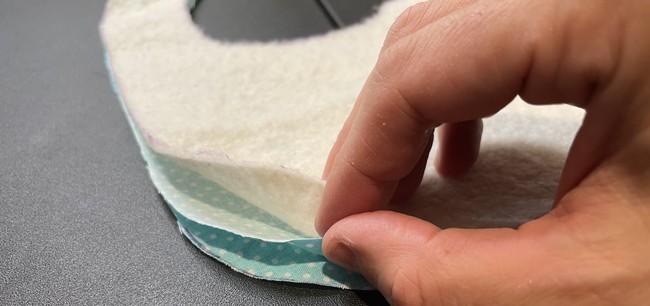
9. Depending on the type of fabric, if you want to give it more thickness you can add an extra layer of batting in the middle. This is optional. (I’m using cotton batting leftover from the baby blanket project). The batting is sandwiched in between the two fabric layers.
10. Baste around the bib edges with a 1/4” seam allowance.

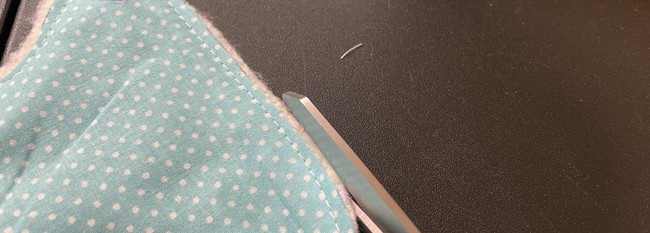
11. If using cotton batting trim off any excess that is peaking out from the edges.
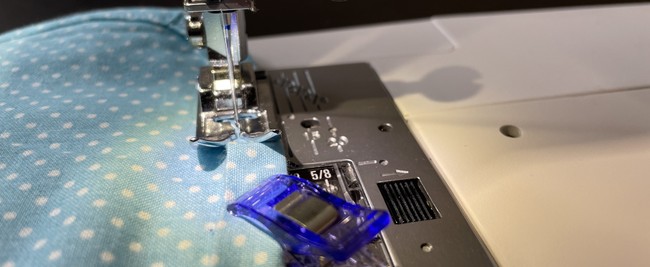
12. Starting at the right corner, pin or clip the bias all the way around to the edges. Fold the starting end inwards and start the stitch just after this fold.
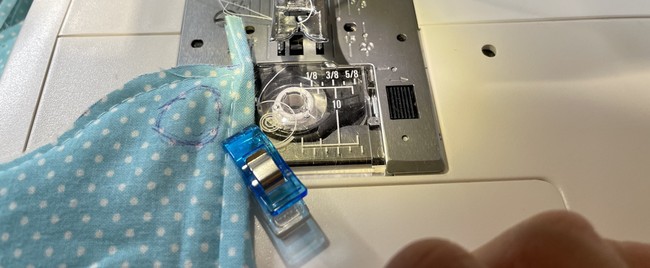
Stitch all the way around.
Make sure you are sewing through both sides of the bias. Take a nice, focused pace here. My workflow usually involves listening to lo-fi hip hop/chill-hop during this process.
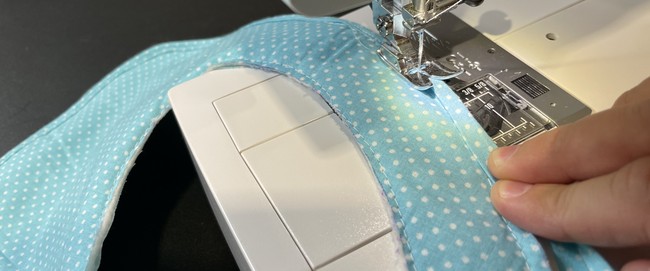
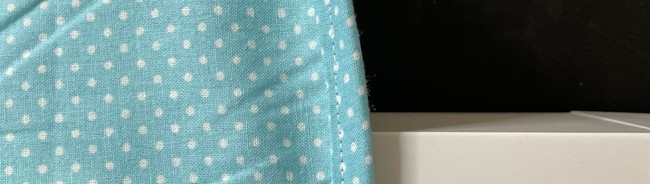
14. Try to keep the bias nice and tight against the edge here. It’s okay if it doesn’t line up perfectly here. We’re not going for perfection. We’re teaching our kids that it’s okay to mess up, so it makes sense to show a little grace for ourselves.
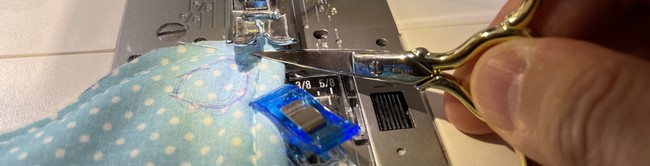
Take it one section at a time. You always have a seam ripper available to go back and make adjustments. It helps to use your scissors to align the bias tight against the fabric.
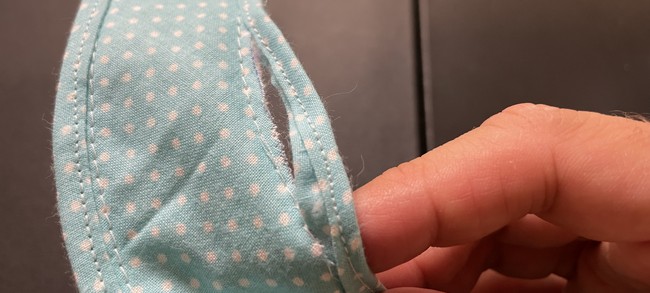
15. When you get to the end stitch the end all the way up against your beginning loose piece that is still unstitched.
Cut off the excess, fold the excess piece down and bring it down to overlap the end. Then stitch this down.
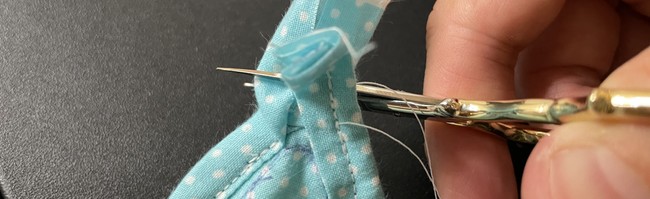

16. Pull out the basting stitches once the bias is stitched in place.
17. Now for the fasteners to attach the neck to the base. Cut out an inch of hook and loop tape. You can cut this into a circle if you want.

The alternative is to use a snap. You can follow the instructions on the below page and in the places where the Velcro is used, replace it with snaps. If you are using snaps, I highly recommend backing the snap area with interfacing to strengthen that area of the fabric.
How to Insert Metal Snaps in Fabric – Sew4Home
If you’re planning on going with snaps I recommend just getting metal snap pliers. They will set you back more than a needle and thread, but they’re a good investment and they make it a lot easier than manually sewing the snaps on. Plus you can use them for other things like clothes, bags and quiet books.
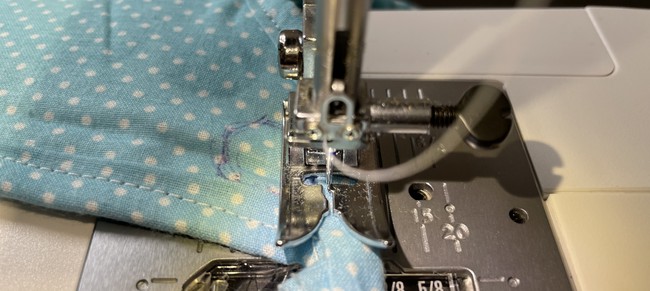
18. Pin one end to the end of the neck peninsula piece and the matching side to the corner part with the folded bias end. Sew down. Be sure to sew the hook side to one end and the loop side to the other end.

And that’s basically it. Now you can crank out as many as you need.
Addendum:
If you want to skip the bias use these steps:
At step 3, instead of putting the two pieces wrong side together, put them right sides facing (RSF), sew around with a 1/4” seam allowance leaving a small gap at the end.
If you are adding quilt batting make sure the layers go 1) fabric (wrong side down), 2) fabric (wrong side up), 3) batting (because when you turn it you will need the cotton to end up inside).
Use the hole to turn the bib right side out.
What to make next
Fold in the edges of the hole and sew a top stitch all around with a 1/8” seam allowance. Use this to sew up the hole and prettify the edges.
Leave a Reply