

Sew a quick and easy mystery bag for your kid to practice sensory play. Also doubles as a stroller storage bag!
Background for Making the Sensory Play Bag
I recently read the book The Montessori Toddler by Simone Davis (not a promotion). In the book she mentions using mystery bags to encourage sensory play with toddlers. This seemed interesting and was something I wanted to try with my daughter as a low-screen time activity. I had no idea where to search for these online (Amazon maybe?). The faster solution, as is preferable sometimes, was to just design and make something myself. That way it’s not only potentially cheaper, I can focus on making it good quality and have more control of the source fabric.
The idea behind this sensory play bag is to have a fair sized bag with a small opening at the top so my daughter can’t see what’s inside and can only guess at what’s inside. I can put different things in like flowers or dinosaur toys. She can experiment with feeling the different shapes or surfaces. I can ask her, “is it rough?”, “It is smooth?” and she can start to get an idea using her imagination and knowledge of things.
At the same time, the sensory play bag doubles as a holder for things when I’m on the go, like snack cups or stuff that falls out of the stroller while we’re walking like my kid’s socks.
The method to make this is essentially the same as the drawstring bag tutorial, but with an elastic mouth rather than a drawstring mouth.
Sewing this toddler mystery bag is a pretty simple process, but I will try to write it in as detailed a way as possible, so it looks more intimidating than it really is.
Sewing Level: Beginner
Age Range: Toddler (2-5 years)
Supplies for Sewing the Sensory Play Bag:
- 1/4 yard cotton (or scrap fabric you have in your fabric stash). This is very much a stash-buster project. For this project I am using a 8-10 oz. cotton canvas fabric.
- 1/4” elastic. You will only need about 3-5” of elastic.
I am also adding a loop to this pouch so I can hook it to things. This will make it easier to transport. I can also use it as an accessory pouch hooked to things when my daughter outgrows the mystery bag (or isn’t interested in playing with it).
How to sew the sensory play bag:
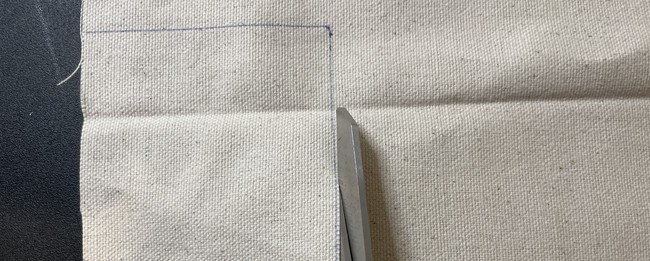
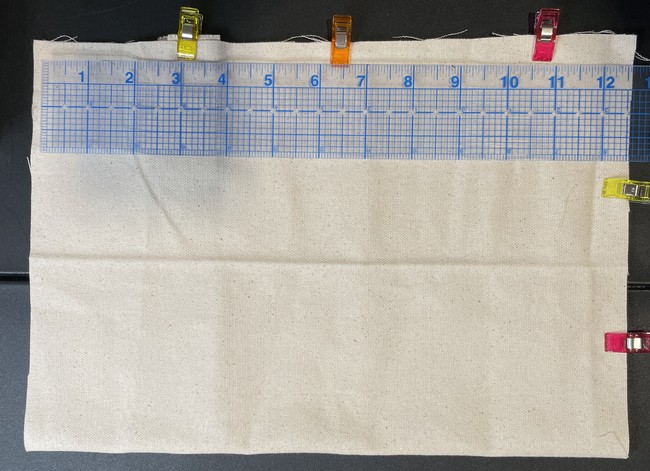
1 . Start by cutting out a rectangle that is 18” x 15”.
2. Cut out a strip that is 3” x 6”. This is for the strap.
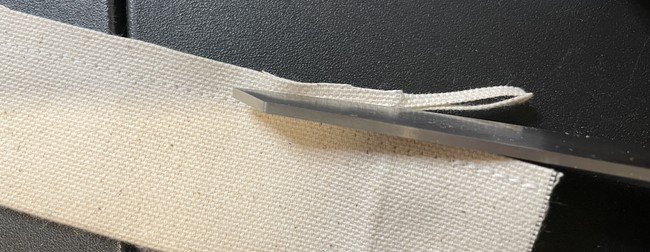
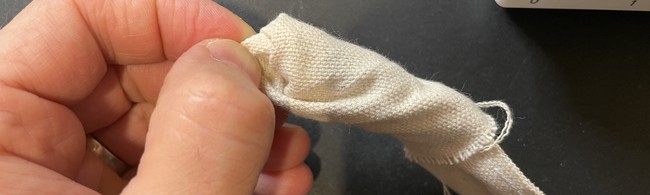
3. With right sides together (RST) fold the small strip in half long-wise and stitch the other long side with a 1/4” seam allowance.

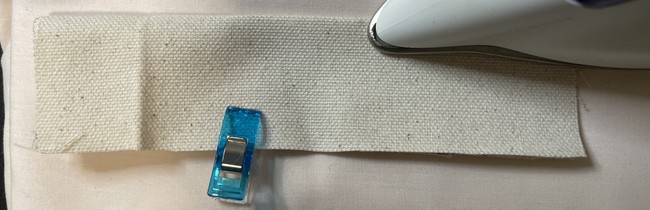
The short ends will still be open. Trim the seams after this. This makes turning the strap right side out easier.
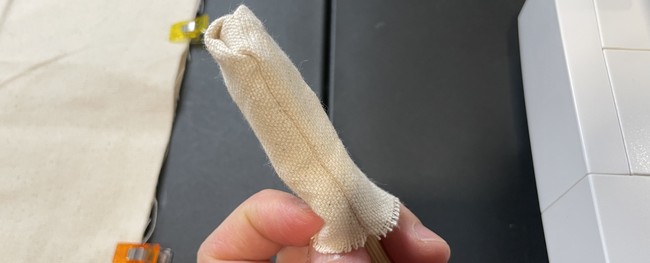
4. Turn the mystery bag strap right side out.
It helps to use something like a chopstick to push up the other end.
A note about fabric turning tools:
Once I started sewing, one of the things that would often bug me is poking out the corners of fabric once I’ve turned it right side out. I’m a stickler, so I always try to poke it out into as clean a corner as possible. There are professional tools like point turners that you can use to poke out corners and flatten edges for turning. These look like a small, pointy butter knife.
But one tricky thing about these is if you push too hard into the corner, depending on the fabric like cotton, it’s easy to accidentally poke a hole. So it may sound funny, but what I’ve found, and many people have found as well, is that one of your most reliable sewing tools for this work is a wooden chopstick. The chopstick is long and sturdy, and just rounded (but not too pointy) to help make short work of turning fabric. I even bought a pack of stuffing once that came with a “special tool” that was basically a disposable wooden chopstick. So the next time you’re getting take-out, grab an extra pair of chopsticks and keep it in your sewing inventory forever. You won’t be let down.
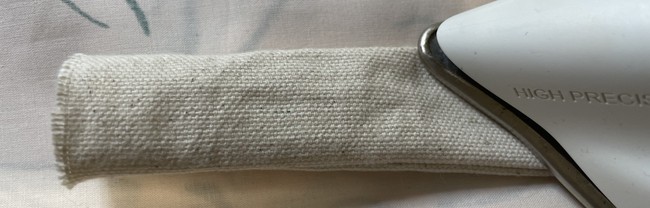
5. Iron it down nice and flat once you’ve finished turning. Then top stitch with a 1/8” seam allowance around the edges if you want.
6. Fold in half and pin/clip it to the right side of the edge of the main body about 2” down from the top. (I sewed this one 3” down, but in hindsight 2” down is a better place for hanging this one things).
You can see from the photo that it’s sandwiched between the two layers of the main mystery bag body.
Assembling the sensory play bag
7. Fold the main body piece in half long-wise so the dimensions are 9”x 15”. Again, the loop tab will be inside the folded body. You will need to move your pin/clip for this out over the main body (it is inside now. Then when you turn the pouch right side out, it will then be on the outside).
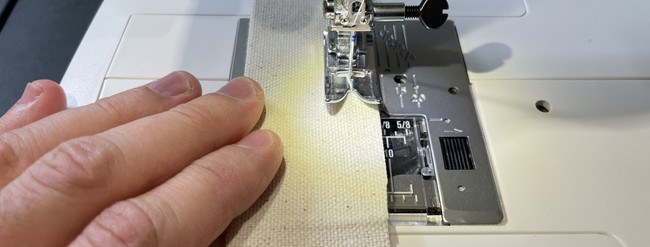
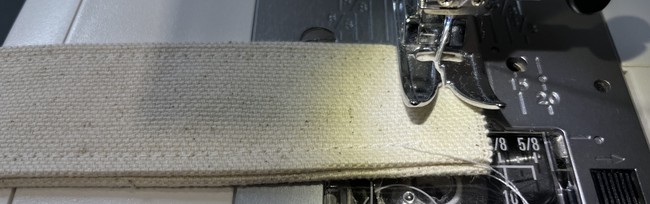
8. Using a straight stitch, with right sides together (RST) sew up one short side and one long side with a 1/2” seam allowance.
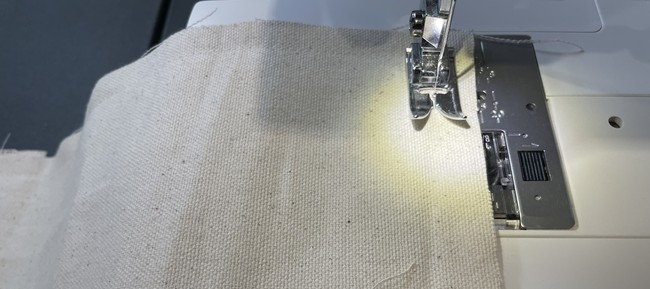
Remember to back stitch at the beginning and end of the stitch. It also helps to trim your seams.
Sewing the elastic mouth of the sensory play bag
I want to mix it up and be able to put a collection of different things in the bag, so don’t want to make it too small. I also don’t want to make it too big. Also consider if you are going to use it for storing stuff, if not using it as a sensory play bag, like snack cups. So the stretched out mouth needs to be big enough to fit the cup.
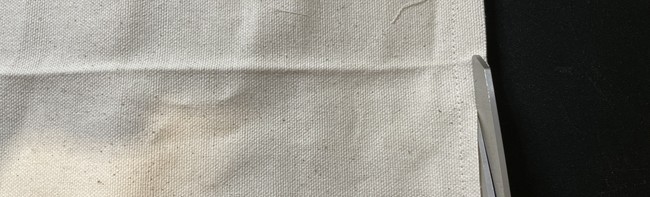
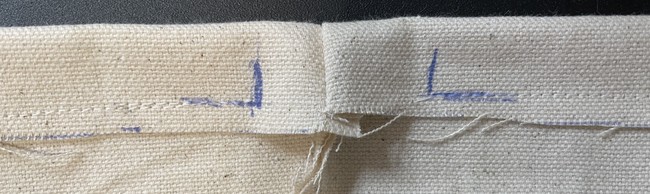
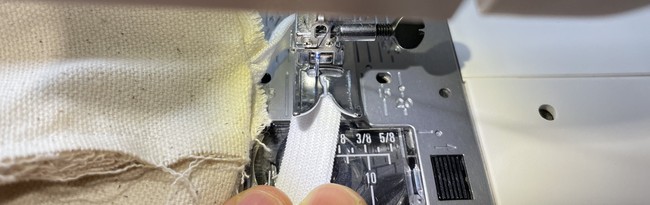
8. With the bag still wrong side out, fold the top down about 1/2”and iron down.

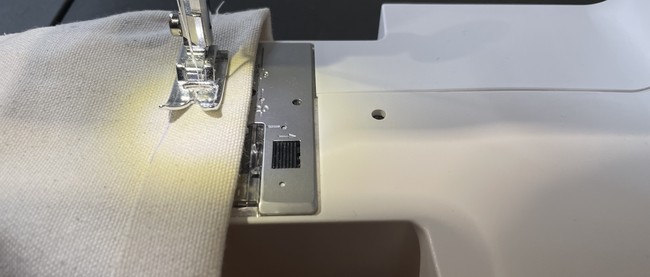
9. Stitch around and leave a small gap at the end to feed in the elastic.
Getting a threading tool
For any kind of casing I like to use a specialized tool for pulling the drawstring through. I like to emphasize that while they can cost more than doing things the traditional way, having a specialized tool can save you a lot of headaches down the line because they make an otherwise tedious process much easier.
So for me, getting this threader, and other things like a bias tape maker, are good investments.
I personally like using a specific tool for this like the EZ Threader: https://www.voguefabricsstore.com/EZ-Threader.html.
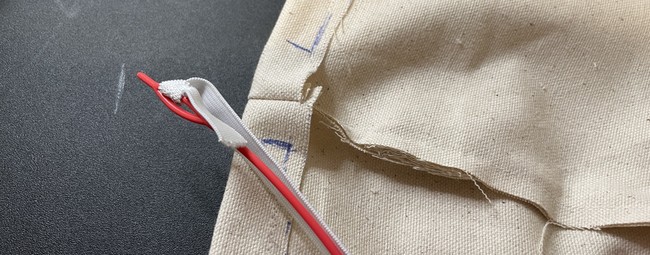
10. Feed in the elastic, pin, clip or hold the starting end at the beginning of the casing. Leave a little bit exposed so you have it to pull in the next steps.
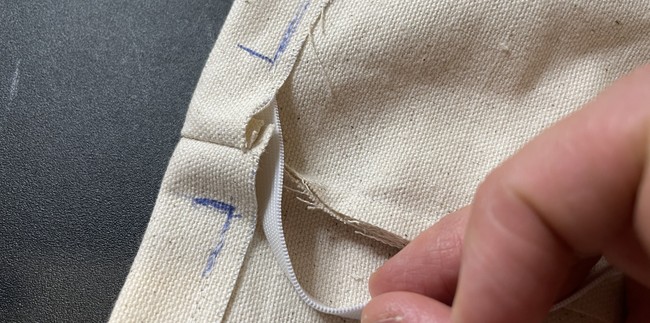
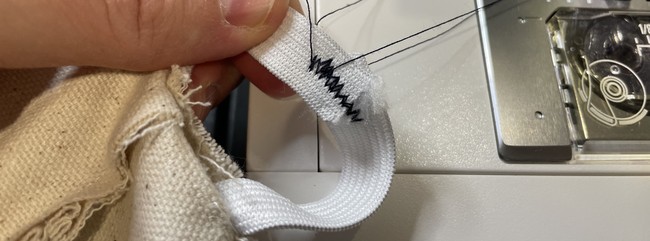
11. Pull the other end through and tighten the elastic until you’ve found your ideal tightness. Be careful that your start end doesn’t get pulled back through or you’ll have to start over.
A note on size and tightness about the top opening
You want to keep the tightness at a level where your kid can fit their hand in and out easily but not able to easily see the object inside. If you plan on putting things in like pinecones, then make sure the pinecone will fit through before you sew it down. You’ll want to even out the elastic inside so it doesn’t get all bunched up at the ends.
11. When you’ve found your ideal tightness mark the cross point on the exposed end of the elastic. Line up the cross point with your starting end and overlap a little bit. Then pin together.
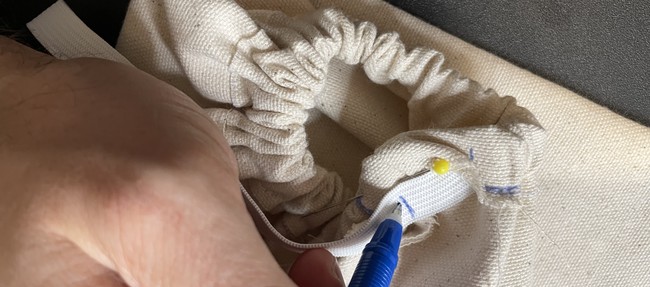
12. Stitch the elastic sides together at this overlap point with a short zig-zag stitch.
13. Cut off the excess ends and tuck the elastic all the way into the casing through the hole.
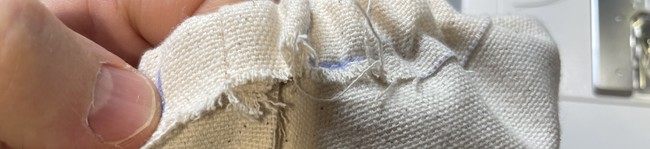
14. Next, stitch the opening shut and sew down the elastic to the main body.
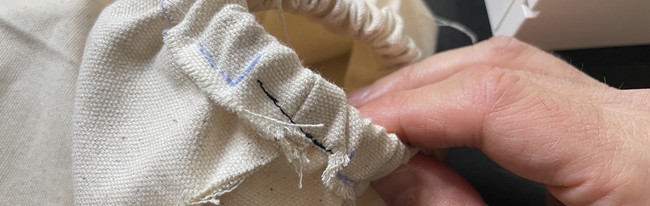
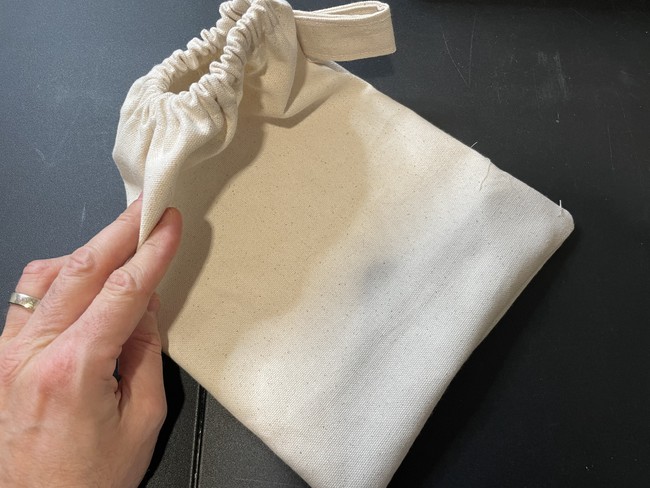
15. Finally, turn the bag right side out and you’re done!
Wrapping it all up
The vibe here is kind of like those haunted house games where you would peel grapes and they were like eyes.
After that you’re done. Try putting some stuff in the bag and seeing if your kid likes it. Here are some things that I’ve tried out that have gone over well, and not so well:
- Avocado
- Pinecone
- Lego
- Play-do jar
- Felt flowers
What to make next
The bonus part here is that when your kid has outgrown it you can just use it as a storage bag on the side of your stroller or as a cover for stuff like golf clubs. Whatever works for you.
Leave a Reply