
This easy to sew bento bag makes a great housewarming or holiday gift for frugal sewers with limited time. With just $1, you can sew a bento bag that’s both stylish and budget-friendly.
Why a Bento Bag?
My wife and I are always on the lookout for ways to optimize storage and space. We also look for ways to be more eco and find ways to reuse materials and objects. Upcycling as they call it.
So it caught my attention when my wife sent me an Etsy listing for a set of bento bags where the original price was $34. I thought, “wow $34!?”. Provided the sellers were using an heirloom Indian cotton, which likely contributed to the high price tag. But I thought if the intention was to just have a functional bag using clean cotton, then an unbleached muslin fabric would get you in the same ballpark with a much lower price point.
Plus, a bento bag, a traditional Japanese wrap bag (known as an azuma bukuro) is also super easy to make. The secret sauce here is simply that the height needs to be 3 times the width. After that it’s a matter of a few folds and two simple stitches and it’s ready to go.
I will make a bag that is medium sized, about enough to fit a lunch box or a loaf of bread. I also find this bag really useful for hiding things around the kitchen. My toddler will often see things like fruit or snacks while eating dinner (that we keep on the counter) and will ask to eat a banana for dinner. So the bento bag also comes in handy to minimize distractions and save time preventing “I want this” arguments when she see something and wants it.
Materials you will need to sew this $1 bento bag
- 1/2 yard of unbleached muslin cotton (this is good to have extra on hand since it’s handy for sewing prototypes and storage materials
Alternatively you can use any stash cotton that you have on hand. This is a good stash buster project.
Steps to sew the $1 bento bag
Measure and cut out a rectangle that is 13” X 39”


Sew a rolled hem around the sides. The rolled hem method is the same as outlined in the handkerchief tutorial.


There are three folds to make the structure of the bag
Below I will try to make it as straightforward as possible using arrows and labels.

First, fold the bottom corner of one edge up and over so it lines up with the long edge.

Second, fold the top corner of the other side down and over so it lines up with the bottom long edge. I’ve added green, red and blue dots so you have an idea of where the corners line up.

Lastly, take the right folded edge (from step 2) and fold it up so that the bottom edge lines up with the top edge at a right angle.

You will see now that the red and green corner dots are right next to each other and the blue dot is up at the top.
If you rotate the fabric 45 degrees you’ll see that it has the bag shape now.

Two stitches to complete the $1 bento bag
Now for the stitches for sewing the bento bag.
You will need to know which sides to sew when you fold the fabric back out. Take two different color fabric marking pens or chalk.

Mark the open two sides on the left side.

Flip the bag over and mark the open two sides using your other color.
Unfold the fabric. You will now see that there are clear lines to designate where each stitch goes.

Line up the sides for the first color and put them together right sides facing. Stitch these together with a 1/4” seam allowance.

Do the same with the second color. Don’t forget to backstitch at the beginning and end.


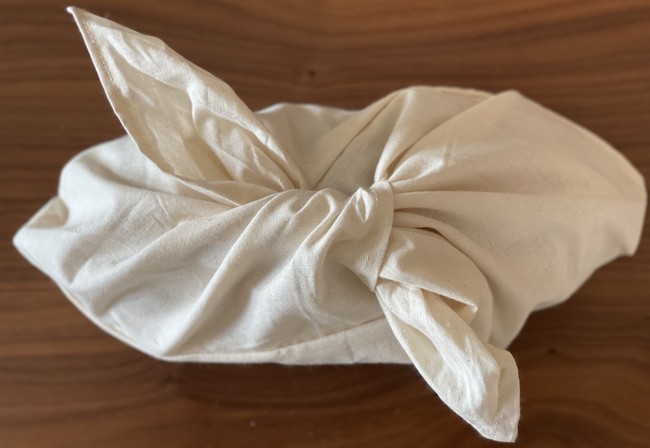
At this point the bag is more or less done. See how easy it was?
Sewing boxed corners to the $1 bento bag
If you want to add some flair, see on some boxed corners (this method is the same as the canvas tote bag tutorial)

With the bag still inside out, flatten the bag at the corners. Pay special attention to the angle of the sewn ends in the photos. You want the boxed corners to be perpendicular to the bag so that they create depth and not parallel.
Measure 1” from the trip and draw a line across so you have a triangle marked off. Stitch across this line. Note in the picture below where the edges are in relation to the line.

Then clip this end off with scissors.

Repeat this step on the other side. This will make it easier to fit wider objects into the bag.

And that’s it. Use these to wrap up bread. Use them to wrap up lunches or toys or incorporate them into your kid’s playtime. You can spin these up really easily at a low cost for housewarming gifts, holiday gifts, mothers or father’s day gifts. Wherever your imagination takes you.

Leave a Reply