

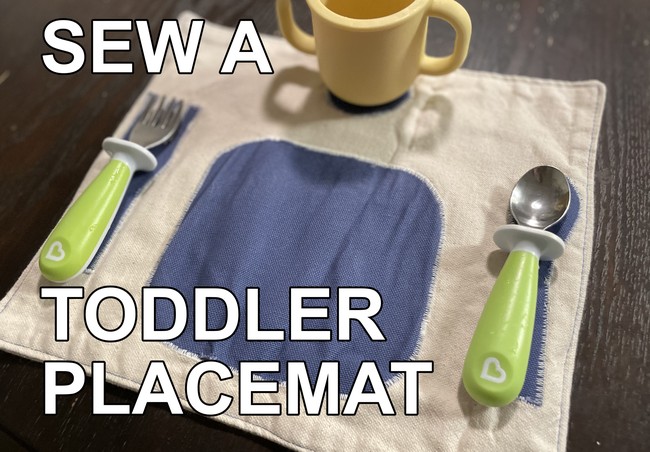
Sew a quick and easy place setting placemat for your toddler.
Why Sew a Placemat?
An 85-year ongoing Harvard Research study (Want to Raise More Successful (and Happier) Kids? Harvard Research Says Give Them More Chores) has identified a strong connection between chores and later professional success and happiness and recommends getting kids engaged in the household activities early on to teach them the values of work.
They say giving kids chores helps them develop a sense of responsibility and discipline. This makes total sense to me since growing up I was expected to help out with household routines and have the same expectation for my kids. If everyone is eating then everyone should be involved in helping with dinner. That’s why with every opportunity I find I try to find templates to help my toddler ease into chores, like with this table place setting template.
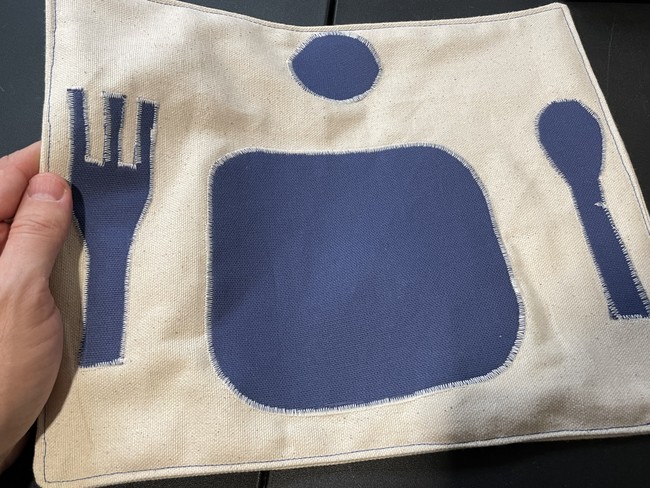
This place setting template is easy to sew and is a fun way to get your child involved in the process of setting the table. It follows the same process as sewing the drying mat here, with the change of sewing the applique shapes onto the mat.
Level: Beginner
Materials:
1/4 yard cotton fabric. I like a thicker fabric like quilt Kona fabric. I am actually using cotton canvas to have a more weighty feel. Another good option is sport nylon to keep it from getting stained. This is a good project to use up your fabric stash on as well.
You will cut these into 2 10×12” rectangles.
- Mixed colors of cotton for the appliqué. You can use regular 100% cotton, flannel or canvas here. I’m using a blue duck canvas cloth that I used previously in the scrap bag tutorial. I have a lot of it, I wanted something sturdy and am experimenting if the blue color is more calming (anything to make breakfast with a toddler easier!).
- Thread, scissors and sewing machine
Steps to Sew the Toddler Placemat
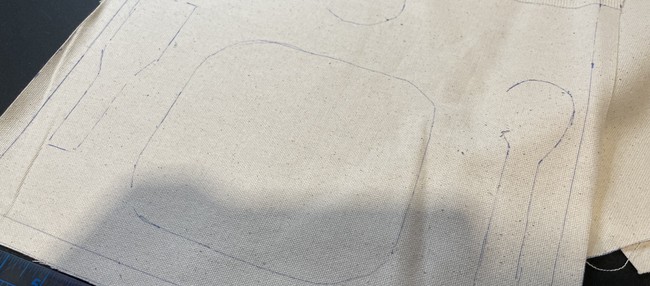
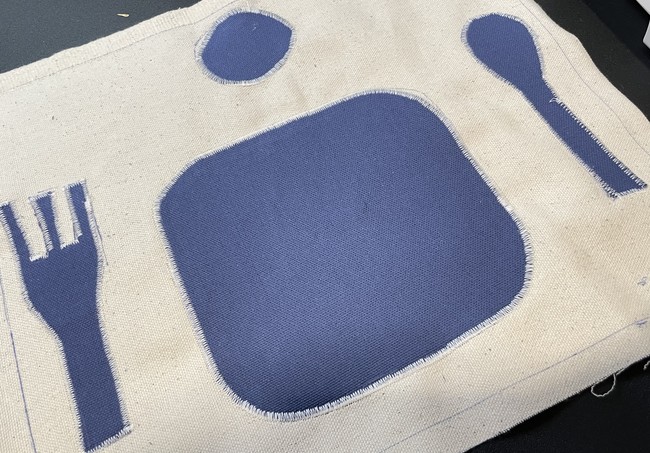
- First, print out and cut out the bowl, cup, fork and spoon shapes using the provided sewing pattern:
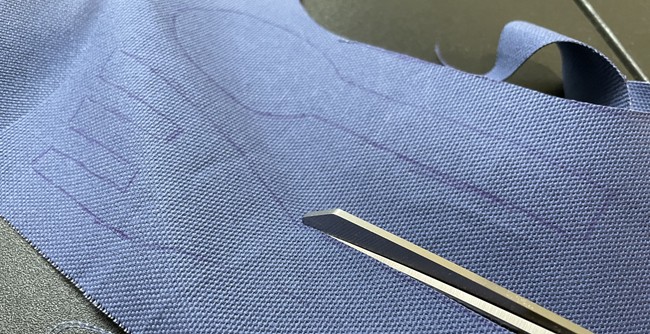
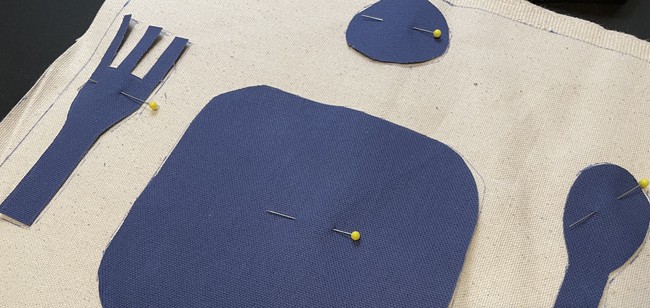
2. After that, trace out the shapes onto your fabric and cut out.
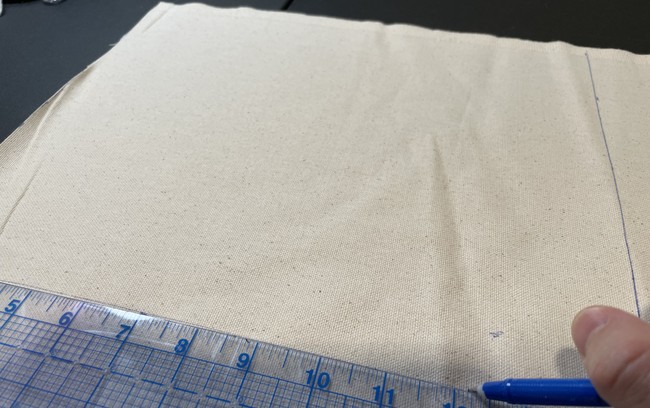
3. Cut out two (2) 11”x13” rectangles from your canvas/quilt nylon fabric for the main body piece. You could also use one piece of fabric and wrap it in bias. Since I’m using canvas, though, I want to use two layers so that I have something more weighty that doesn’t slide around the table.
4. This mat is going to use a 1/2” seam allowance so before you place the shapes measure out a 1/2” border on one of the rectangles and mark it. This way your shapes won’t get sucked in when sewing.
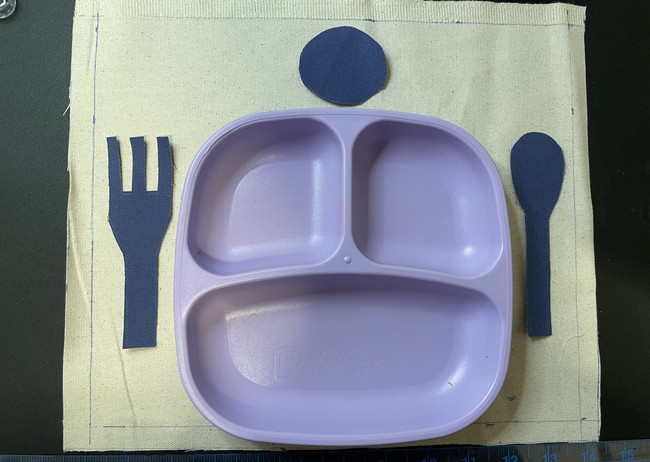
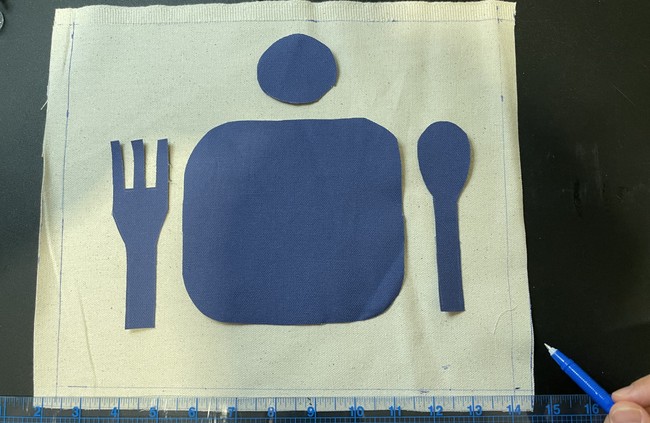
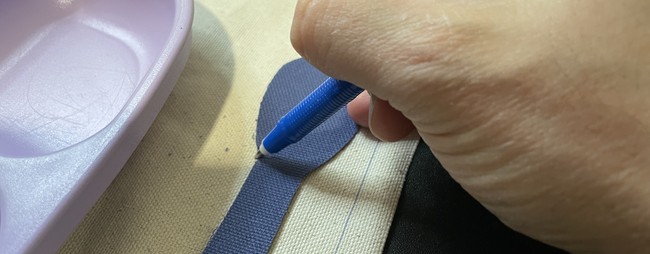
5. Next, on the right side of this rectangle place your shapes in the position that you want and pin it or use fabric glue them in place. Mark the shapes on the fabric using heat erasable pen or any other fabric marking element of your choice. It helps to use an existing toddler plate that you have to find a position for the shapes.
Setting the Table as a Montessori-inspired Activity
I also recently finished the book The Montessori Toddler by Simone Davies. In the book she recommends having children take on responsibility in the house as a way of building intrinsic motivation to do chores and learn to see themselves as a contributing member of the household. I’ve taken that to heart and try to involve my daughter in daily family rituals like setting the table and cleaning up after herself.
Applique the Shapes On
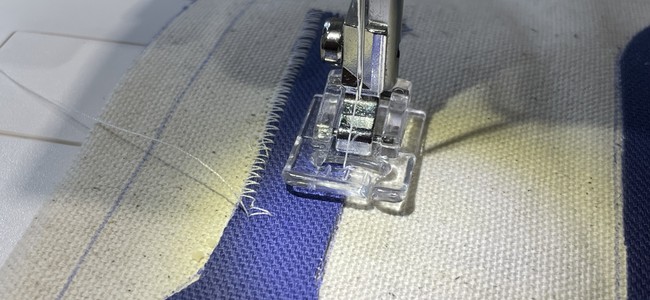
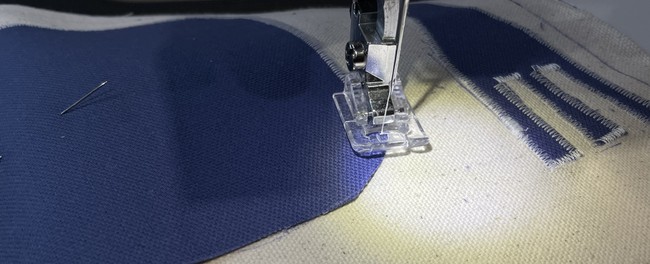
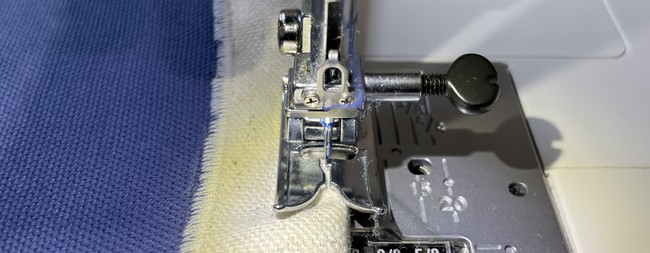
6. in the next step, appliqué the shapes on using a zig-zag stitch all the way around. I like to use an appliqué foot when doing this. Mine is clear so I can see the fabric underneath and the fabric slides around more smoothly than with my universal foot.
As always, take this step nice and slow. Let the feed dogs do the work and don’t push or pull the fabric through. Refit it if you have to.
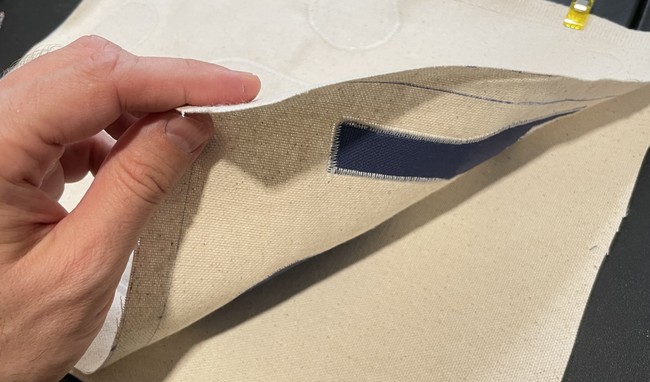
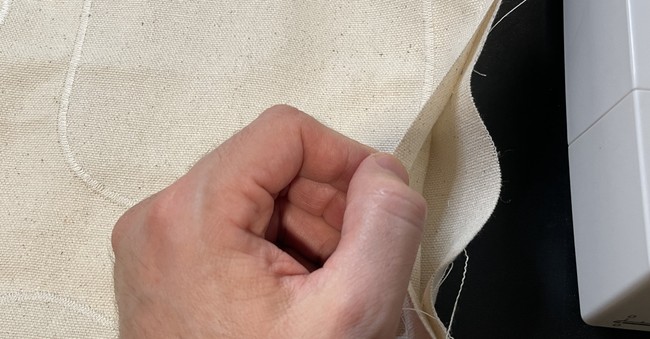
7. Once you’ve done this, place this rectangle body piece on top of your other rectangle body piece with right sides facing (RSF).
8. Following that, sew around the edges using that 1/2” seam allowance. Leave about a 2” gap for turning the fabric right side out.
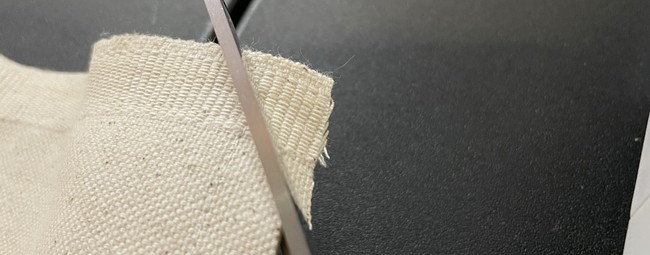
9. Next, clip the corners.
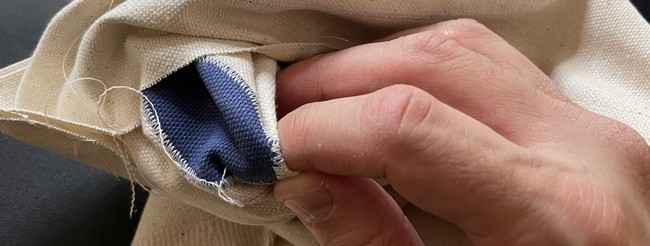

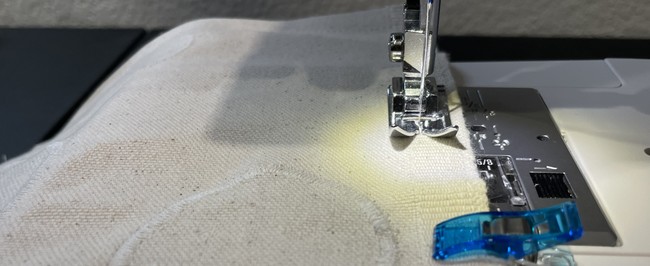
10. Once you’ve finished that, turn the fabric out and iron the edges flat.
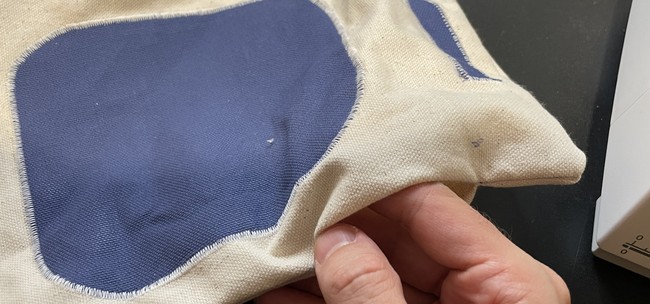
11. Finally, sew around the edge with a top stitch about 1/8”-1/4” from the edge and sew up that remaining hole. If you’re using a thicker fabric use a longer stitch here like 3-4. Close to a basting stitch length.
You’re All Done
And that’s pretty much it. Make a complete set. As you can see this isn’t overly ornate. You can make it really ornate if you want. But the starting point is something functional. See if your kid likes it. Hopefully this gets them more engaged with eating at the table and helping with dinner tasks.
You can also use this as a placemat at restaurants. Although we have a reusable silicon one that we like that’s pretty easy to clean.
Variations
What to make next
With appliqué you have a huge list of options here. You could add fruit shapes. Or you could even embroider something on the mat. Add the names for everyone in your family for some customization and so your kids can have their own placemats.
Leave a Reply