

Getting started sewing for your kids
A good intro low tech dad project to get practice sewing is to make a handkerchief. A handkerchief is a good starter project with sewing, too since it’s a straight stitch with minimal steps. You can use any kind of cotton fabric, but I’ve found 100% cotton to have the best result.
To me sewing a handkerchief is like the programming “Hello world” of sewing. Although they seem antiquated, I started using a handkerchief a while ago when I began trying to be more eco-conscious. I transferred to a new office building and saw how the waste bin there would always be overflowing with paper towels by the end of the day.
The other thing was always needing to wash my daughter’s hands in public places and needing a towel to wash or dry them. It’s paid dividends since I’ve used it in convenience and peace of mind.
Supplies:
- Cotton fabric (14” x 14”)
- Seem gauge (to measure the hems. Or you can just eyeball it)
- Iron
- Marking pen. You can use the following:
- Heat erasable pens
- Chalk
- Air and water soluble marking pen
- Scissors
- Needle and thread
- Sewing machine
Before you start: always remember to wash and dry your fabric before sewing! Especially with cotton since it will shrink and can mess up your seems.
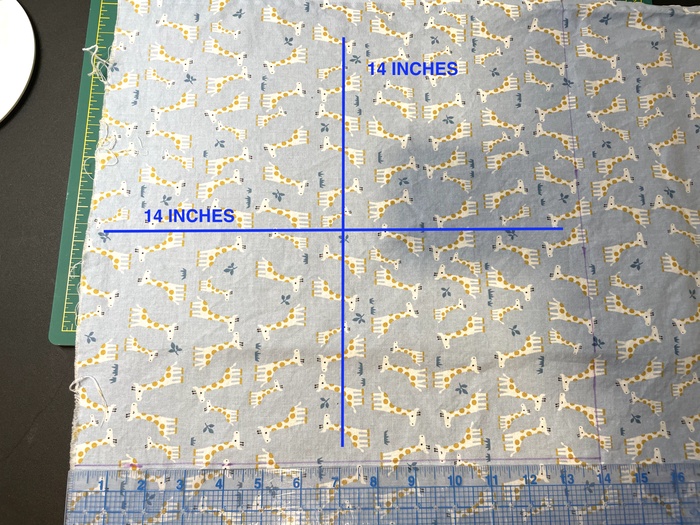
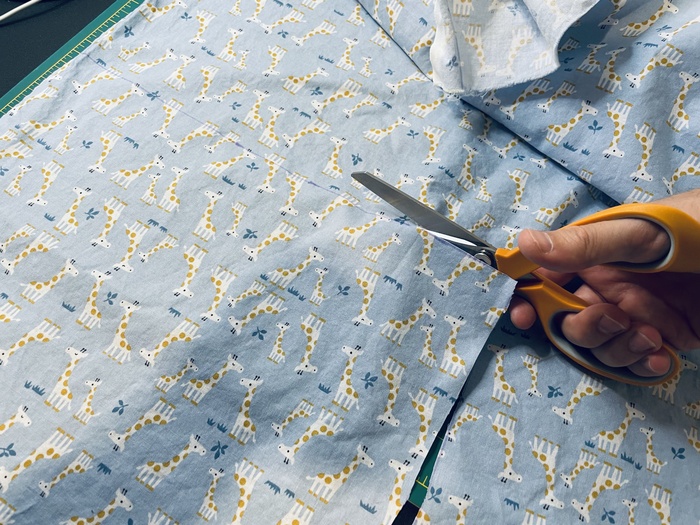
- Cut out your fabric
Measure, mark and cut out a 14 x 14 inch square.
- Hem the edges
At this point you could just use the fabric as a handkerchief but it’s basically a rag at this point. You’ll want to hem the edges so they don’t fray and it looks nice.
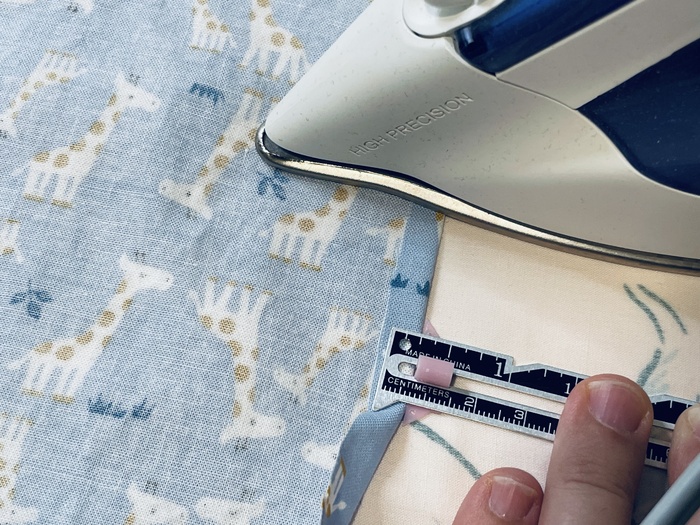
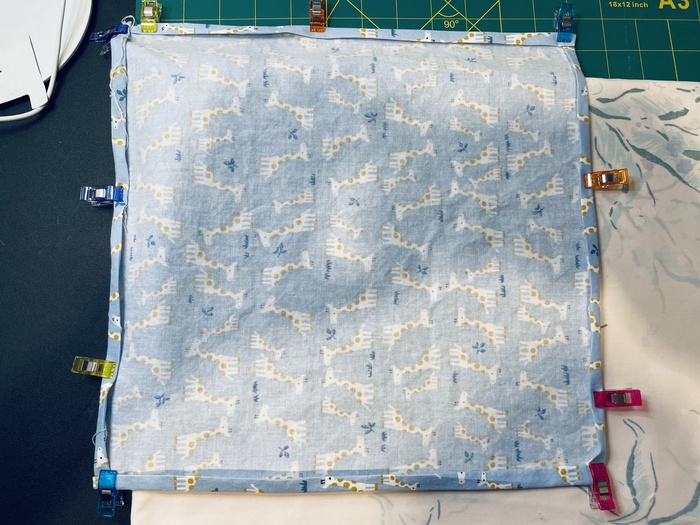
You’ll need your iron and seem gauge for this step. If you’d rather eyeball it than use a seem gauge that’s okay too. It’s your project. Fold over 1/4 inch on each edge (toward the wrong side of the fabric) and iron it down.
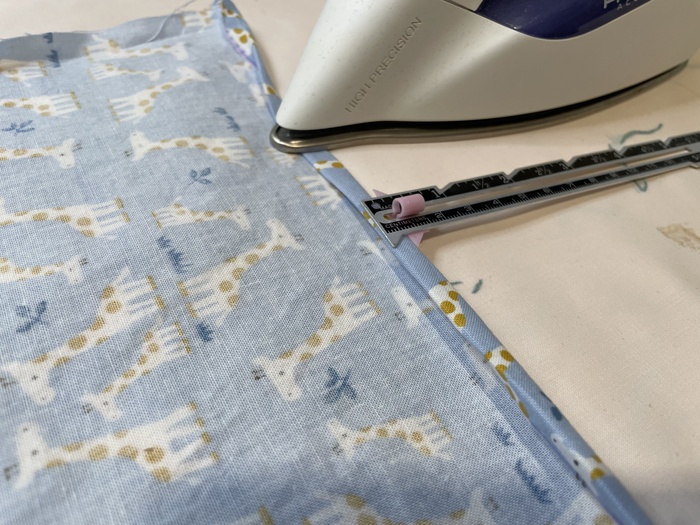
Then fold over 1/4 inch again and iron again.
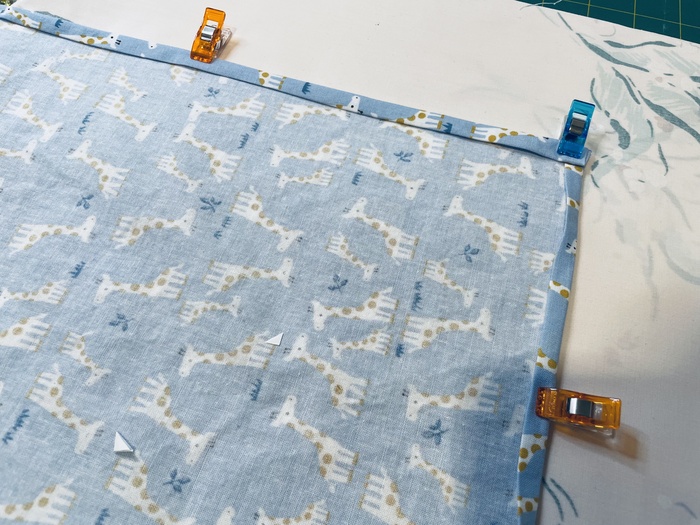
You can use clips or pins to keep these down if they keep rolling back out. Remember that it doesn’t have to look perfect. That’s not the point of this exercise and it’s not the lesson we want to teach from doing it. This is your project. Perfection is the enemy of good.
At this point you have two options. The easy and straightforward way is to just hem and overlap the corners. If you want to get really GQ, then you can sew mitered corners.
Folded Corners
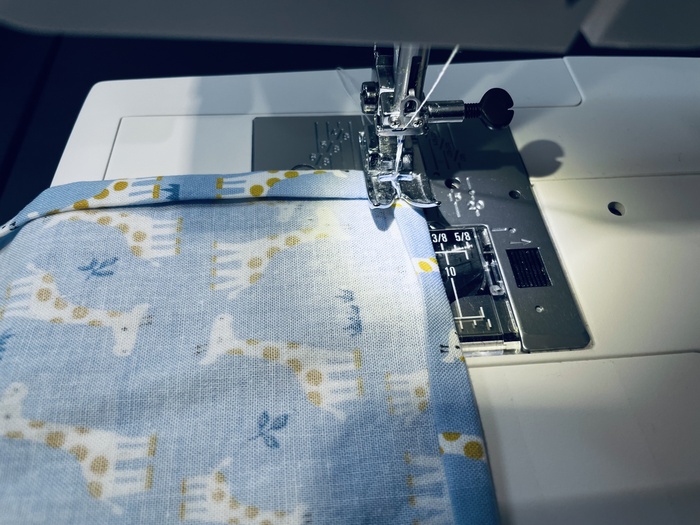
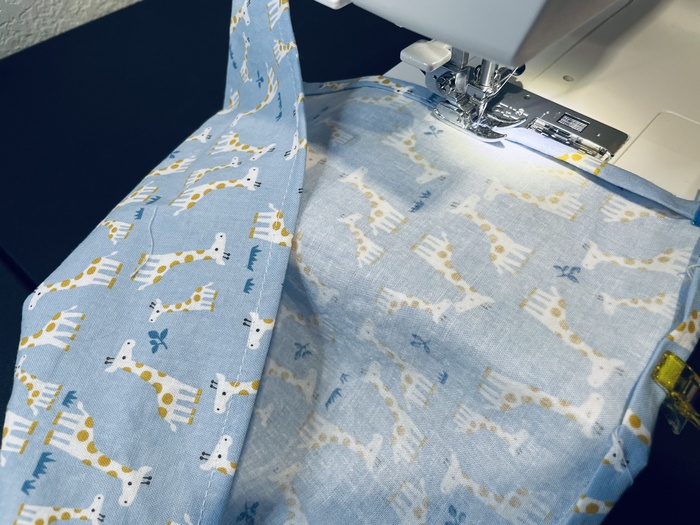
Using a straight stitch sew down the hems with the stitch a little bit away from your hem fold. The stitch length you can do around 2-3. Remember when you start the stitch to backstitch and lock the stitch.
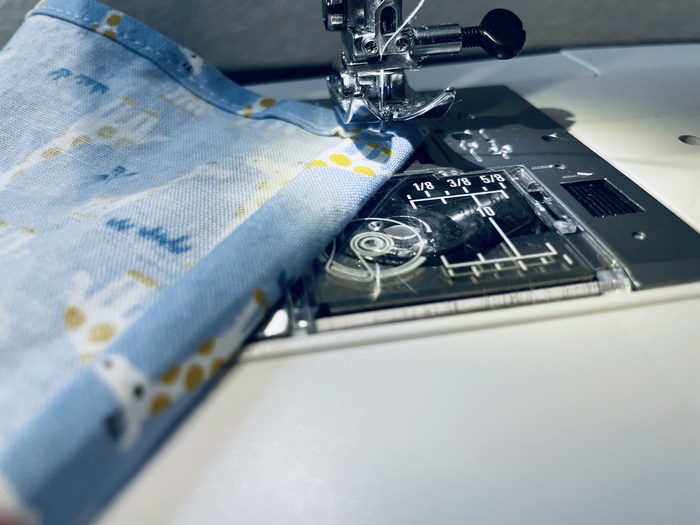
Then when you pivot at the corners do it with the needle in so you don’t lose the position of the stitch. Don’t pull the fabric. Let the feed dogs do the work, but try to guide the fabric with your hands. Double check your stitches while you’re going to check your thread tension. When you get to the corner, leave the needle down, lift up the feet and pivot the fabric around the needle. This helps you to not lose the seem. Then when you’ve pivoted, lower the feet back down and continue the stitch.
Method Two: Mitre’d Corners
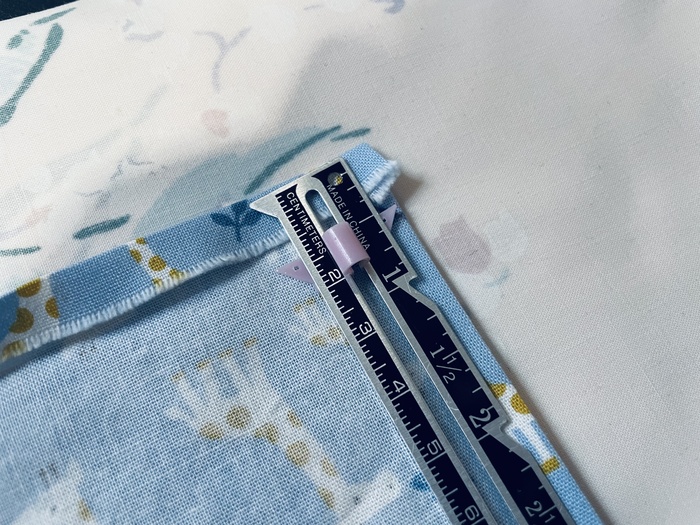
At the corner, fold over once for the first 1/4 inch hem fold,

then measure out 1/2 inch from the corner and mark.

Then draw a diagonal line between the two points.

Fold that corner back to the right side of the fabric,

stitch along the diagonal line

and then cut that corner off.

Fold the corner back out and poke out the corner.
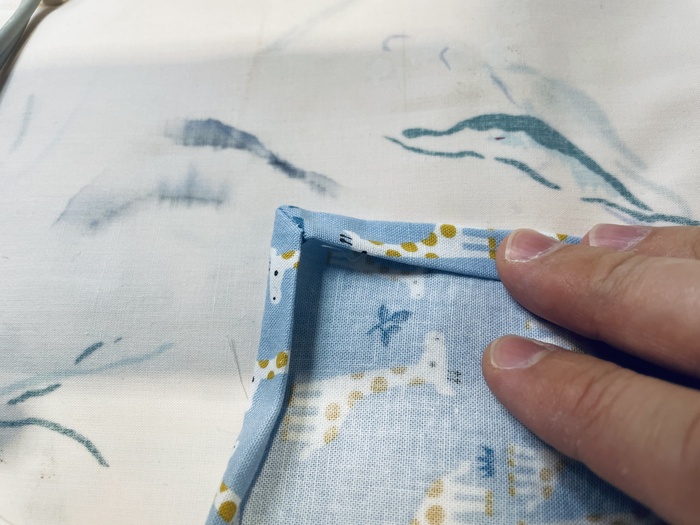
Fold the second ironed hem fold back and it should line up into a neat corner. Do this for the other three corners.

Then when you’ve mitre’d the corners sew a top stitch around the edges. A top stitch is like a securing stitch around the edges.

For hems, it helps to find a spot on your presser foot where you want the edge to line up, then keep the edge lined up with that point as you sew.
This way is more tricky, so if you want to keep it simple just go with the flat corners. It doesn’t look that different in the end, but the mitre’d corners is good practice.

When you get back to where you started, backstitch again, snip the threads and you’re done!
Show it off and take pride in your accomplishment. Sewing a handkerchief can be simple and rewarding sewing project for dads wanting to get into sewing. Just remember to wash it regularly. Even though you hands may be clean when you use it, speaking from experience, if you leave it in your pocket while it’s wet it can get smelly :).