

Use it to cover a bowl. Cover a trash can, a bucket, the possibilities are endless.
There’s this plastic lid we got for this glass bowl set from Costco a long time ago. It has been through so much over the years that the lid is starting to crack and peel. It’s seen better days. In a case like this the bowl still works fine and I don’t really want to buy another one off plastic lid. So the easiest solution I could come up with is to use some leftover fabric and sew my own cotton lid. This not only saves money but is also more eco-friendly.
Sewing the Bowl Cover is Easier than it Sounds
And the cotton bowl lid is super easy to make. The hardest part is probably sewing the elastic on. But this can be done, as always, by taking it nice and slow and maintaining good control of the fabric going through the presser foot.
Sewing elastic cotton bowl lids are also really handy for a bunch of other things. Like we have this bin that we use in the car as a sort of modified trash can. And having an elastic lid over the top helps to keep stuff inside if it tips over.
Materials for the Cotton Bowl Cover
The size of the bowl cover will depend on the size of the bowl you will be covering. You will need about 1” of fabric that extends beyond of the edges of the bowl plus a 1/4” seam allowance. So you can more or less pick the fabric you want to use for the fabric bowl over and eyeball it by placing the bowl on top of the fabric and see if you have this surplus past the edges of the bowl.
You will also need a length of 1/4” elastic that is about 2” longer than the circumference of the bowl. Again, you can eyeball this by holding one end of the elastic at one end of the bowl and wrapping it around the bowl. Then mark on the elastic where it meets the beginning point.
Assembling the Cotton Bowl Cover
Sizing the Pattern Piece
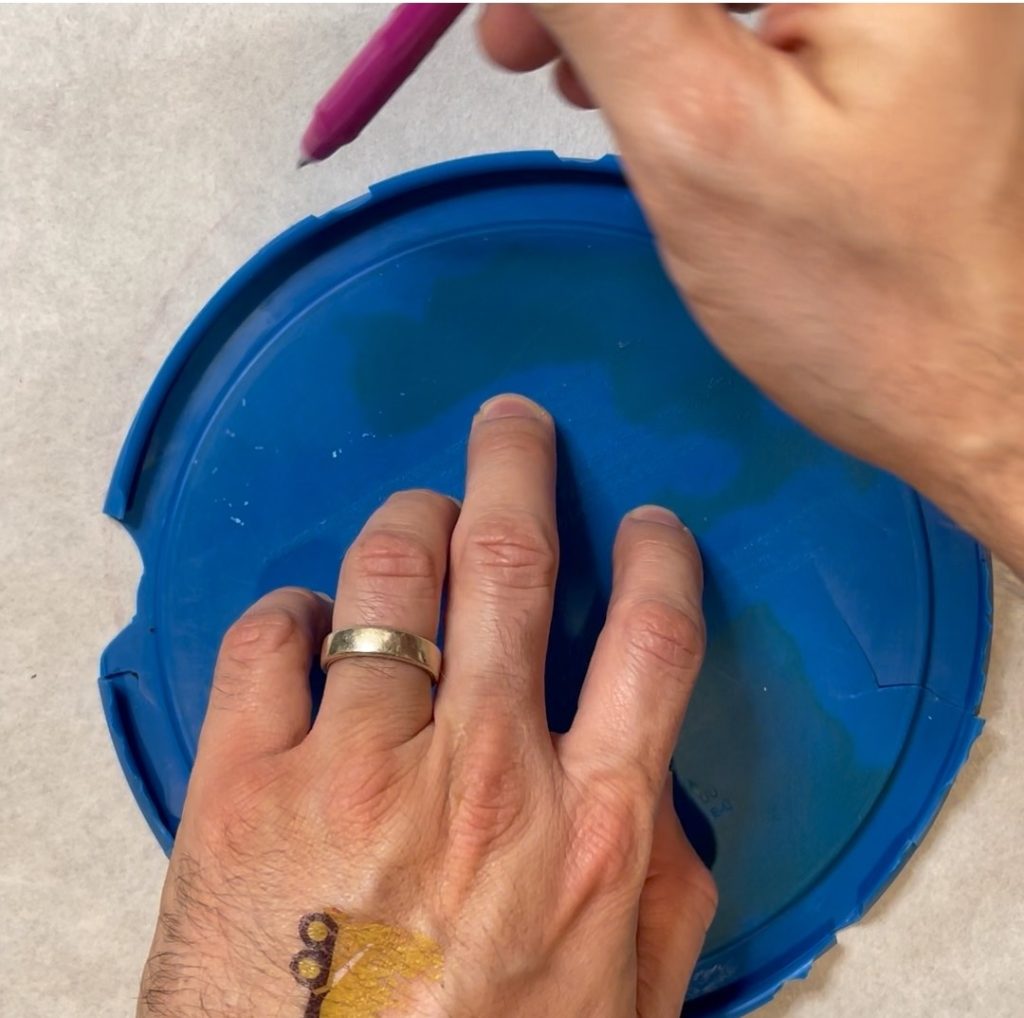
First you’ll want to figure out how big your bowl cover is going to be. So take your stencil paper. I like to use poster board or cardboard since it’s nice and stiff. and put the bowl on top of it. Trace a circle around it.
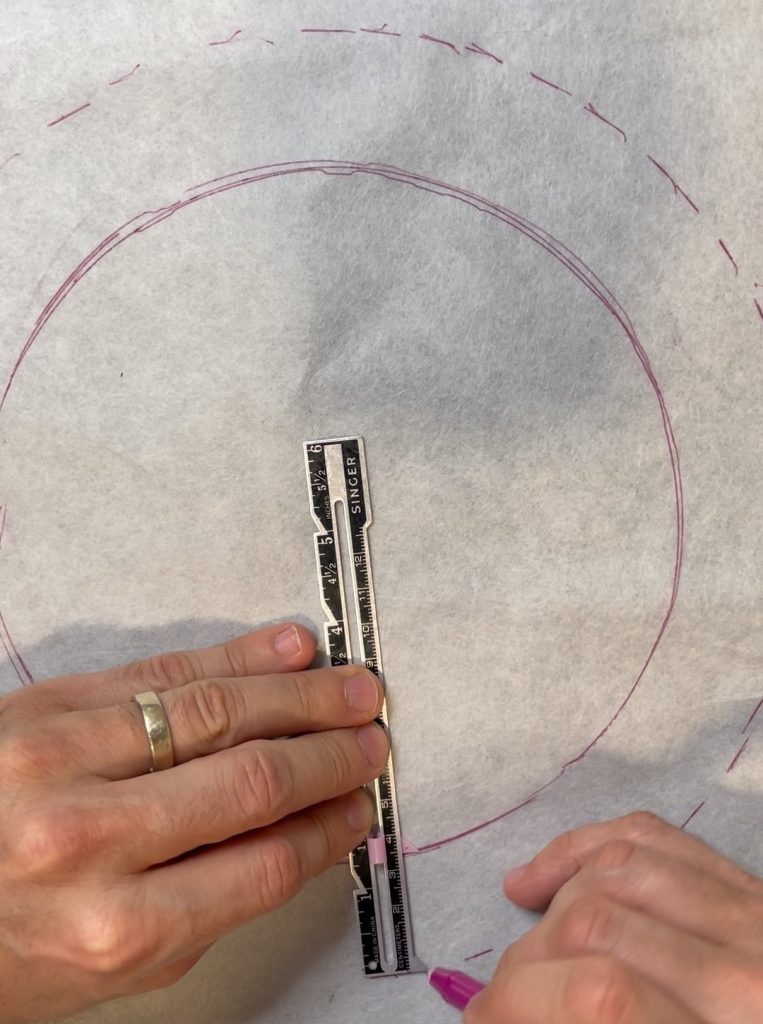
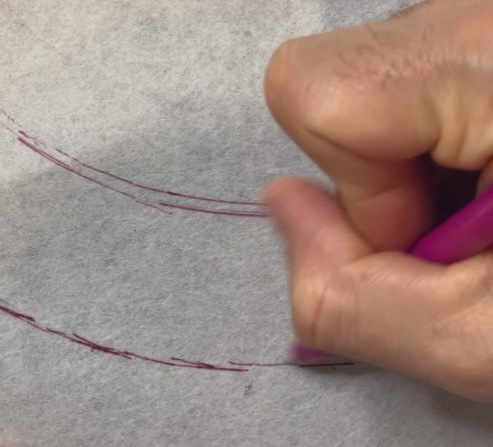
Next, using your seam gauge mark out about 1.5” from this circle. Slowly work your way around and mark an additional circle. This will be your actual fabric size.
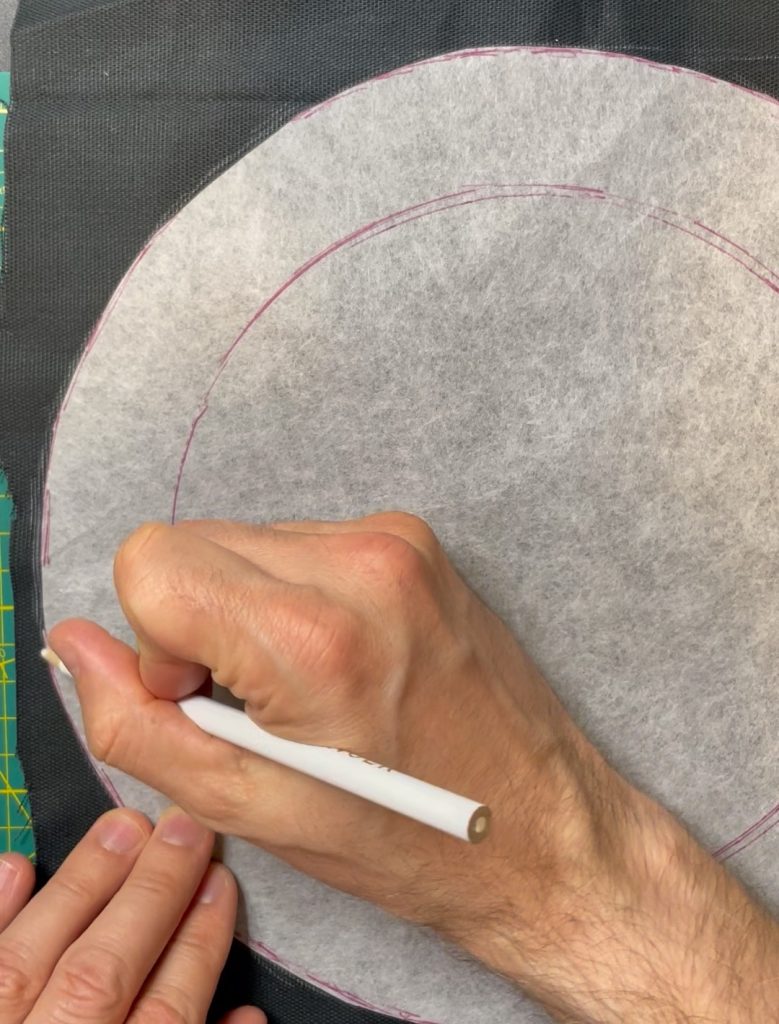
Cut this out and trace it onto your fabric. Make two of these circles.
Putting the Bowl Cover Together
Assembling the bowl cover is a pretty straightforward process.
First take the two circles and stack them together with right sides facing (RSF).
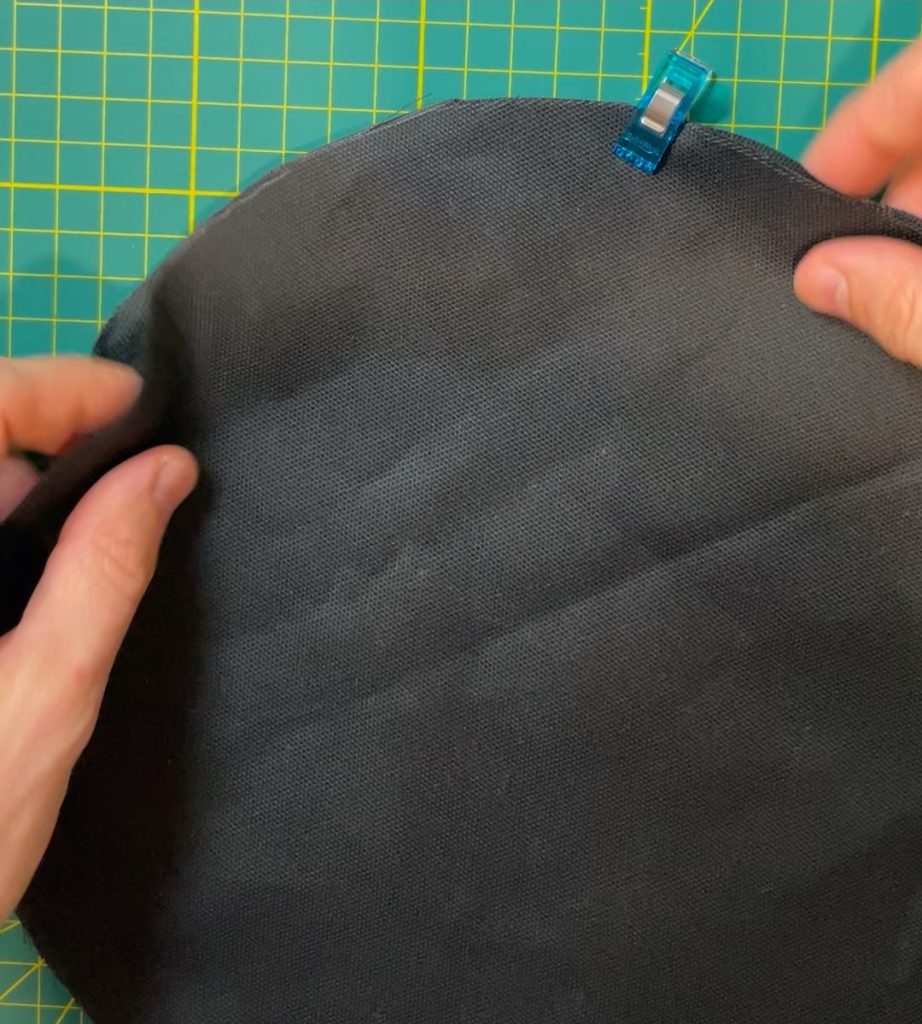
Stitch together using a 1/4” seam allowance.
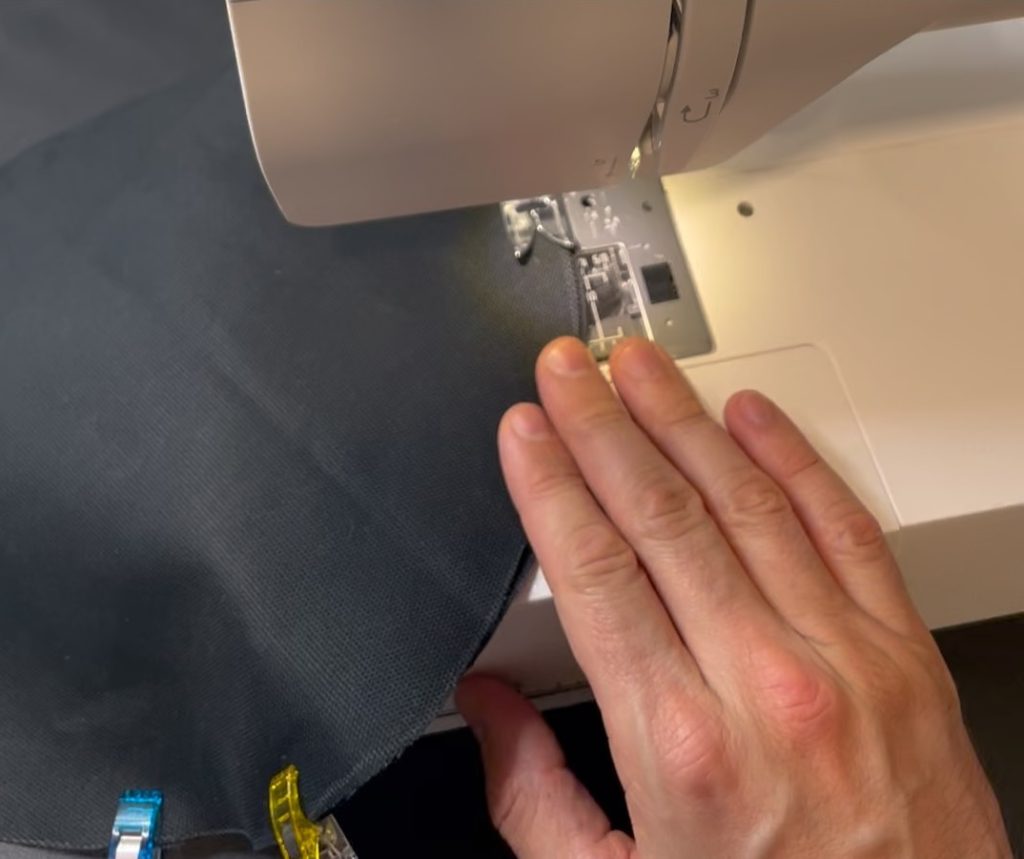
Leave about a 2” gap at the end to turn the fabric right side out.
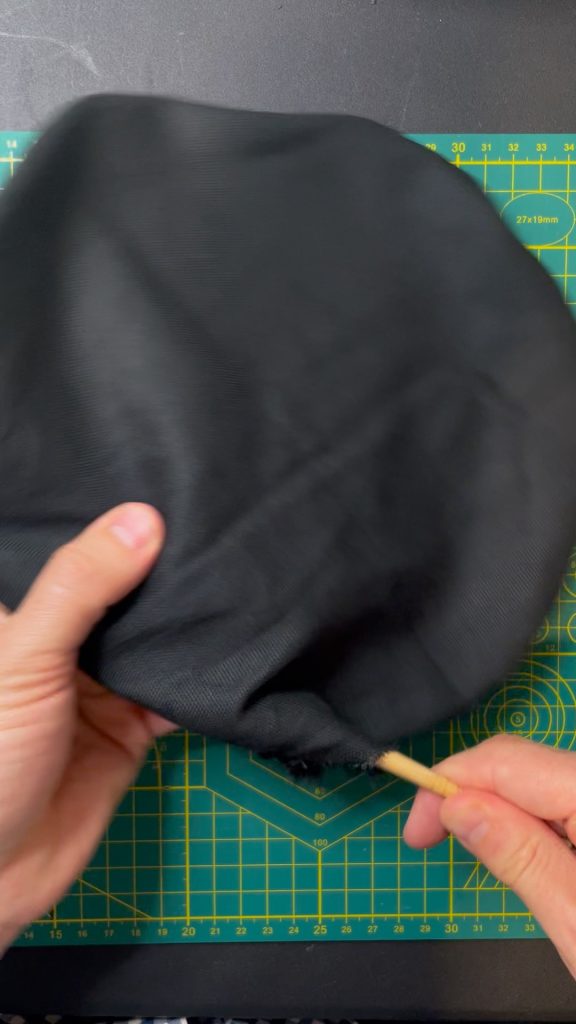
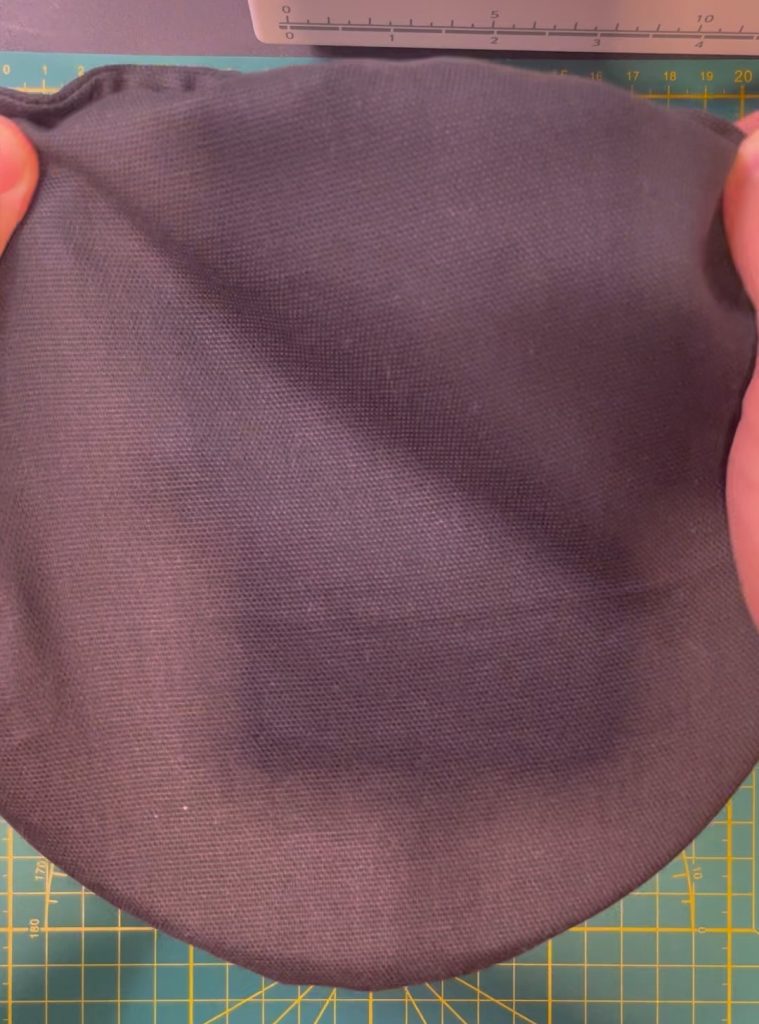
When you get to that point, turn the cover right side out.
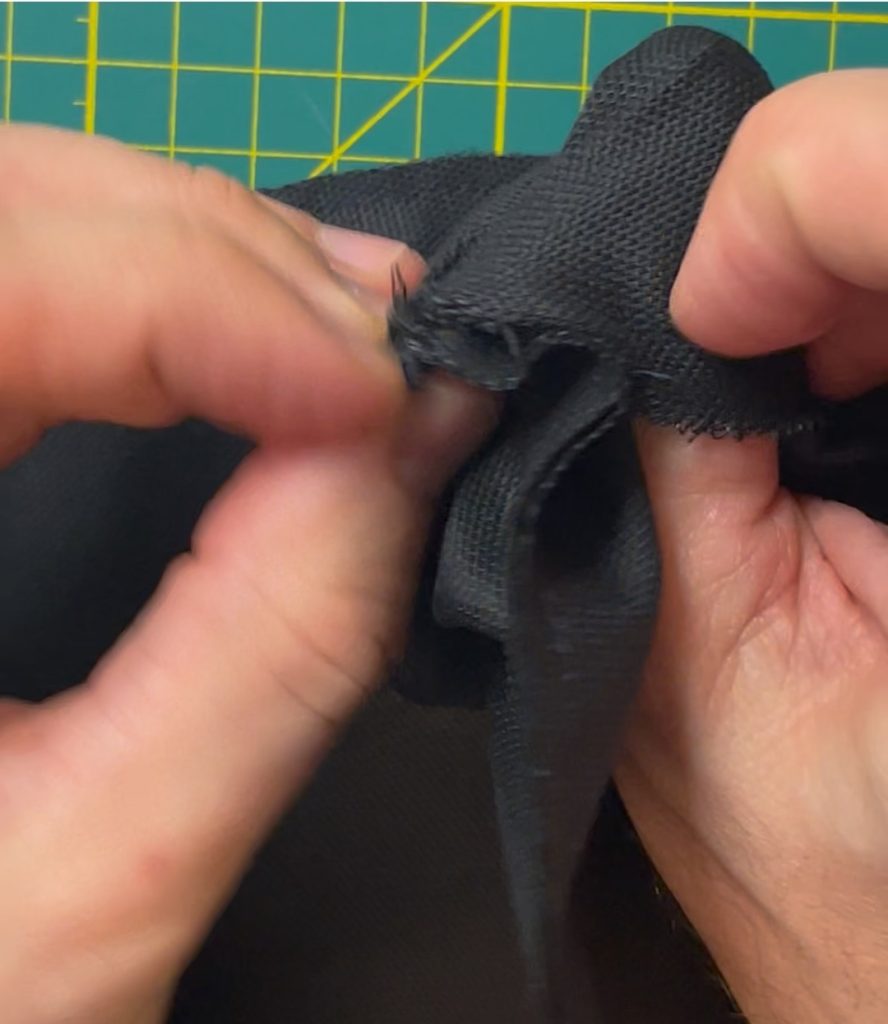
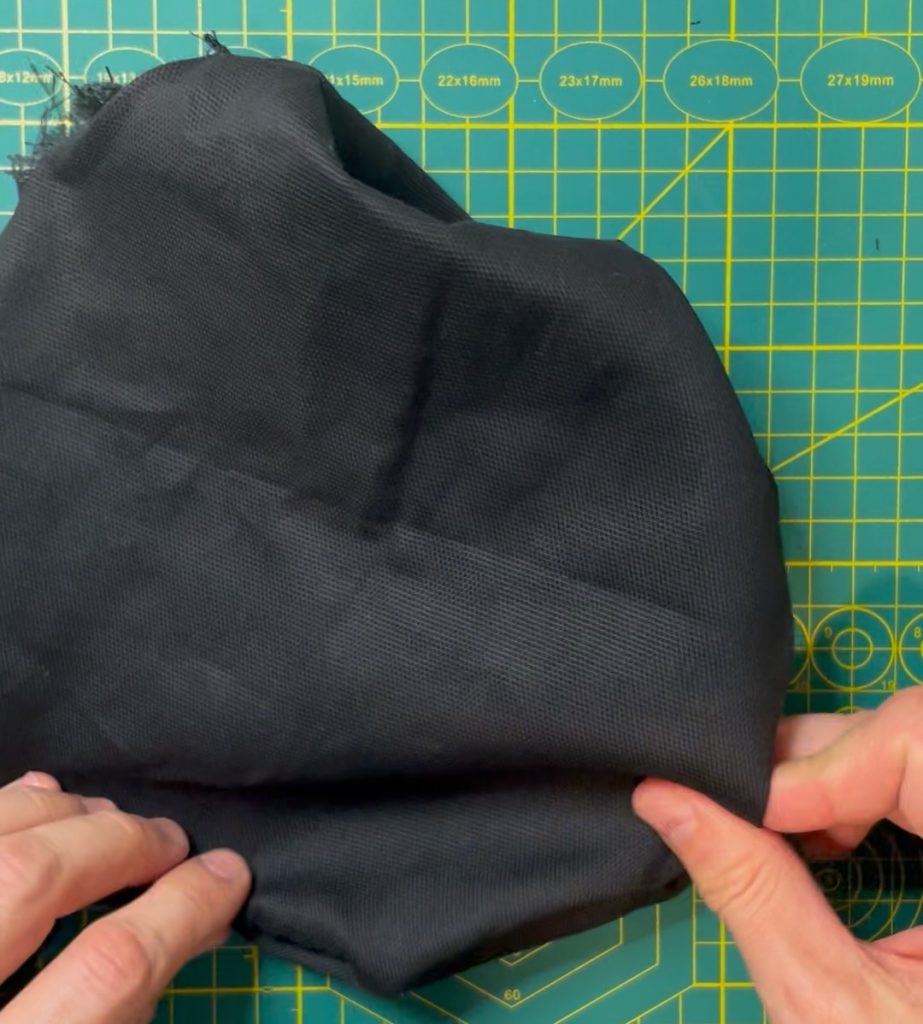
It helps to use a chopstick to press out the seams.
Attaching the Elastic to the Fabric Bowl Cover
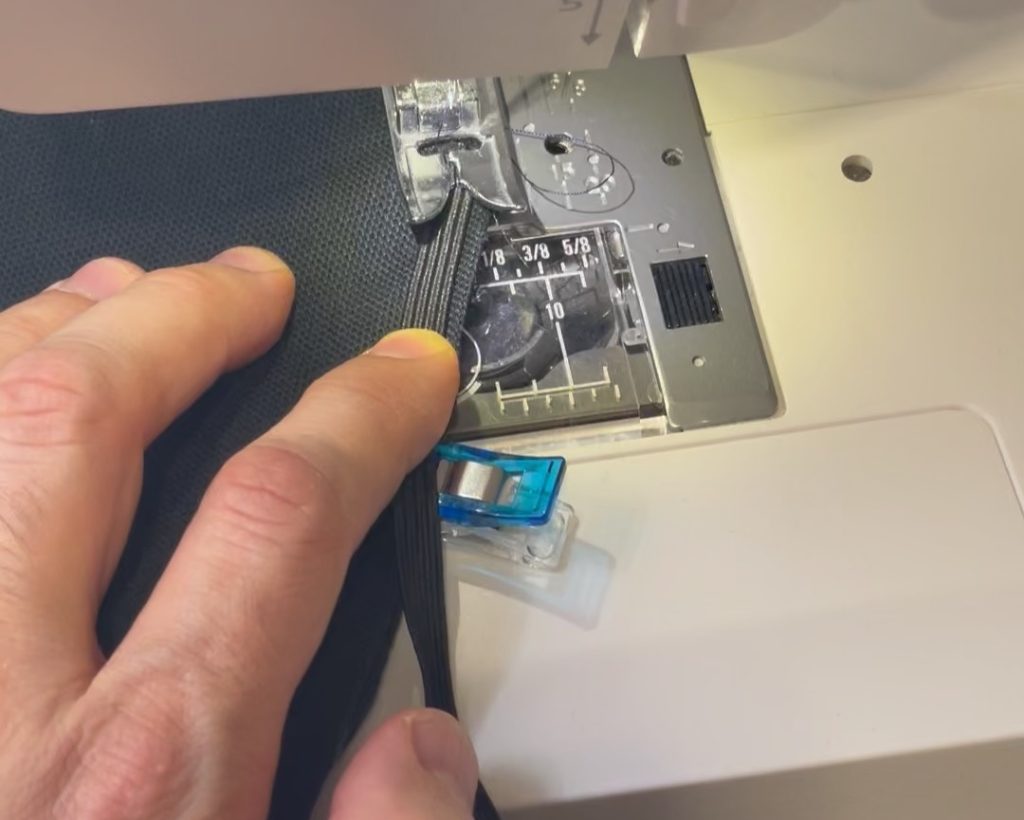
Now, attach the elastic to the outside and you’re almost done. Put one end of the elastic along the outside edge. Using a narrow zig zag stitch, tack this down by turning the hand wheel a couple rotations.
Then, while pulling on the elastic, stitch around the edge of the cotton bowl cover using a zig zag stitch with a sub-1 stitch length (so very short, but not appliqué shortness).
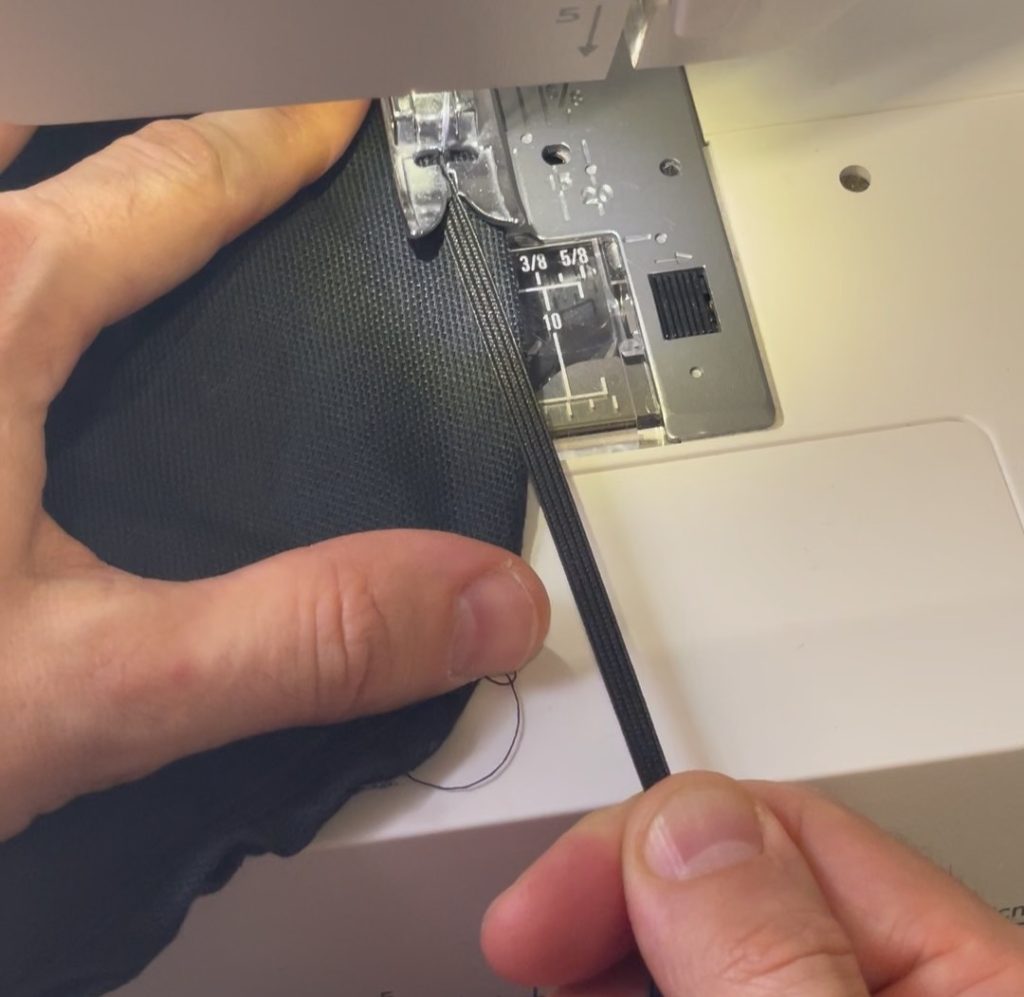
The key here is pulling on the elastic while you are sewing. This can be tricky, so take this step nice and slow. Because the elastic is narrow it can be easy for the stitch to go off the rails. The idea here is to have less elastic than the circumference of the cotton bowl cover so it creates some stretch around the edge of the bowl.
You should close your opening that you left for turning the fabric.
When you get to the other end lock your stitch and you’re all done.
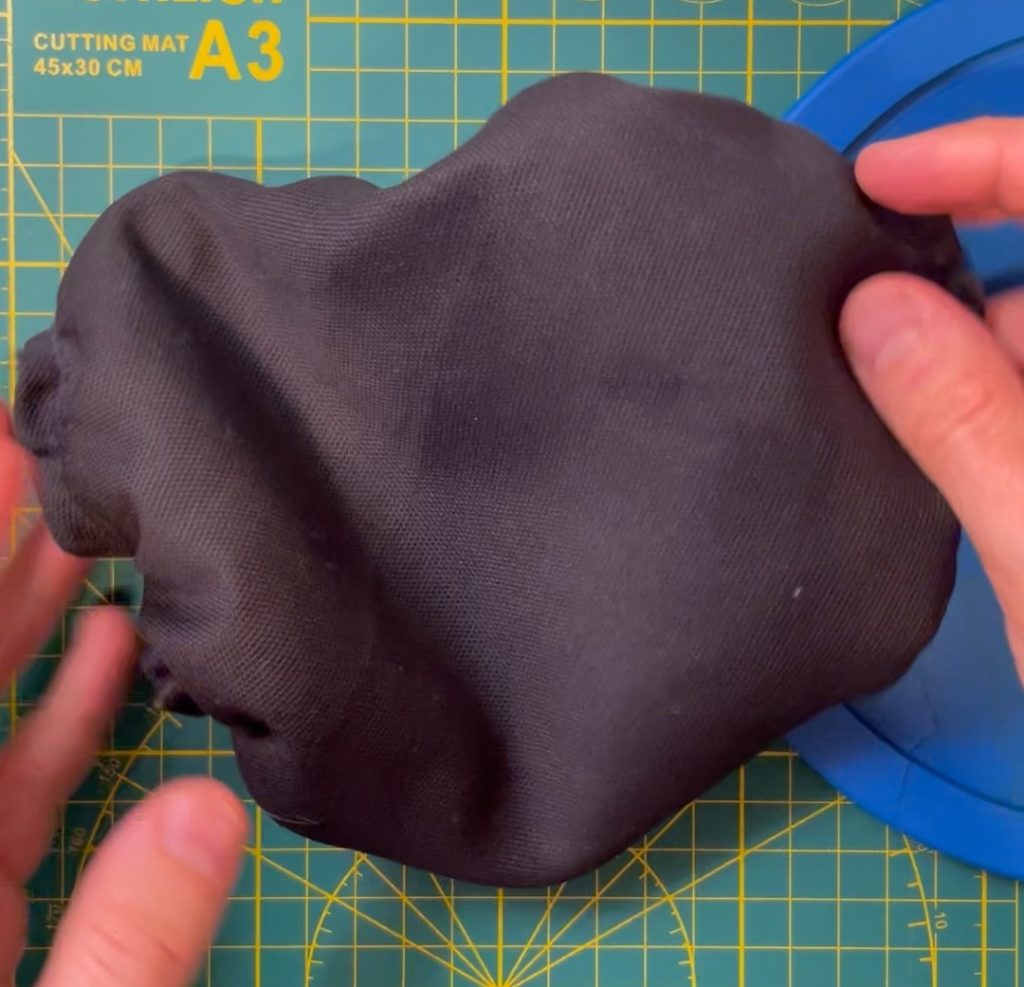
Sewing this fabric bowl cover is a great way to protect your perishable food in your refrigerator. They can also be used to picnics to keep food safe. You can use a low cost organic cotton muslin cloth to sew this, which makes a great way to keep food safe and breathable if you’re worried about flies or other bugs on your apples or potatoes at home.
If you’re looking for another type of wrap for your produce, try the quick bento bag tutorial.
Leave a Reply